
Grand Marquis V8-4.6L VIN V Flex Fuel (2006)
9. Move the Watts link upwards and detach the lateral arms.
^
Remove the Watts link and LH lateral arm.
10. CAUTION: Do not use excessive force when removing the RH lateral arm-to-frame bolt or damage to the air spring can occur.
Remove the RH lateral arm-to-frame nut and bolt and remove the arm.
^
Discard the nut and bolt.
^
To install, tighten to 90 Nm (66 ft. lbs.).
11. Remove and discard the Watts link pivot stud.
^
To install, tighten to 270 Nm (199 ft. lbs.).
12. CAUTION: If the height sensor bracket is detached from the LH lateral arm, the rear ride height must be adjusted.
If necessary, remove the nuts and the height sensor bracket.
^
To install, tighten the inner nut to 11 Nm (8 ft. lbs.).
^
To install, tighten the outer nut to 12 Nm (9 ft. lbs.).
13. WARNING: If equipped with fire suppression system, repower the system. For important safety warnings and procedures, refer to Fire
Suppression System.
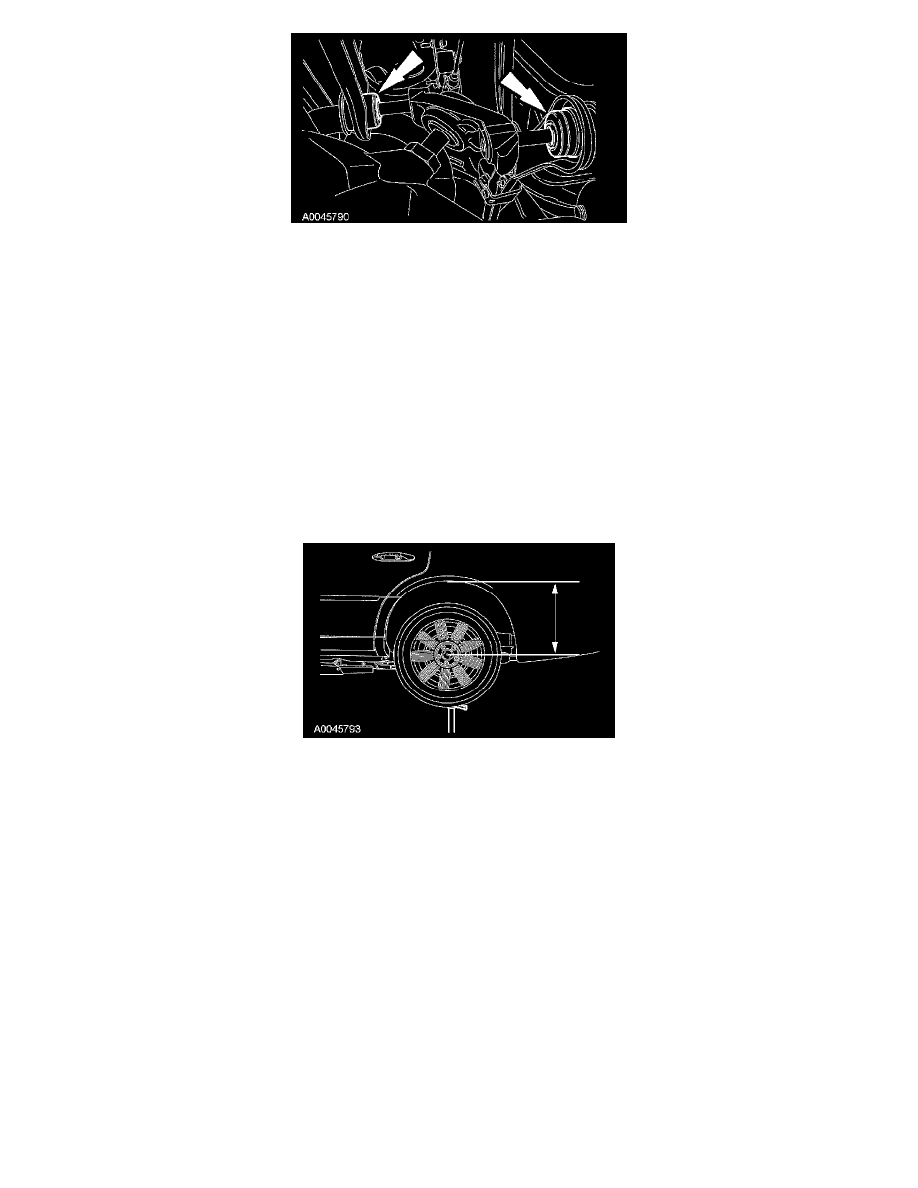
NOTE: Before tightening the fasteners, use a suitable jack or jack stands to raise the suspension until the distance between the lip of the fender
and the center of the wheel hub is equal to the measurement taken in the removal procedure.
To install, reverse the removal procedure. If equipped with fire suppression system, repower the system.