
Grand Marquis V8-4.6L VIN V Flex Fuel (2006)
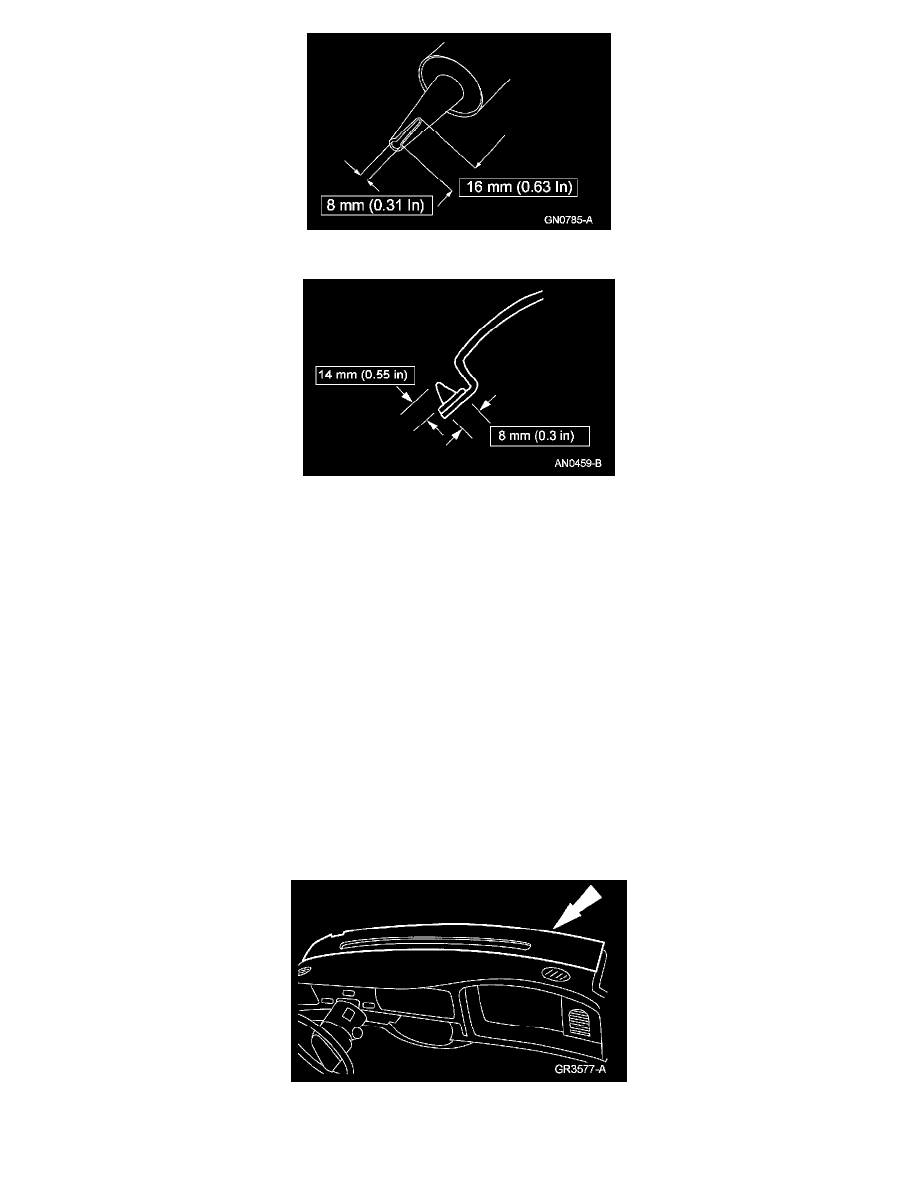
6. Cut the applicator tip to specification.
7. NOTE: Use either a high-ratio, electric or battery-operated caulk gun that applies the urethane with less effort and a continuous bead.
Apply a bead of urethane adhesive on top of the existing trimmed urethane adhesive bead on the pinch weld. Make sure that all gaps in the
urethane adhesive are smoothed into one continuous bead starting and ending at the bottom of the windshield near the center.
8. CAUTION: Open a window to prevent the windshield glass from being pushed out by air pressure when a door is closed.
Using the alignment marks install the windshield glass.
9. CAUTION: When installing urethane-installed glass parts, the vehicle must not be driven until the urethane has cured. Adequate cure
time is specified on the drive away chart for each urethane product as the temperatures and humidity vary. Inadequate or incorrect
curing can adversely affect the retention of the windshield.
NOTE: The urethane adhesive must cure for a minimum of 1 hour before testing for air or water leaks.
After the urethane cures, check the windshield glass seal for air or water leaks through the urethane adhesive bead and add urethane adhesive as
necessary.
10. Install the front portion of the headliner.
11. Install the interior rear view mirror.
12. If equipped, install the overhead console.
13. Remove the tape from the defroster housing.
14. Install the instrument panel defroster opening grille assembly.
-
If equipped, connect the electrical connectors.