
Lynx L4-98 1.6L SOHC Turbo VIN 8 FI (1984)
Idle Speed: Customer Interest
Engine - Vibration at Idle in DRIVE
Article No. 84-6-19-S
VIBRATION - IDLE SHAKE/BOOM - (1.6L) ATX TRANSMISSION
FORD 1981-84 ESCORT, EXP
LINCOLN-MERCURY 1981-84 LYNX, LN7
Vehicles which exhibit conditions of idle shake (roughness) or idle boom can be serviced by increasing "in drive" curb idle speed to 825 rpm and
naturalizing the front bumper PGM system.
CAUTION: DO NOT EXCEED 825 RPM CURB IDLE SPEED IN DRIVE. EXCESSIVE SPEEDS CAN CAUSE DETONATION AT IDLE WITH
AIR CONDITIONING ON DURING WARM TEMPERATURE OPERATION.
1.
Adjust idle speed to 825 rpm in Drive with the lights and cooling fan on. Idle speed with A/C on must be at this same speed or slightly higher.
2.
If the idle is still rough, or idle boom still exists, proceed by modifying the front bumper to allow it to vibrate at idle. Its vibration will damp out
the vibration in the steering column.
3.
Remove the front bumper; check for the presence of the steel bar attached to the inside of the aluminum bumper.
4.
Remove the metal collars that surround the 2 main supports for the front bumper by removing the (4) attaching screws (10 mm). Pull the collar
forward and move the rubber isolator ring forward.
5.
Move the PGM up and down and note that it is designed to rotate about the attachment to the body. To function properly, each PGM must be
perfectly free to move vertically and have sufficient side-to-side clearance to be able to move the front faceplate of the PGM at least 1/8" from left
to right.
6.
If the motion is restricted, proceed as follows: Using a 5 lb. hammer, strike the face to the left and then to the right until the desired 1/8" of free
movement is obtained. Usually, 4 moderate blows in each direction on each PGM faceplate will be sufficient. Care should be taken so the hammer
does not glance off and damage body panels.
7.
Add 1/8" thick flat metal washers between the metal collar and the body (2 required each side). This slightly reduces the compression in the rubber
ring and allows greater motion in the bumper
system when it vibrates.
8.
Determine if the faceplates on the PGM units are parallel to each other by scratching the edge of a tape measure across the front face of both
PGM's. If they are more than 1/16" out of line, bend the protruding edge rearward with sharp blows from the large hammer.
9.
Reinstall the bumper and then road test to be certain that no rattles have been created.
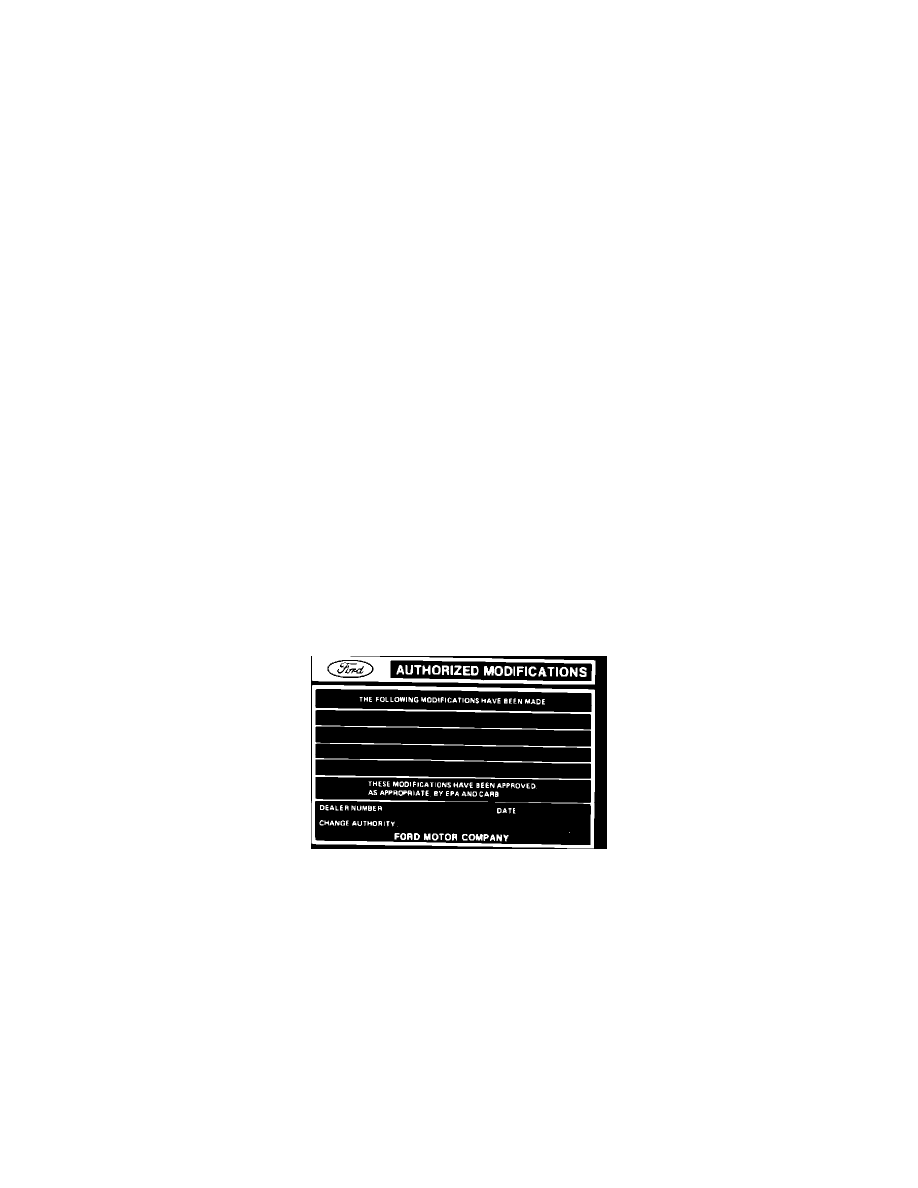
Obtain an Authorized Modifications decal and list the date, dealer number and summary of alterations performed. Select a prominent place adjacent to
the Vehicle Emission Control Information decal suitable for installing the Authorized Modifications decal. Clean the area, install the decal and cover it
with a clear plastic decal shield.
OTHER APPLICABLE ARTICLES: 84-6-19
WARRANTY STATUS: Reimbursable within the provisions of the Warranty and Policy Manual.
OPERATION: SP17757A84
TIME:
1.9 Hrs. DLR. CODING: Basic Part No. DRIVE Code: H7