
Mariner 2WD L4-2.3L VIN Z (2005)
14. Unclip the fuel tube retainer clip from the mounting stud to service the fuel supply and vapor tubes as an assembly. The retainer clip will also open
to service the tubes individually.
-
Remove the fuel supply and fuel vapor tubes from the vehicle.
Installation
1. Install the fuel supply tube and fuel vapor tubes.
-
Make sure the retainer clips snap into place when installing onto the studs. Pull on the clips to make sure they are correctly seated.
2. NOTE: Make sure the tubes are correctly snapped into the clip and the clip is snapped securely into the subframe.
Install the fuel supply and fuel vapor tubes into the frame-mounted retainer clips.
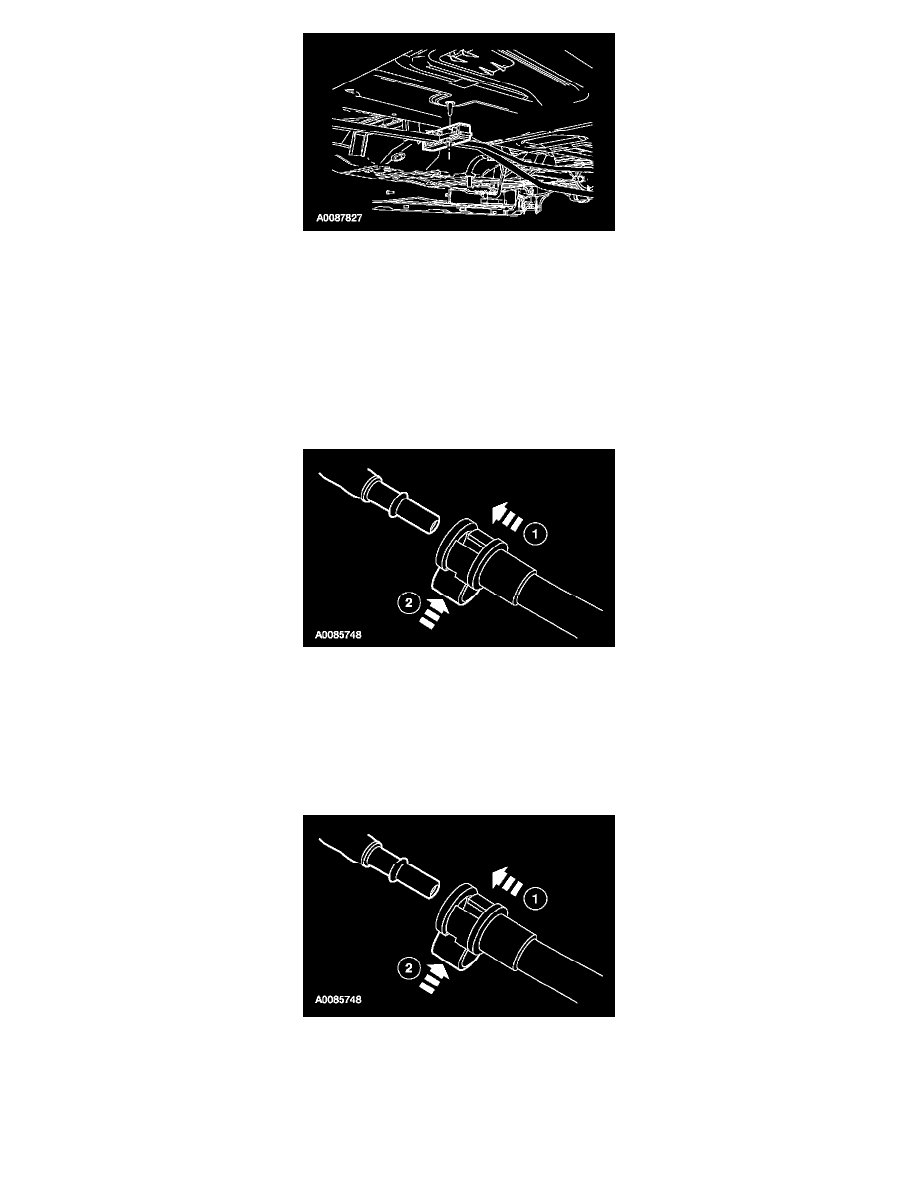
3. NOTE:
-
Make sure the collar on the fuel tube is inserted fully into the quick connect coupling before the locking tab is locked.
-
Apply clean engine oil to the end of the tube before inserting a tube into the connector.
Connect the fuel supply jumper tube and the fuel vapor tube quick connect couplings.
1
Connect the quick connect couplings.
2
Press the quick connect coupling locking tabs into position.
-
Pull on the fittings to make sure they are fully engaged.
4. NOTE:
-
Make sure the collar on the fuel tube is inserted fully into the quick connect coupling before the locking tab is locked.
-
Apply clean engine oil to the end of the tube before inserting a tube into the connector.
Connect the fuel vapor tube quick connect coupling to the EVAP canister purge valve.
1
Connect the quick connect couplings to the EVAP canister purge valve.