
Mariner 2WD L4-2.3L VIN Z (2005)
2
Press the quick connect coupling locking tab into position.
-
Pull on the fitting to make sure it is fully engaged.
5. Install the fuel vapor tube.
-
Attach the fuel vapor tube retainers.
6. CAUTION: Make sure the fuel vapor tube clicks into place when installing the tube. To make sure the tube is fully seated, pull on the
tube.
NOTE: Apply clean engine oil to the end of the tubes before inserting the tubes into the connectors.
Connect the fuel vapor tube quick connect couplings to the intake manifold and the EVAP canister purge valve.
7. Install the LH lower splash shield.
8. CAUTION: Make sure the fuel supply tube clicks into place when installing the tube. To make sure the tube is fully seated, pull on the
tube.
NOTE: Apply clean engine oil to the end of the tube before inserting a tube into the connector.
Install the fuel supply tube and connect the quick connect coupling.
9. NOTE:
-
Make sure the collar on the fuel tube is inserted fully into the quick connect coupling before the locking tang is locked.
-
Apply clean engine oil to the end of the tube before inserting a tube into the connector.
Connect the fuel tube to fuel rail quick connect coupling.
-
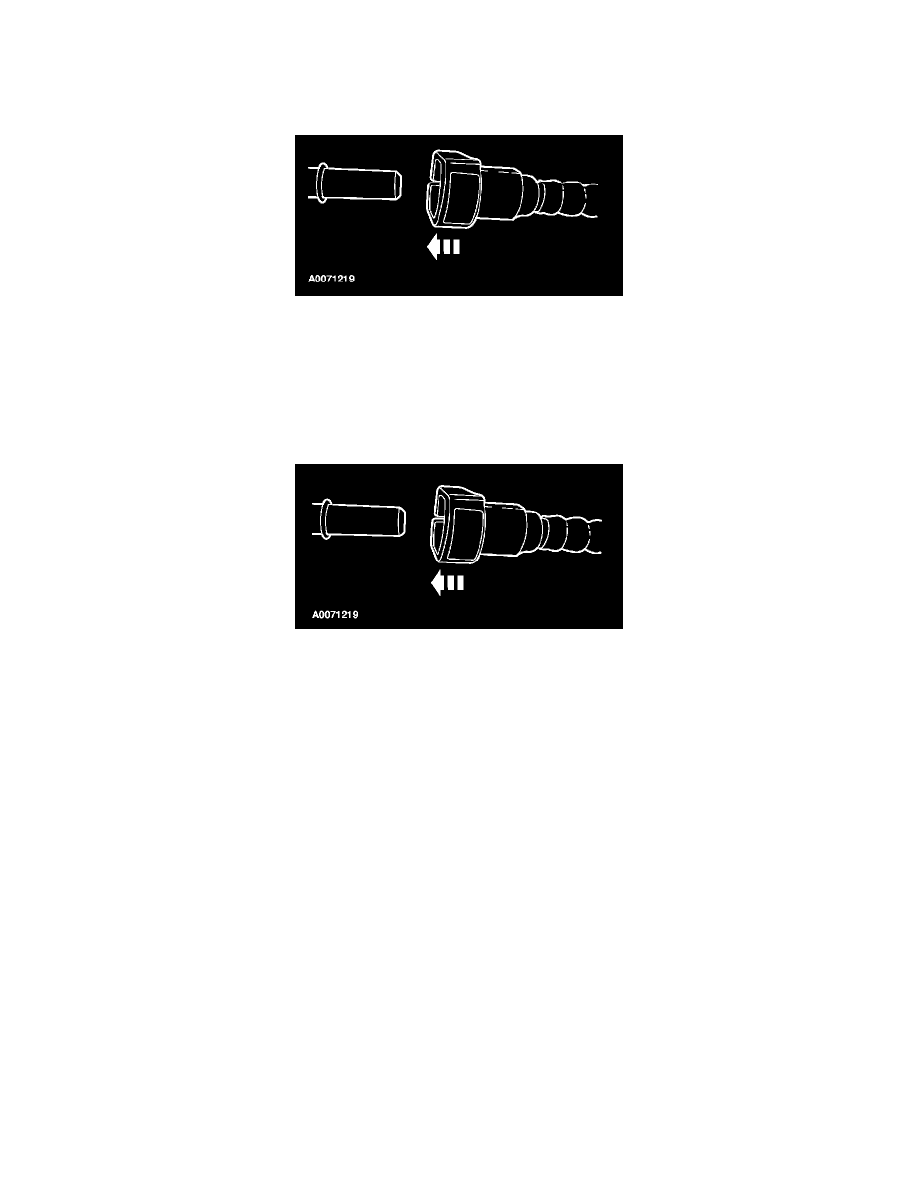
Connect the quick connect coupling to the tube.
-
Press the quick connect coupling locking tab into position.
-
Pull on the fitting to make sure it is fully engaged.
10. Connect the battery ground cable.
11. Turn the ignition key to the ON position to pressurize the fuel system.
12. Visually inspect the fuel system for leaks.