
Mariner 2WD L4-2.5L Hybrid (2010)
Trim Panel: Service and Repair
C-Pillar Trim Panel
C-Pillar Trim Panel
Removal and Installation
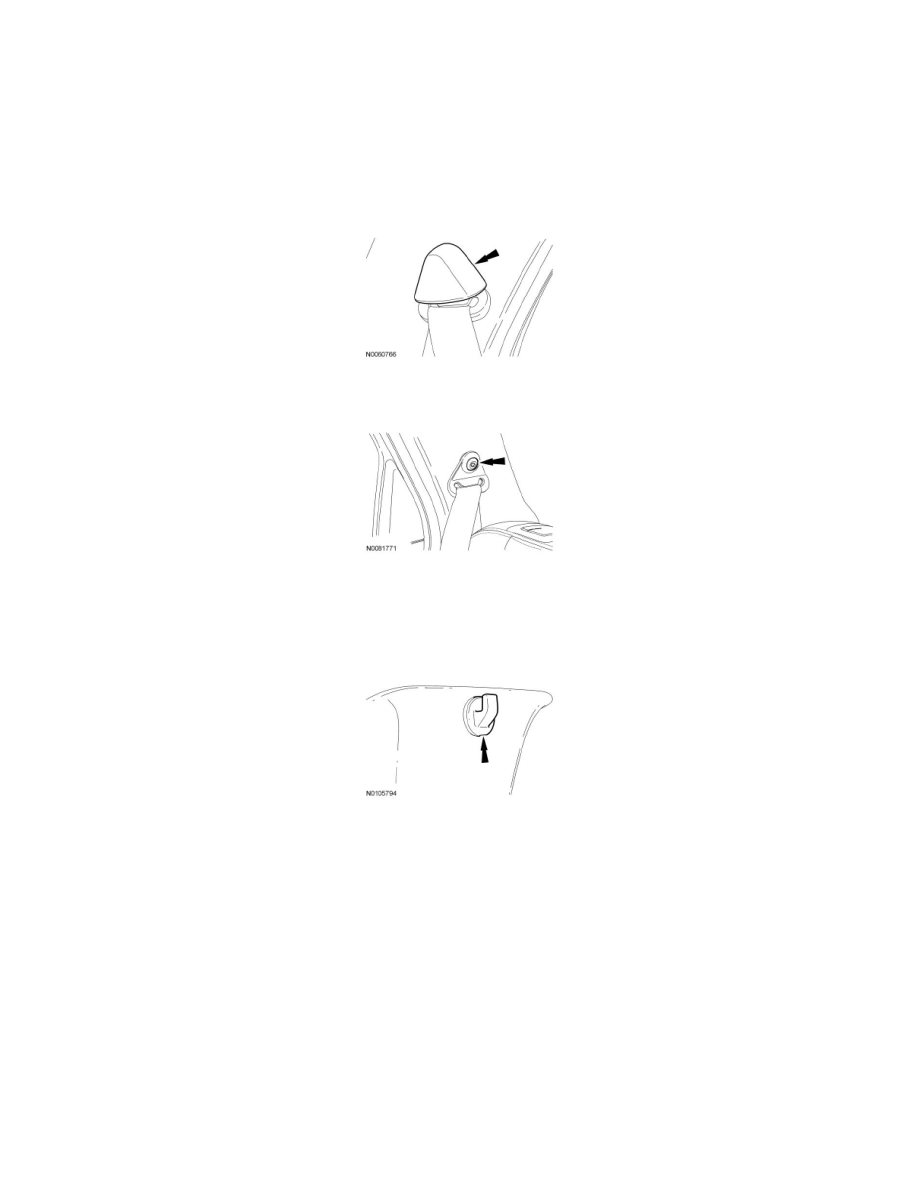
1. NOTE: Inspect the safety belt D-ring cover for damage. If the safety belt D-ring cover does not remain in place, install a new cover.
Remove the safety belt D-ring bolt cover.
2. Remove the safety belt bolt.
-
To install, tighten to 48 Nm (35 lb-ft).
3. Remove the quarter trim panel. For additional information, refer to Quarter Trim Panel .
4. Position the rear door opening weatherstrip aside.
5. Release the C-pillar coat hook by inserting a small flat screwdriver in the slot at the base of the coat hook.
6. Remove the coat hook.
-
For LH coat hook, twist clockwise.
-
For RH coat hook, twist counterclockwise.
7. Remove the C-pillar trim panel bolt.
-
To install, tighten to 7 Nm (62 lb-in).
8. NOTICE: To avoid damage to the C-pillar trim panel, remove any retaining clips from the body and attach them to the C-pillar trim
panel before installing.
Remove the C-pillar trim panel by pulling straight outward to release the retaining clips.
9. To install, reverse the removal procedure.