
Mariner 2WD L4-2.5L Hybrid (2010)
Brake Caliper: Service and Repair
Brake Caliper
Brake Caliper
Removal and Installation
WARNING: Do not use any fluid other than clean brake fluid meeting manufacturer's specification. Additionally, do not use brake fluid that
has been previously drained. Following these instructions will help prevent system contamination, brake component damage and the risk of
serious personal injury.
WARNING: Carefully read cautionary information on product label. For EMERGENCY MEDICAL INFORMATION seek medical advice. In
the USA or Canada on Ford/Motorcraft products call: 1-800-959-3673. For additional information, consult the product Material Safety Data
Sheet (MSDS) if available. Failure to follow these instructions may result in serious personal injury.
NOTICE: Do not spill brake fluid on painted or plastic surfaces or damage to surface may occur. If brake fluid is spilled onto a painted or
plastic surface, immediately wash the surface with water.
NOTICE: Do not allow brake fluid to overflow from the master cylinder reservoir. Brake fluid may damage the high-voltage components.
NOTE: The rear brake pads will wear at approximately twice the rate of the front brake pads.
1. Remove the wheel and tire. For additional information, refer to Wheels and Tires.
2. NOTICE: If the anchor housing spring is to be removed, do not force the spring off the brake caliper or damage to the spring can occur.
NOTICE: Do not use any tools to remove the spring, use hand force only. Do not use excessive force or damage to the spring can occur.
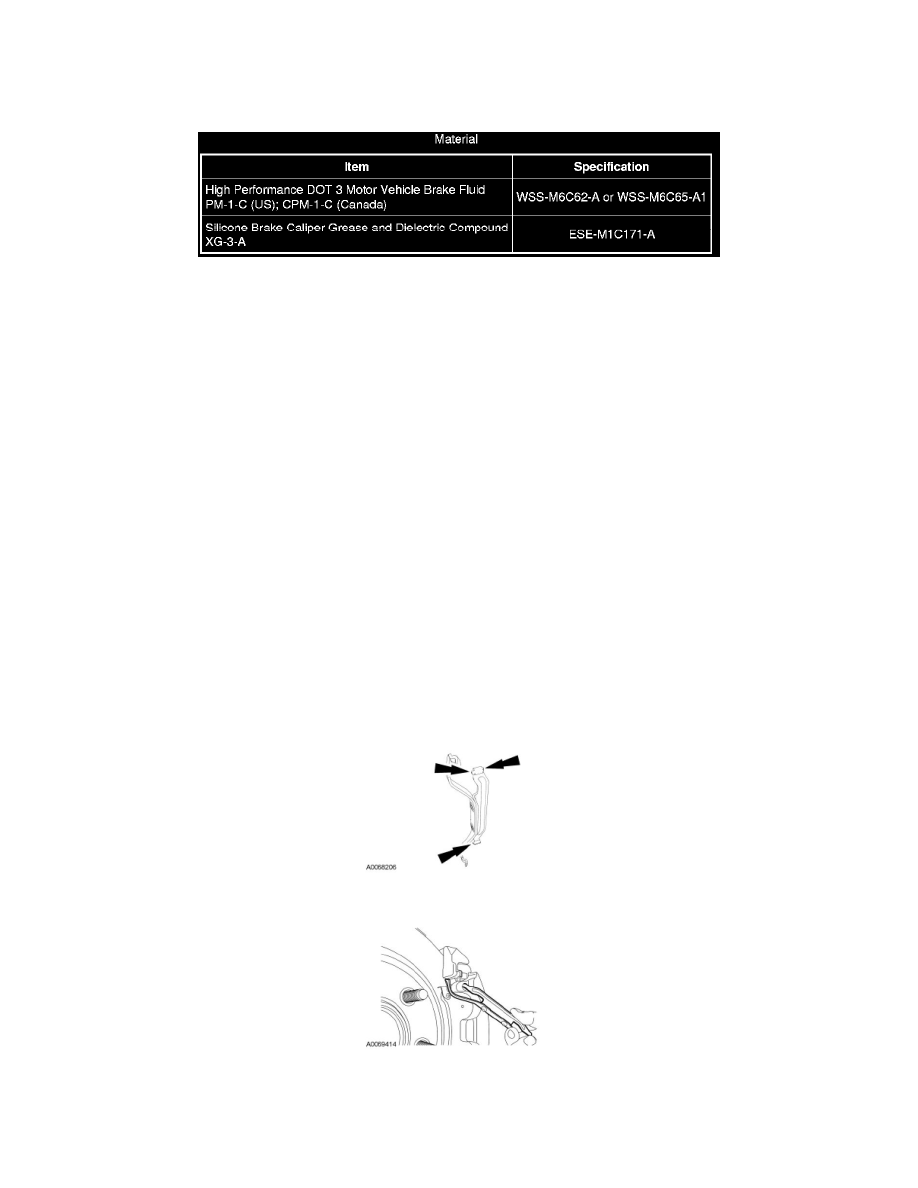
NOTE: The LH side brake pad anti-rattle spring must be installed with the 2-tabbed end in the upper brake caliper cavity.
For the LH brake caliper, release the lower portion of the brake pad anti-rattle spring.
-
Apply force to the center of the spring and pull outward at the bottom of the spring to remove it from the lower brake caliper cavity.
3. Rotate the spring upward and remove it from the brake caliper.
4. NOTE: The RH side brake pad anti-rattle spring must be installed with the 2-tabbed end in the lower brake caliper cavity.
For the RH brake caliper, release the upper portion of the brake pad anti-rattle spring.