
Mariner 2WD L4-2.5L Hybrid (2010)
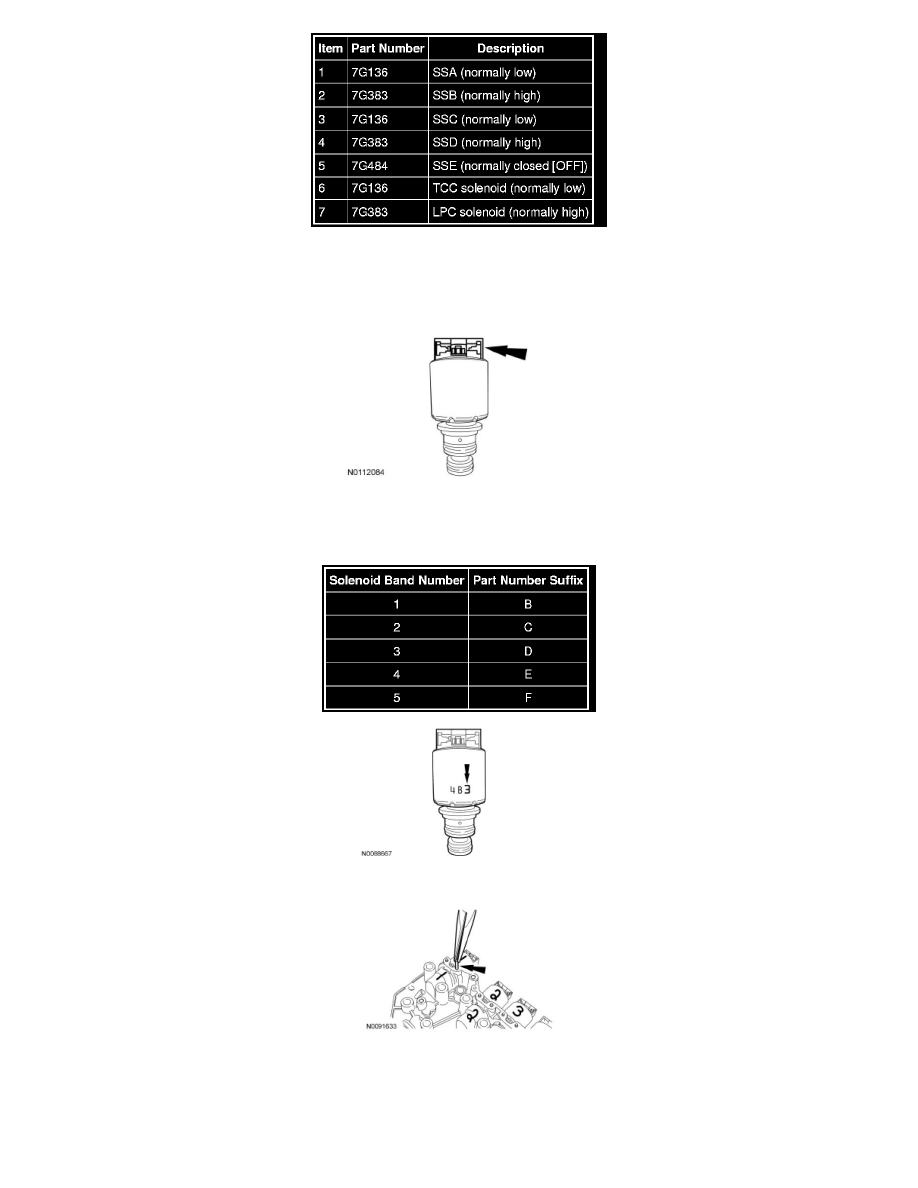
4. If installing a new LPC solenoid, SSB orSSD, note the color of the electrical terminal area of the solenoid. The color will be blue or green and the
solenoid can only be replaced with the same color solenoid. If a new solenoid with that color is not available, install a new solenoid body, refer to
Solenoid Body Assembly See: Transmission and Drivetrain/Automatic Transmission/Transaxle/Valve Body/Service and Repair/Solenoid Body
Assembly.
5. Determine the part number suffix by checking the solenoid service band number etched on the side of the solenoid. The band number is the third
digit on the side of the solenoid and will be a 1, 2, 3, 4 or 5. Use the following table to determine the part number suffix and match the new
solenoid base part number and suffix with the old solenoid. Install the solenoid in the solenoid body.
6. Install the solenoid retaining pin(s).
7. Install the Valve Body Alignment Pins in the solenoid body to align the lead frame for installation.