
Mariner 2WD L4-2.5L Hybrid (2010)
the components. Failure to follow these instructions may result in component damage and/or system failure.
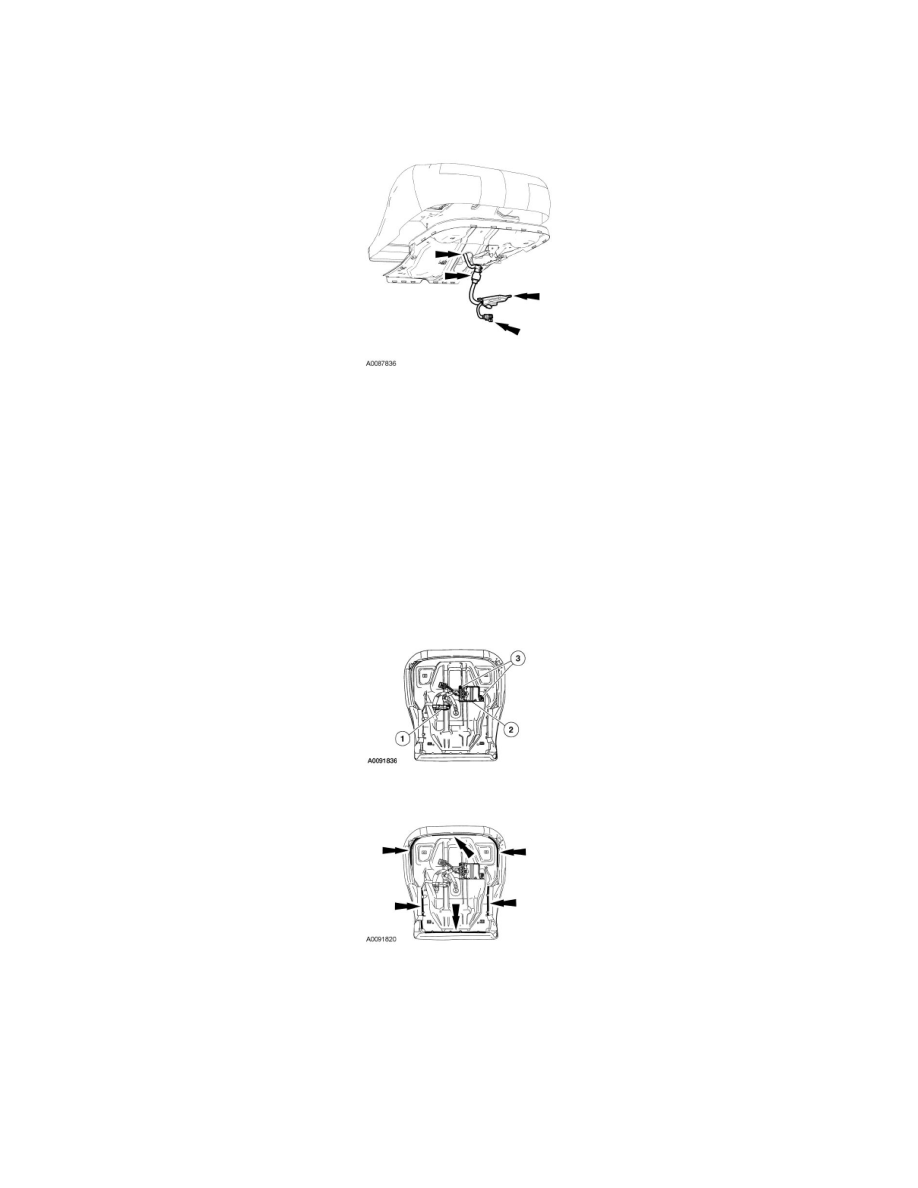
Feed the OCS service kit components (hose, pressure sensor, OCSM, wire harness and connectors) through the correct seat cushion pan opening.
3. NOTE: When installing an OCS service kit, the seat wire harness pressure sensor electrical connector is not used.
NOTE: Make sure the pressure sensor hose is not kinked during installation.
Install the OCS components to the seat cushion pan.
1. Install the pressure sensor onto the seat cushion pan bracket, making sure the retaining tab is completely engaged.
-
When installed correctly, an audible click will be heard and the pressure sensor will not be able to be removed from its bracket without
disengaging the retaining tab.
2. Slide the OCSM into the seat cushion pan bracket.
-
The OCSM must be correctly positioned and securely fastened in place. Failure to do so can set a DTC in the RCM.
3. Install the rivets.
4. Attach the seat cushion trim cover J-clips to the seat cushion pan.
5. NOTICE: While positioning the seat cushion pan and Occupant Classification Sensor (OCS) assembly, be careful not to damage any of
the components. Failure to follow these instructions may result in component damage and/or system failure.
Position the seat cushion and pan assembly to the seat track.
-
To aid in installation, recline the seat.
6. Install the 4 seat track-to-cushion frame bolts.
-
Tighten to 25 Nm (18 lb-ft).
7. NOTE: Do not tie-strap any wiring to the OCS bladder and pressure sensor hose.