
Mariner 2WD L4-2.5L Hybrid (2010)
Rear Door Window Regulator: Service and Repair
Window Regulator - Rear Door
Window Regulator - Rear Door
Removal and Installation
1. Remove the rear door trim panel.
2. Remove the screw and the rear door trim panel bracket.
3. NOTE: Do not touch the adhesive surface during removal or installation of the watershield, as re-bonding will be impaired. If additional adhesive
is required during installation, apply seam sealer as necessary to completely seal the watershield to the inner door.
Position the watershield aside.
4. Connect the window control switch electrical connector.
5. Using the window control switch, lower the rear door window glass to gain access to the rear door window glass screws.
6. Disconnect the window control switch electrical connector.
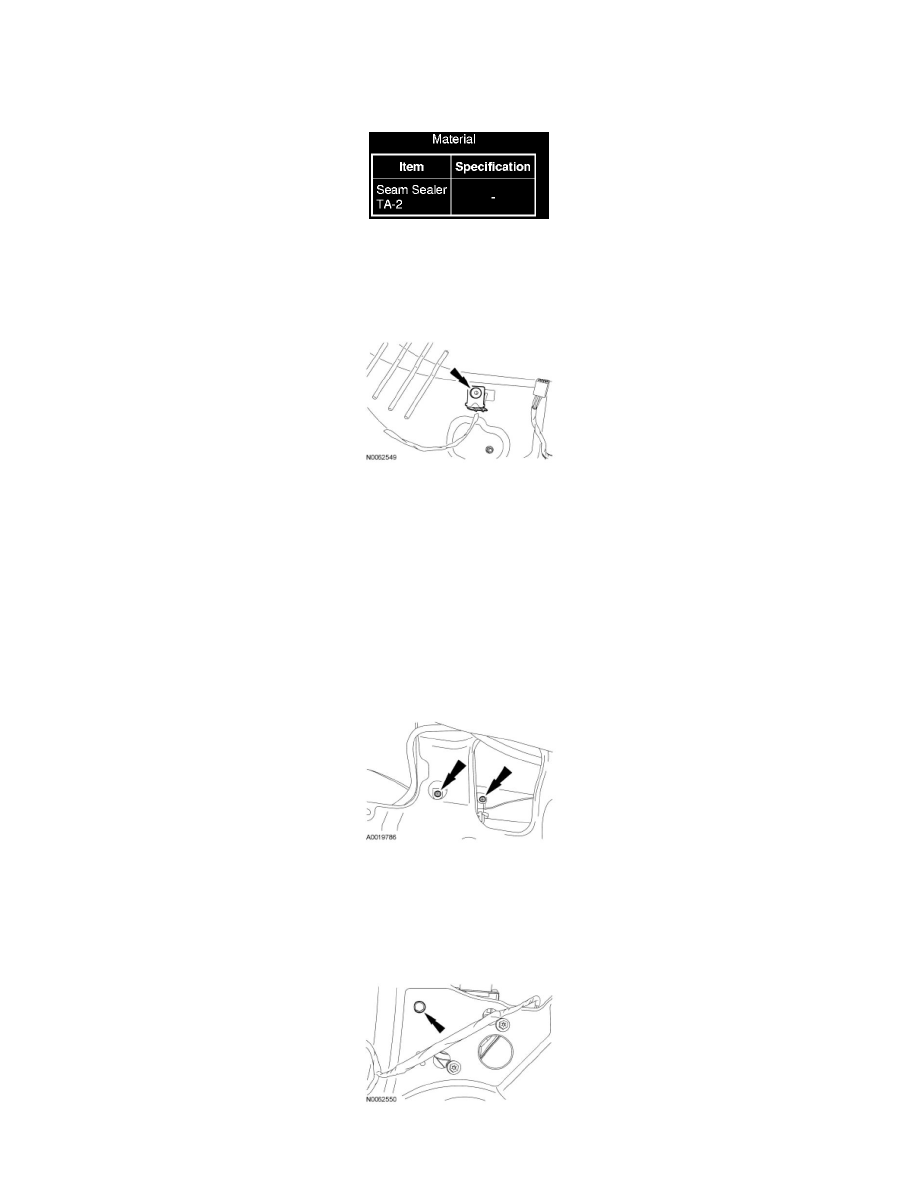
7. Remove the 2 rear door window glass screws.
-
To install, tighten to 5 Nm (44 lb-in).
8. Support the rear door window glass in the full UP position with tape.
9. Disconnect the rear door window motor electrical connector.
10. Remove the rear door window regulator and motor bolt.
-
To install, tighten to 11 Nm (97 lb-in).
11. Loosen the 2 rear door window regulator and motor bolts.