
Mariner 2WD V6-3.0L (2008)
Part 2
Removal
1. Position the RH or LH front door weatherstrips aside.
2. Pull inward on the upper A-pillar trim panel to release the A-pillar trim panel retaining clips.
3. NOTE: Remove the A-pillar tether clip from the A-pillar trim panel. Do not remove the A-pillar tether clip from the A-pillar unless a new tether
is being installed.
Remove the A-pillar tether clip from the A-pillar trim panel.
-
Insert a flat-blade screwdriver into the base of the A-pillar tether clip.
-
Apply downward pressure on the screwdriver, sliding the A-pillar tether clip base downwards.
4. Remove the A-pillar trim panel.
Installation
1. Install the lower A-pillar trim panel into the instrument panel.
2. WARNING: A new A-pillar trim panel tether must be installed if the tether is damaged or does not fasten correctly. During a side air
curtain deployment the A-pillar trim panel tether helps prevent the trim from striking the occupant. Failure to follow this instruction
may result in serious injury to vehicle occupant(s).
Install the A-pillar tether clip base onto the A-pillar trim panel.
-
Position the A-pillar tether clip base into the A-pillar tether holder located on the A-pillar trim panel.
-
Slide the A-pillar tether clip base upwards into the A-pillar tether holder until the tether is fully seated.
3. CAUTION: The A-pillar trim panel tether must be aligned correctly or damage to the tether will occur.
NOTE: The A-pillar trim panel tether clip, located on the A-pillar, installs into the A-pillar trim panel tether base, located on the A-pillar trim
panel.
Install the A-pillar trim panel onto the A-pillar.
4. Install the RH or LH front door weatherstrips.
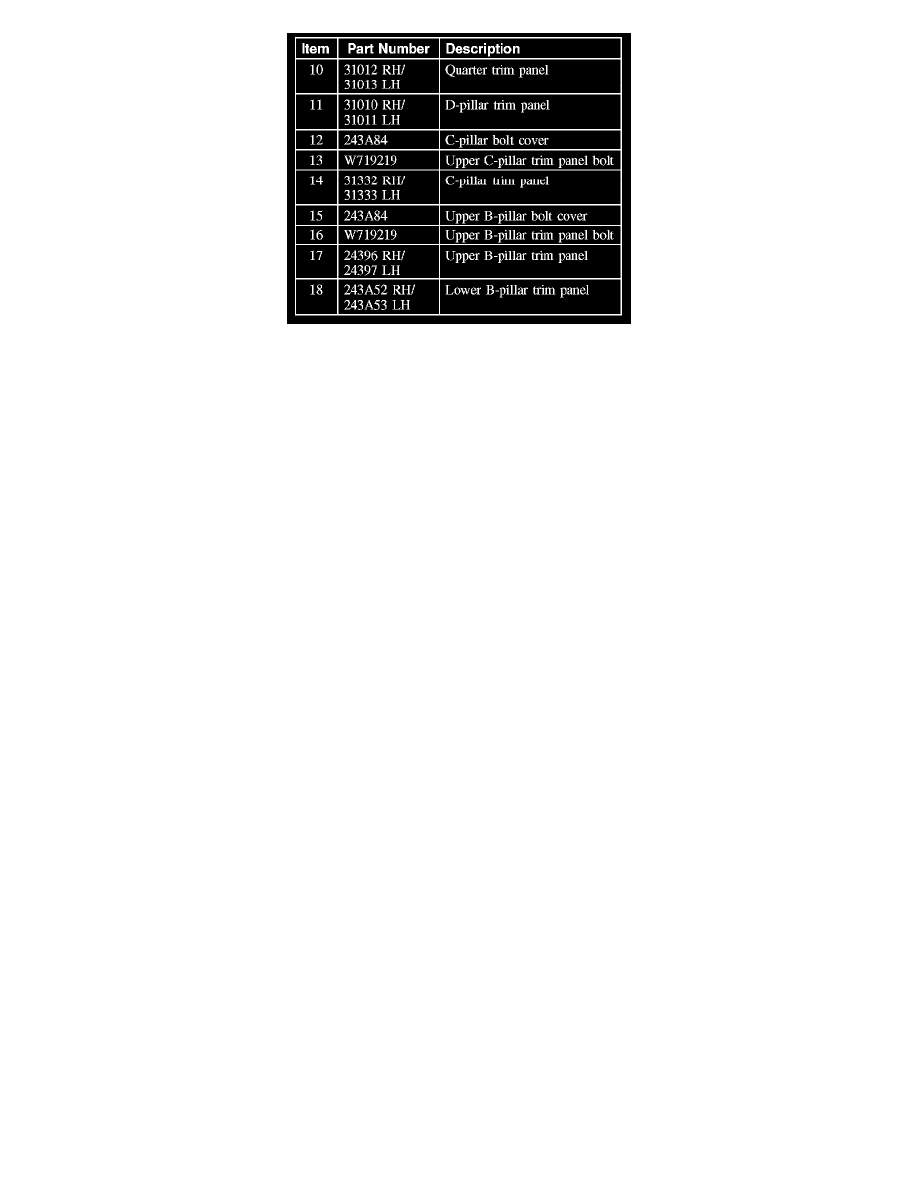
C-Pillar Trim Panel
C-PILLAR TRIM PANEL
Exploded View