
Mariner 2WD V6-3.0L (2008)
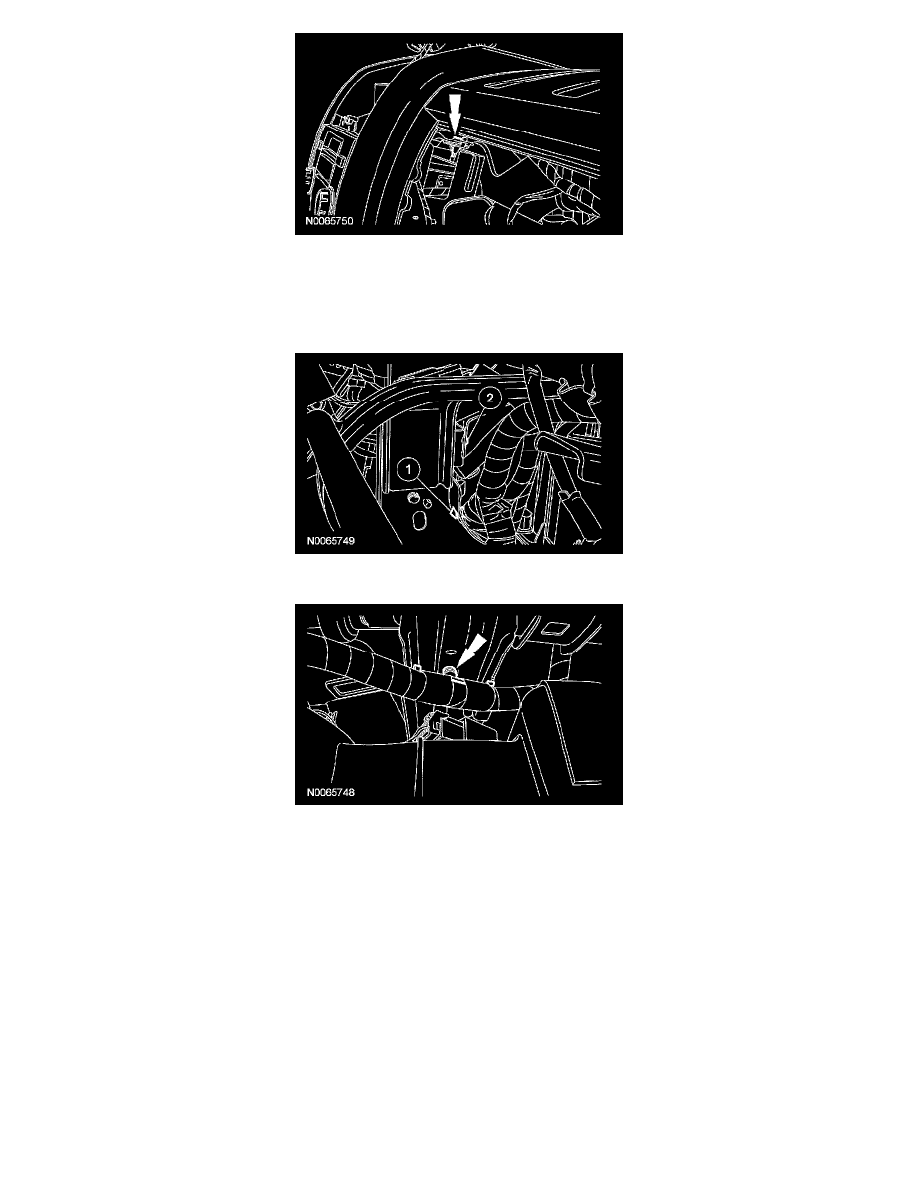
5. NOTE: The lower RH center panel duct screw is located just below the RH lower rear corner of the audio unit.
Remove the lower RH center panel duct screw.
1
Detach the wire harness pin-type retainer.
2
Remove the lower RH center panel duct screw.
6. Working through the glove compartment opening, detach the wire harness pin-type retainer above the evaporator discharge air temperature sensor.
7. Disconnect the RH temperature blend door actuator electrical connector.
8. CAUTION: Use care to avoid dropping the RH temperature blend door actuator screws into the plenum chamber when removing the
screws. If a screw is dropped into the plenum chamber, it may cause the airflow mode doors to jam, or may cause noise concerns.
NOTE: The RH center instrument panel duct must be slightly repositioned to allow access to the RH temperature blend door actuator screws.
Remove the 2 RH temperature blend door actuator screws.
-
To install, tighten to 3 Nm (27 lb-in).
9. Remove the RH temperature blend door actuator.
10. To install, reverse the removal procedure.
Temperature Blend Door Actuator - LH
TEMPERATURE BLEND DOOR ACTUATOR - LH