Mariner 2WD V6-3.0L (2008)

Part 2
Removal and Installation
1. With the vehicle in NEUTRAL, position it on a hoist.
2. Position a suitable lifting device under the fuel tank.
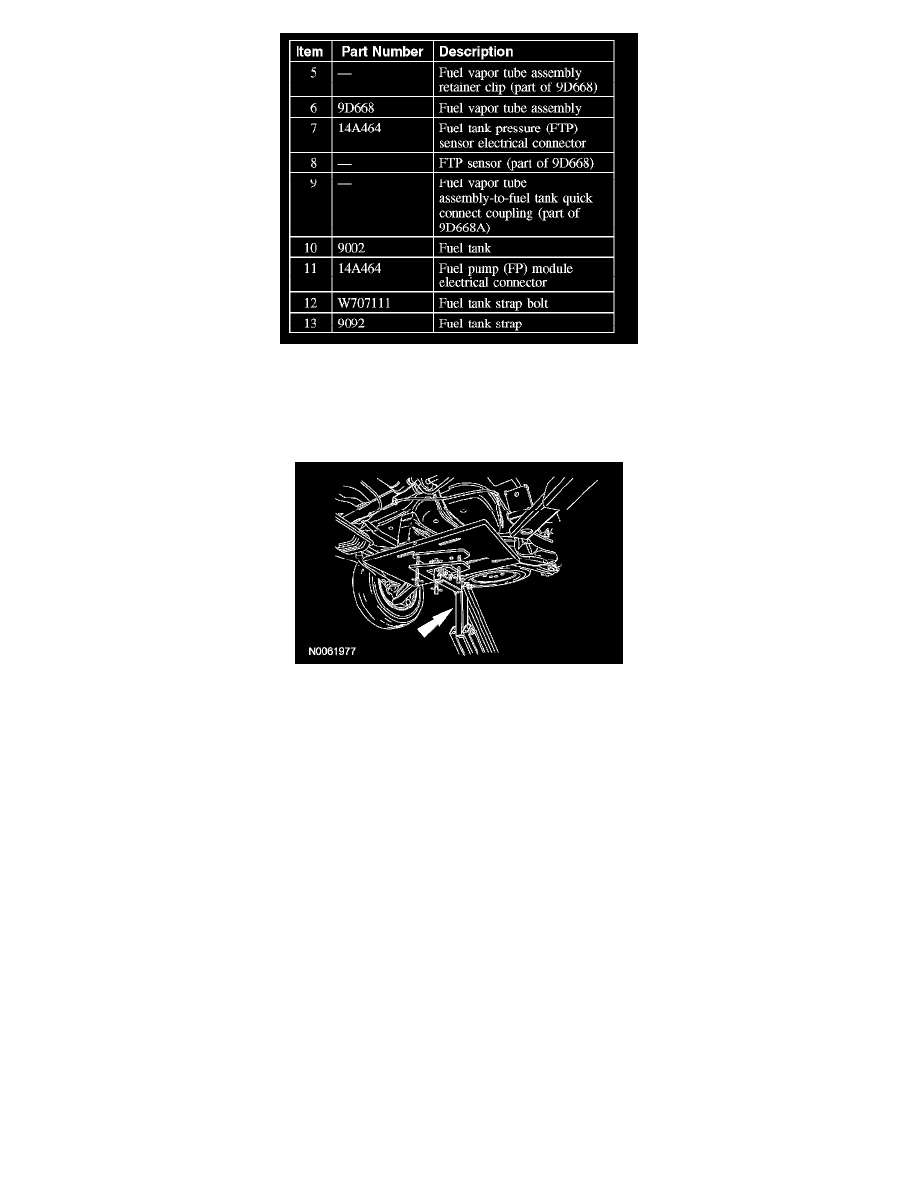
3. Remove the LH fuel tank bolt and position aside the strap.
-
To install, tighten to 55 Nm (41 lb-ft).
4. Partially lower the LH side of the fuel tank enough to access the fuel vapor tube assembly.
5. Disconnect the fuel pump (FP) module and fuel tank pressure (FTP) sensor electrical connectors
6. Disconnect the fuel vapor tube assembly-to-fuel tank quick connect coupling.
7. Disconnect the fuel vapor tube assembly-to-evaporative emission (EVAP) canister quick connect coupling.
8. Disconnect the fuel vapor tube-to-fuel vapor tube assembly nipple quick connect coupling.
9. Release the retainer clip and remove the fuel vapor tube assembly.
10. To install, reverse the removal procedure.
-
Carry out the evaporative emission system leak test. See: Testing and Inspection
-
Carry out the evaporative emission repair verification drive cycle.
