
Mariner 2WD V6-3.0L VIN 1 (2006)
2. Remove the air cleaner and the air cleaner outlet pipe.
3. Disconnect the brake line-to-hydraulic control unit (HCU) fittings.
^
To install, tighten to 15 Nm (11 ft. lbs.).
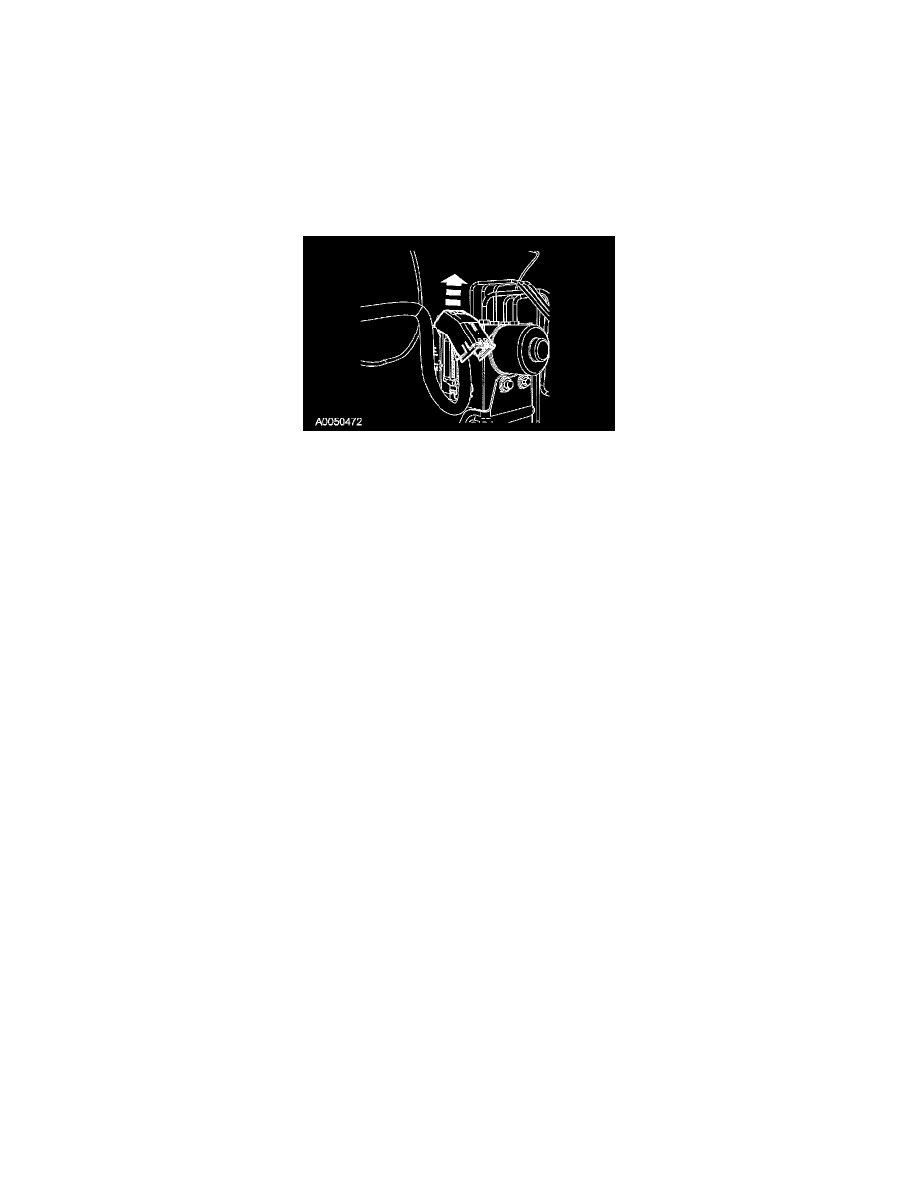
Vehicles with 3.0L engine
4. Remove the HCU-to-master cylinder brake tube fittings.
^
To install, tighten to 15 Nm (11 ft. lbs.).
All vehicles
5. Remove the 3 HCU bracket-to-frame bolts.
^
To install, tighten to 23 Nm (17 ft. lbs.).
6. Disconnect the electrical connector by rotating the protective cover.
7. Remove the 3 bracket-to-HCU bolts.
^
To install, tighten to 9 Nm (80 inch lbs.).
8. Remove the HCU.
9. Remove the 3 screws and the ABS module.
^
To install, tighten to 2 Nm (18 inch lbs.).
10. To install, reverse the removal procedure. Bleed the brake system.