
Mariner 4WD L4-2.3L VIN Z (2005)
4. NOTE: If installing a new converter, remove the heated oxygen sensor (HO2S) and the catalyst monitoring sensor for installation in the new
converter.
Disconnect the HO2S and the catalyst monitoring sensor electrical connectors.
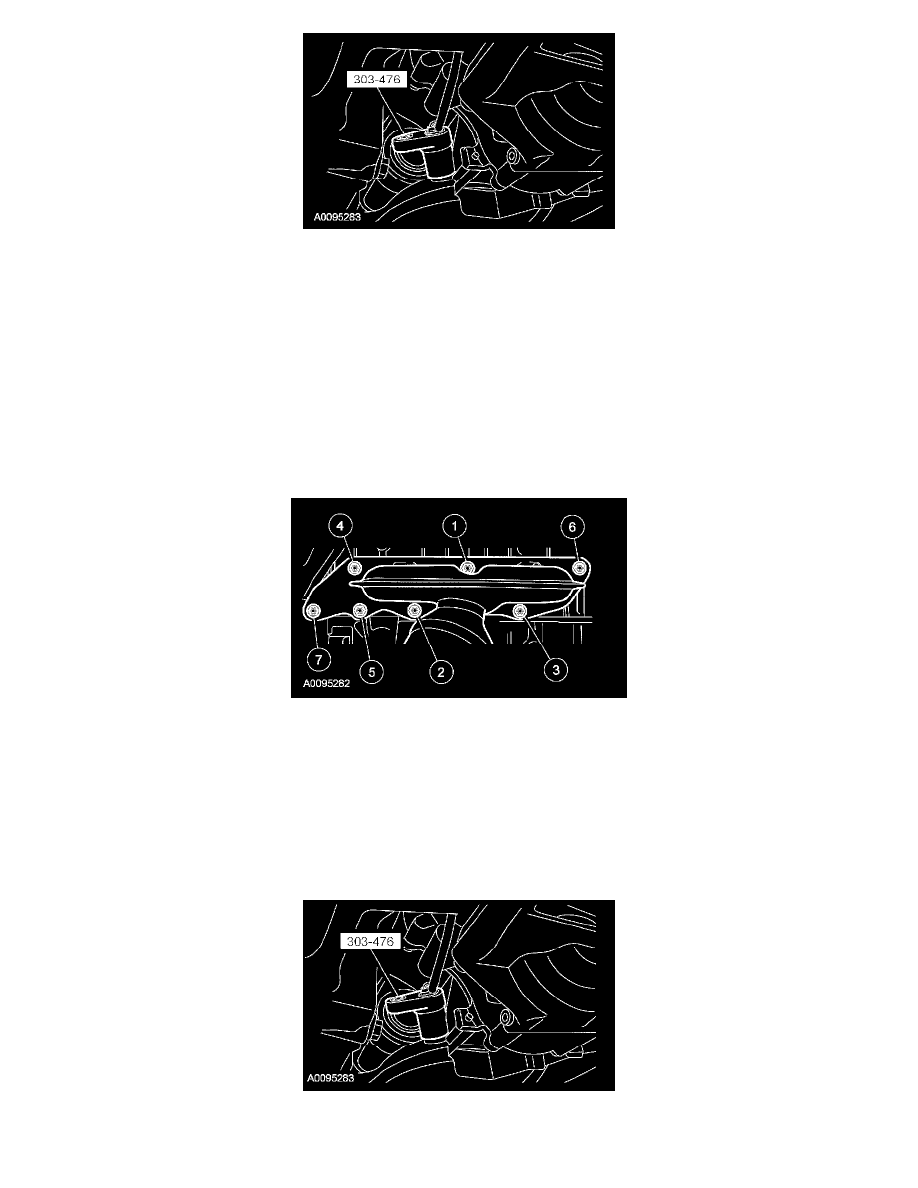
5. Remove and discard the 7 exhaust manifold nuts.
6. Remove the catalytic converter from the vehicle.
^
Discard the exhaust manifold gasket.
Installation
1. CAUTION: If the warpage is greater than 0.76 mm (0.03 inch) replace the catalytic converter.
Inspect the catalytic converter for warpage across the manifold flange area.
2. Position a new exhaust manifold gasket on the engine.
3. CAUTION: Failure to tighten the catalytic converter nuts to specification before installing the converter bracket bolts will cause the converter to
develop an exhaust leak.
CAUTION: Failure to tighten the catalytic converter nuts to specification a second time will cause the converter to develop an exhaust leak.
NOTE: Make sure to tighten the nuts in the sequence in 2 stages.
Position the catalytic converter and tighten the 7 exhaust manifold nuts in the sequence shown.
^
Stage 1: Tighten to 47 Nm (35 ft. lbs.).
^
Stage 2: Tighten to 47 Nm (35 ft. lbs.).
4. NOTE: Apply anti-seize lubricant to the threads of the sensors before installation.