
Mariner 4WD L4-2.3L VIN Z (2005)
connector retaining clip area before separating the tube.
Disconnect the fuel vapor tube quick connect coupling.
-
Push the connector toward the tube to release pressure.
-
Press the fuel vapor tube quick connect coupling button and pull the fuel vapor tube to disconnect.
4. CAUTION: When reusing liquid or vapor tube connectors, make sure to use compressed air to remove any foreign material from the
connector retaining clip area before separating the tube.
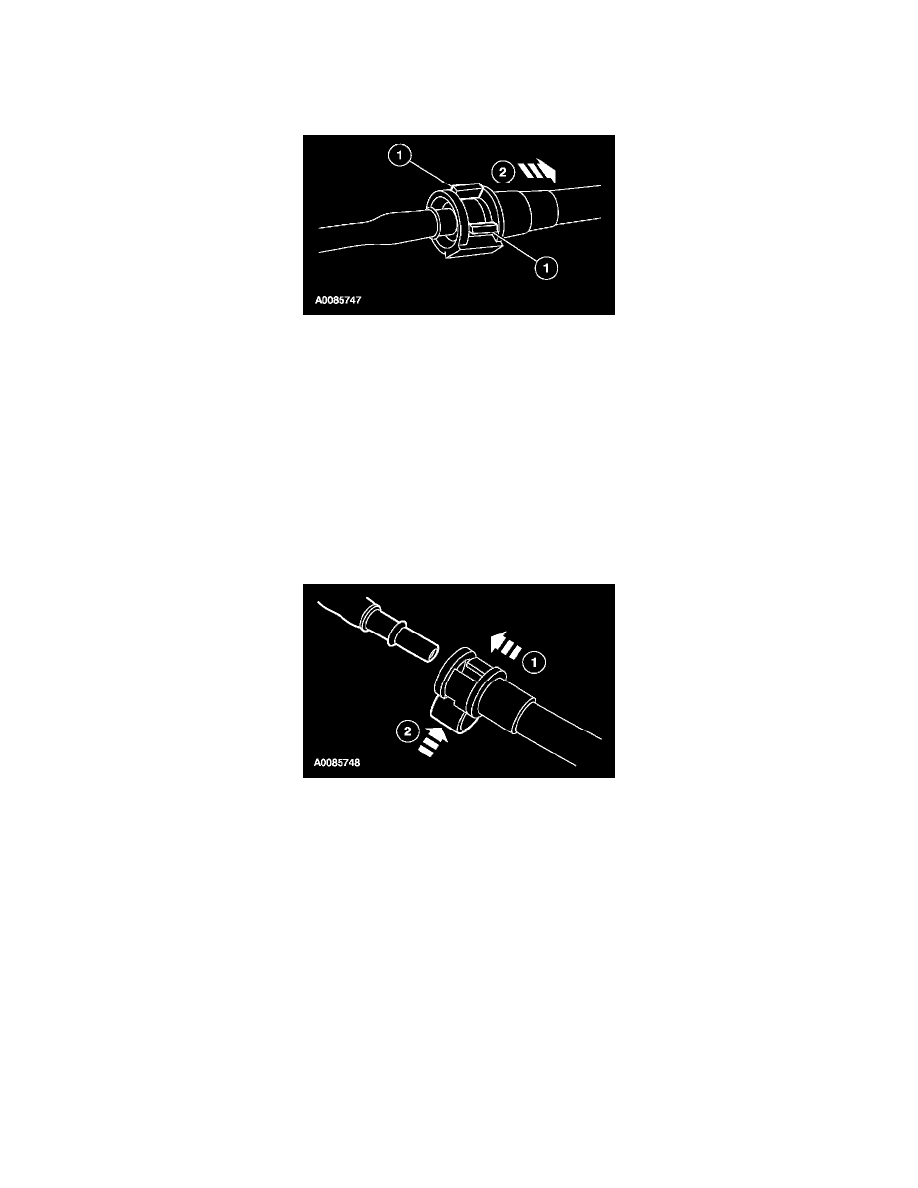
Disconnect the fuel vapor tube quick connect coupling.
1
Press the fuel vapor tube quick connect coupling lock tabs.
2
Disconnect the fuel vapor tube quick connect coupling.
5. Depress the tab and remove the EVAP canister purge valve from the bracket.
Installation
1. NOTE: Make sure that the EVAP canister purge valve tab snaps and locks into place on the bracket.
Install the EVAP canister purge valve on the bracket.
2. NOTE:
-
Make sure the collar on the fuel vapor tube is inserted fully into the quick connect coupling before the locking tab is locked.
-
Apply clean engine oil to the end of the tube before inserting the tube into the connector.
Install the fuel vapor tube quick connect coupling.
1
Connect the quick connect coupling to the tube.
2
Press the quick connect coupling locking tab into position.
-
Pull on the fitting to make sure it is fully engaged.