
Mariner 4WD L4-2.3L VIN Z (2005)
Front Door Window Regulator: Service and Repair
FRONT DOOR WINDOW REGULATOR
Removal and Installation
1. Remove the front door trim panel.
2. Remove the screw and the front door trim panel bracket.
3. Position the watershield aside.
4. Connect the window control switch electrical connector.
5. Connect the battery.
6. Using the window control switch, lower the front door window glass to gain access to the front door window glass screws.
7. Disconnect the battery.
8. Disconnect the window control switch electrical connector.
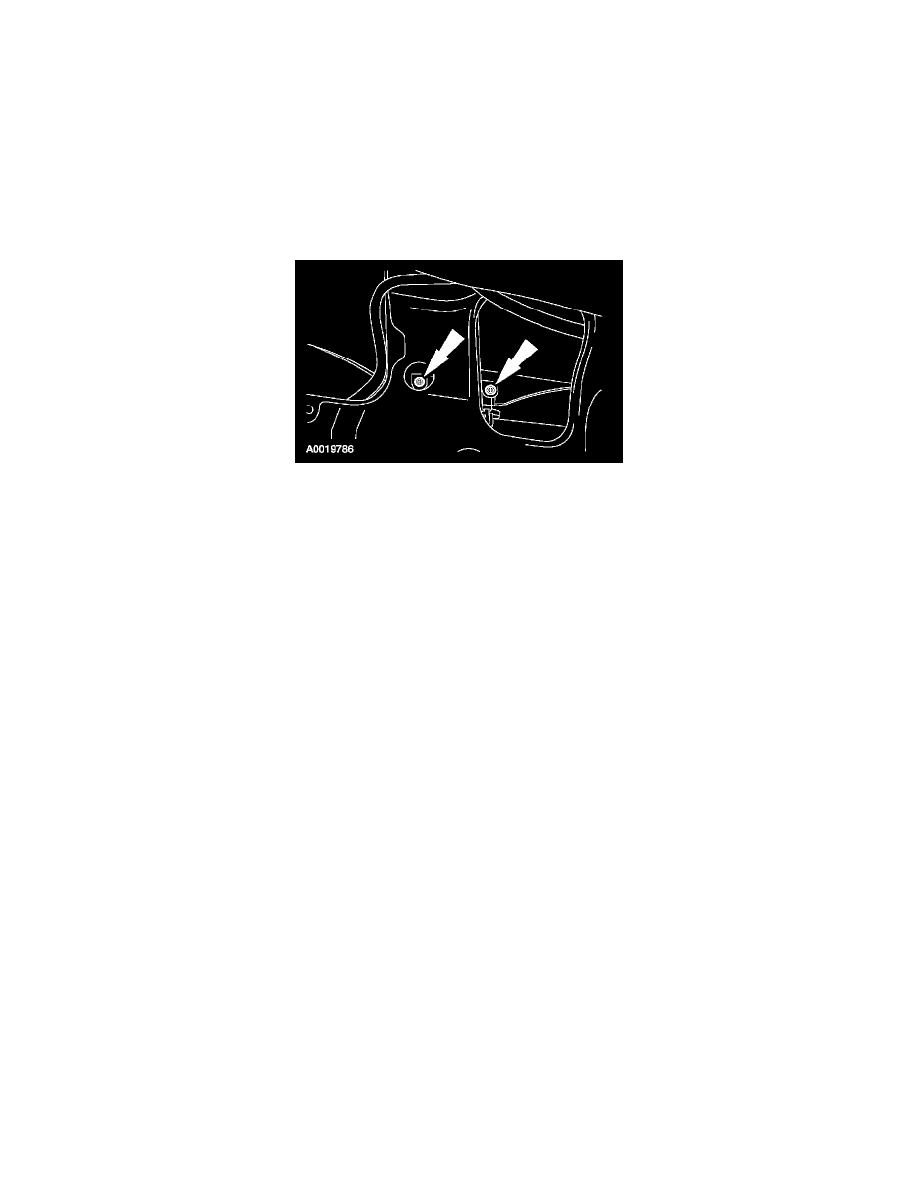
9. Remove the 2 front door window glass screws.
-
To install, tighten to 5 Nm (44 lb-in).
10. Support the front door window glass in the full up position.
11. Disconnect the front door window motor electrical connector.
12. Remove the 3 front door window regulator and motor bolts.
-
To install, tighten to 6 Nm (53 lb-in).
13. Remove the 2 nuts and the front door window regulator and motor.
-
To install, tighten to 6 Nm (53 lb-in).
14. To install, reverse the removal procedure.