
Mariner 4WD L4-2.5L (2010)
1. Position both rear seat cushions forward.
2. Route the safety belt buckles from the elastic straps.
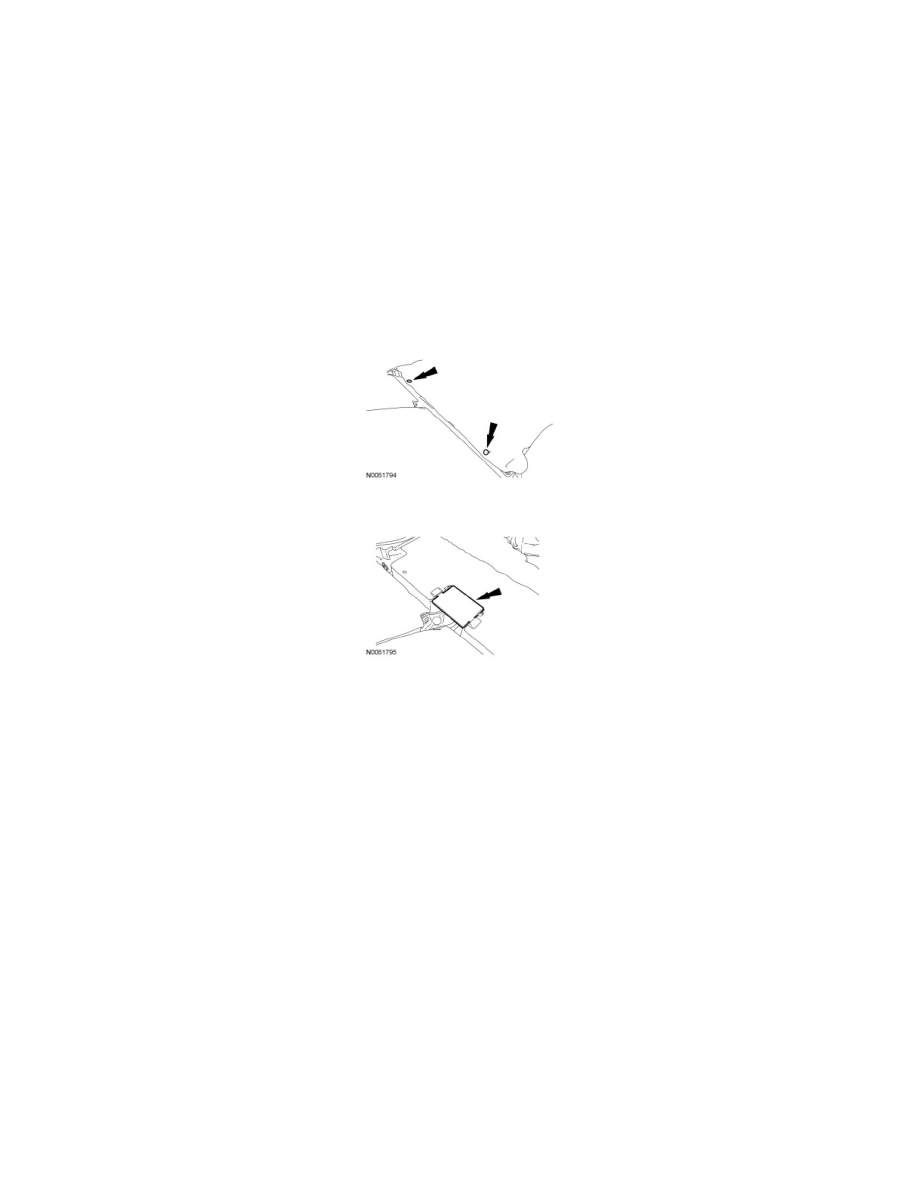
3. Remove the RH outboard backrest-to-floor bolt.
LH rear seat backrest
4. Remove the center safety belt anchor bolt.
5. Remove the LH outboard backrest-to-floor bolt.
Both rear seat backrests
6. Release and position both rear backrests downward.
7. Remove the 2 pin-type retainers and position the carpet aside.
8. Remove the bolt cover.
9. Remove the RH outboard backrest-to-floor nut, inboard backrest-to-floor nut and inboard backrest-to-floor bolt.
10. Lift and remove the RH rear seat backrest.
LH rear seat backrest
11. Remove the LH outboard backrest-to-floor nut.
12. Lift and remove the LH rear seat backrest.
Installation
NOTE: The LH rear seat backrest (60 percent) must be installed prior to the RH rear seat backrest (40 percent).
NOTE: The seat-to-floor fasteners must be tightened in the sequence described in this procedure.
NOTE: Make sure the safety belt webbing is not twisted and the safety belts and buckles are accessible to the occupants.
LH rear seat backrest
1. Position the LH rear seat backrest in the vehicle.
2. Install the LH outboard backrest-to-floor nut. Do not tighten at this time.
RH rear seat backrest
3. Position the RH rear seat backrest in the vehicle.