
Mariner 4WD L4-2.5L (2010)
connections and damage components.
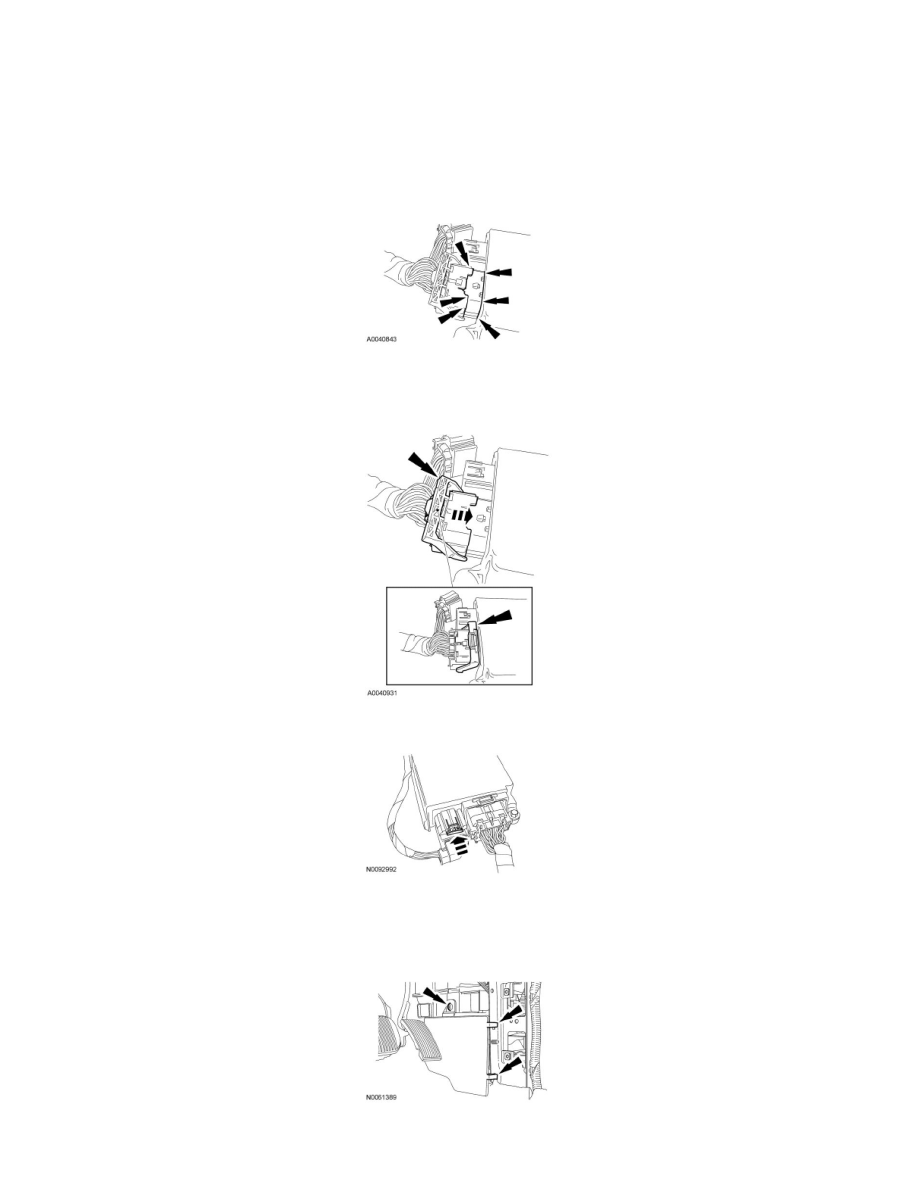
Position the large RCM electrical connector into the RCM.
-
NOTICE: Do not push the connector to the point where the lever pivots and seats itself. Light pressure is needed to get the connector
into position on the Restraints Control Module (RCM) before using the lever to fully seat the connector. Failure to follow these
instructions may result in component damage and/or system failure.
With the large RCM electrical connector uniformly aligned to the RCM, lightly push in until a subtle audible click is heard and slight resistance is
felt.
4. Connect the RCM electrical connector.
-
Pivot the connector position assurance lever toward the RCM, drawing the connector in to the RCM.
-
Make sure the thumb tab is engaged to the retainer on the RCM and locked in place.
5. Connect the small RCM electrical connector and push the lock tab in.
6. Install the RCM access cover.
-
Attach the 2 retainer hooks to the instrument panel brace.
-
Install the scrivet.
7. Position the carpet into place and install the 2 front LH floor console screws.