Mariner 4WD V6-3.0L (2010)

Removal
NOTICE: During engine repair procedures, cleanliness is extremely important. Any foreign material (including any material created while
cleaning gasket surfaces) that enters the oil passages, coolant passages or the oil pan may cause engine failure.
1. Remove the RH ignition coil-on-plugs. For additional information, refer to Ignition System.
2. Detach the 3 main engine control wiring harness retainers from the valve cover stud bolts.
3. Detach the 3 main engine control wiring harness retainers from the valve cover.
4. Disconnect the Variable Camshaft Timing (VCT) electrical connector.
5. Detach the Crankshaft Position (CKP) wiring harness retainer from the stud.
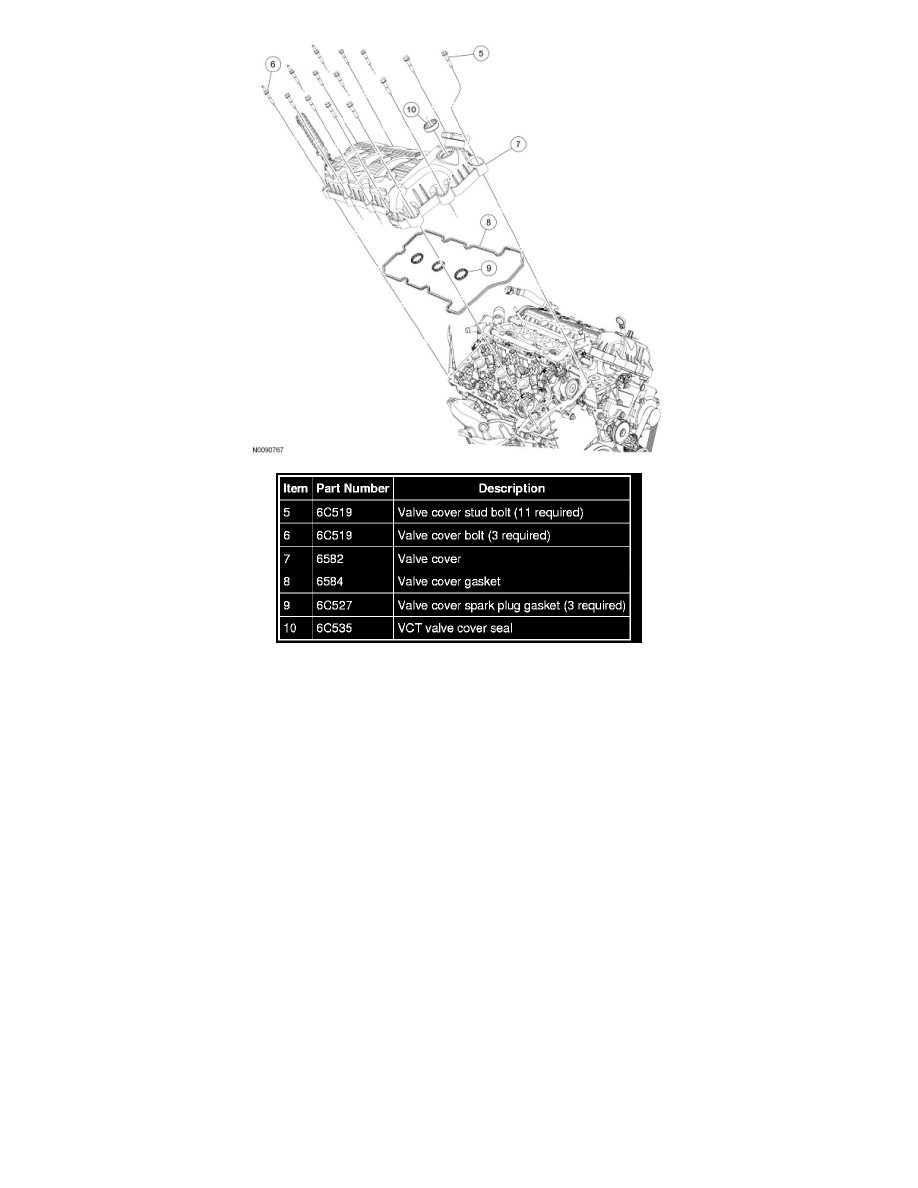
6. Remove the 11 bolts, 3 stud bolts and the valve cover.
-
Remove and discard the gasket.
Installation
1. NOTE: If the valve cover is not secured within 4 minutes, the sealant must be removed and the sealing area cleaned with metal surface prep.
Failure to follow this procedure can cause future oil leakage.
Apply a bead of silicone gasket and sealant in 2 places where the engine front cover meets the cylinder head.
