
Mariner 4WD V6-3.0L (2010)
Exhaust Resonator: Service and Repair
Resonator
Removal
NOTICE: Do not use oil or grease-based lubricants on the insulators. They may cause deterioration of the rubber.
NOTICE: Oil or grease-based lubricants on the insulators may cause the exhaust hanger insulator to separate from the exhaust hanger
bracket during vehicle operation.
1. With the vehicle in NEUTRAL, position it on a hoist. For additional information, refer to Vehicle Jacking and Lifting.
2. NOTICE: Only use hand tools when removing or installing the spring nuts or damage may occur to the resonator flange studs.
NOTE: When loosening the resonator spring nuts, alternately loosen the nuts from side to side.
Remove and discard the two 8-mm resonator spring nuts.
3. NOTICE: Remove the resonator-to-muffler gasket by simultaneously pulling up and twisting the gasket off the pipe. Do not pry under
the gasket or damage to the flange may occur.
Detach the 2 resonator exhaust hangers and remove the resonator.
-
Discard the gasket.
Installation
1. Inspect the resonator flange studs for damage.
-
If damaged, replace stud(s), or if stud comes out when removing nut(s), replace the stud(s).
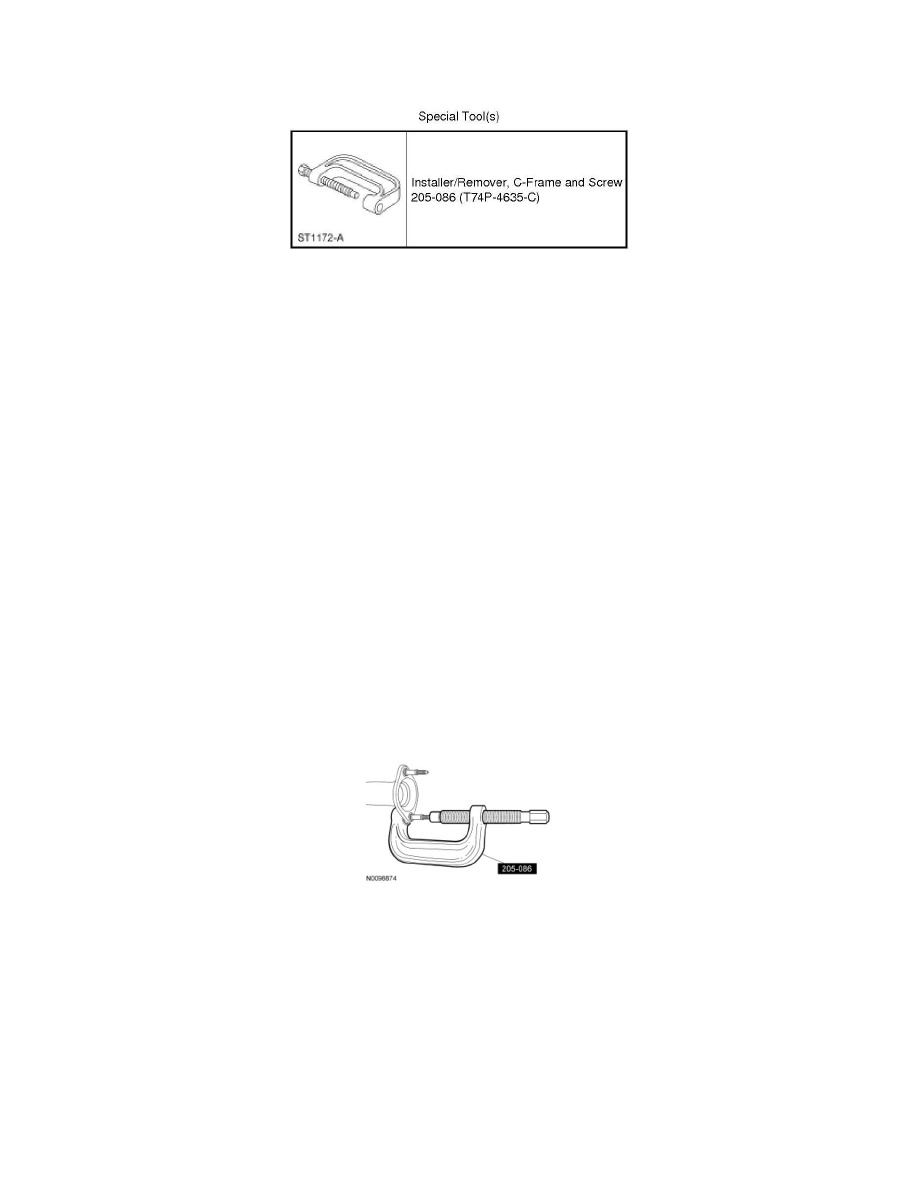
2. If replacing the resonator flange stud(s), use the C-Frame and Screw Installer/Remover to push the 8-mm stud(s) out of the flange.
3. NOTE: When positioning the new 8-mm stud in the resonator flange, make sure to line up the new stud seat knurls with witness knurl grooves in
the resonator flange.
If replacing the resonator flange stud(s), use a C-clamp and a deep well socket to push the 8-mm stud fully into the flange.
-
Make sure the stud is fully and evenly seated into the flange.