
Mariner 4WD V6-3.0L (2010)
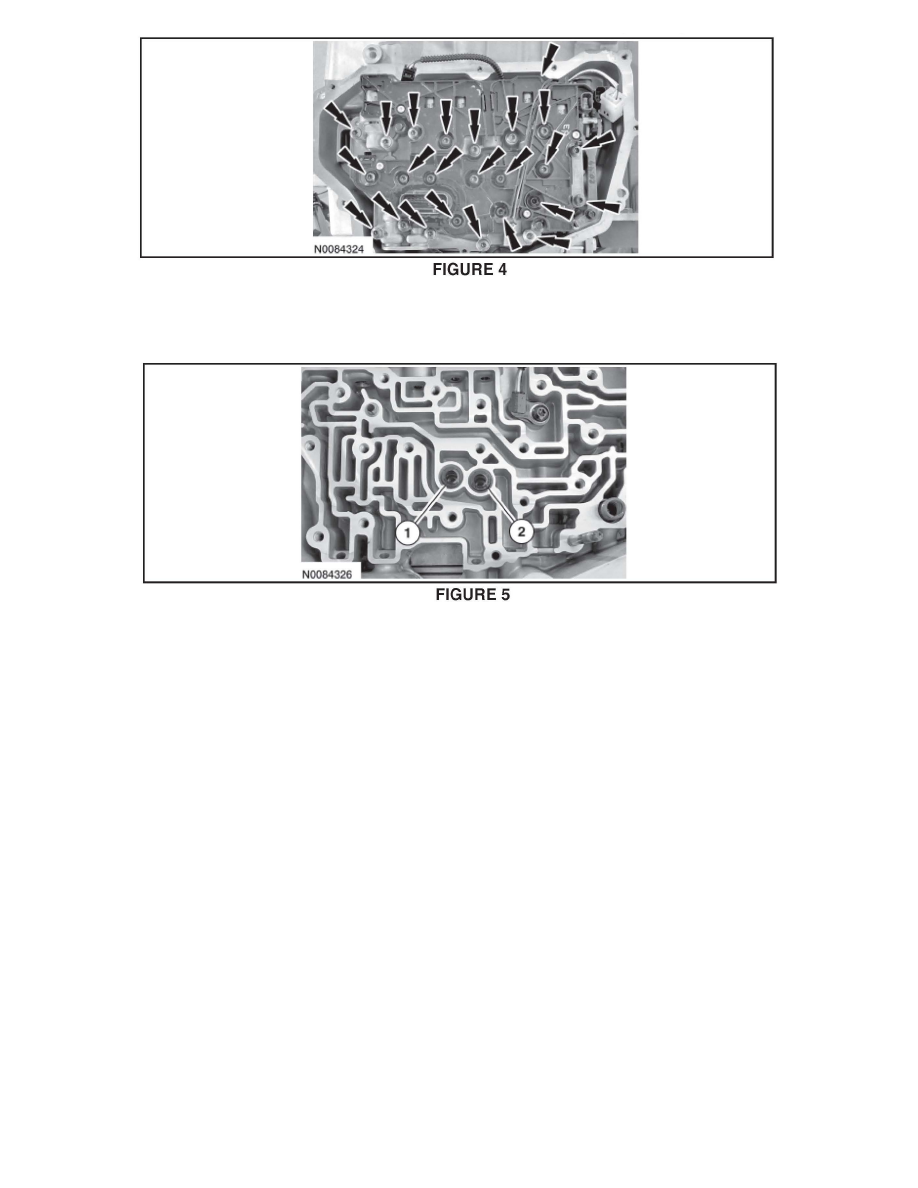
Remove the nut and the 22 Torx(R) bolts and remove the main control assembly. See Figure 4.
10. Remove and discard the main control-to-transaxle case separator plate.
11. Remove and discard the forward (1, 2, 3, 4) clutch and low/reverse clutch transaxle case-to-center support seals. See Figure 5.
1. Forward (1, 2, 3, 4) clutch transaxle case-to-center support seal.
2. Low/reverse clutch transaxle case-to-center support seal.