
Mariner 4WD V6-3.0L (2010)
3. Check the diaphragm spring fingers for discoloration, scoring, bent or broken segments and spring ends that are higher or lower than the rest.
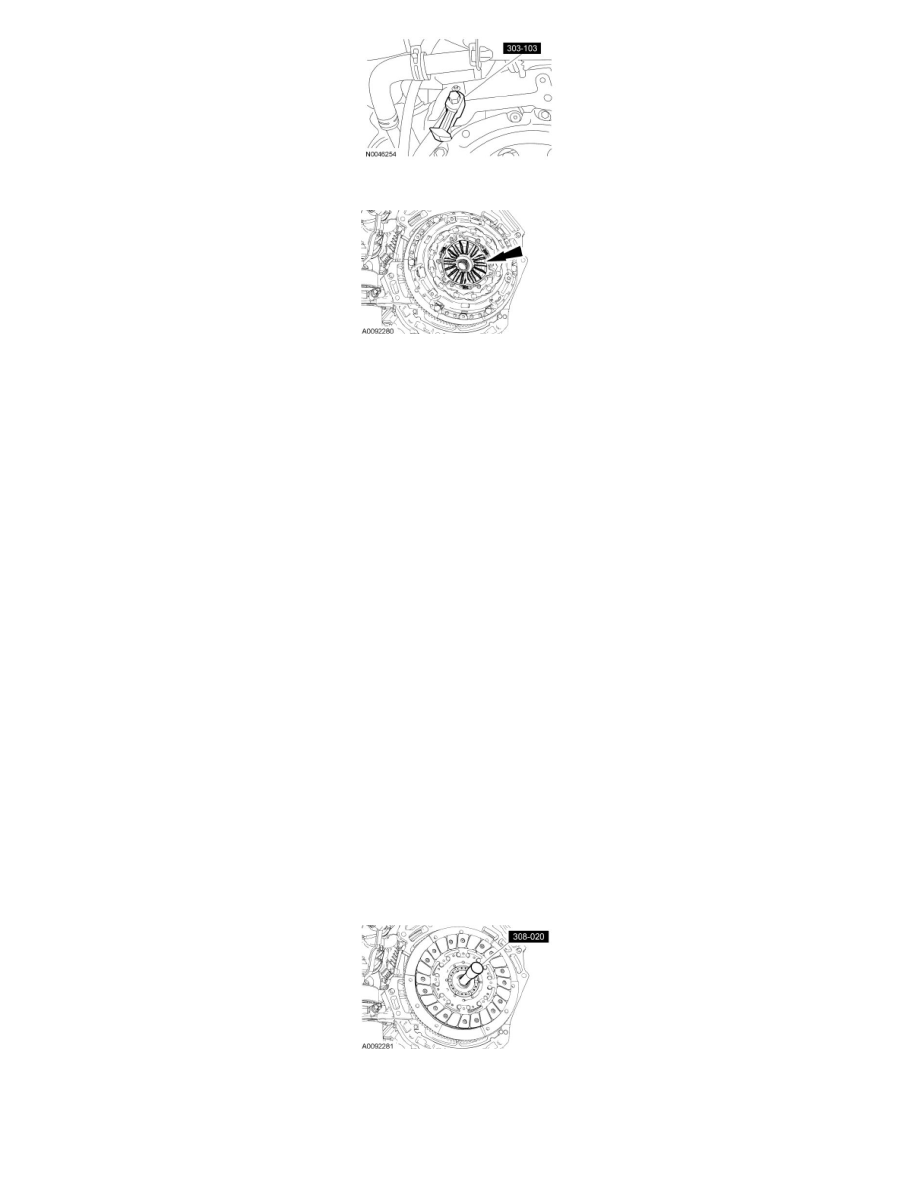
4. WARNING: The clutch disc and clutch pressure plate are heavy and may fall if not held when the bolts are removed. Failure to follow
this instruction may result in serious personal injury.
NOTICE: Loosen the bolts evenly to prevent pressure plate damage.
Remove the 6 bolts, clutch pressure plate and clutch disc.
5. Use a suitable cleaning solution to remove any oil film from the clutch pressure plate friction surface.
6. Inspect the clutch pressure plate surface for burn marks, scores, flatness or ridges. For additional information, refer to Manual
Transmission/Transaxle &/or Clutch, M/T.
7. NOTICE: If the clutch disc is saturated with oil, inspect the rear engine crankshaft seal for leakage. If leakage is found, install a new seal
prior to clutch disc installation. For additional information, refer to Engine.
NOTE: Use an emery cloth to remove minor imperfections in the clutch disc lining surface.
NOTE: Install a new clutch disc if any of the following conditions are present.
Inspect the clutch disc for:
-
oil or grease saturation.
-
worn or loose facings.
-
warpage or loose rivets at the hub.
-
wear or rust on the splines.
8. Check the clutch disc runout and wear. For additional information, refer to Manual Transmission/Transaxle &/or Clutch, M/T.
Installation
1. Using the Clutch Aligner, position the clutch disc on the flywheel.
2. Position the clutch pressure plate on the flywheel and install the 6 clutch pressure plate bolts.
-
Tighten to 29 Nm (21 lb-ft) in the sequence shown.