
Merkur Scorpio V6-179 2.9L (1989)
Rocker Arm Assembly: Service and Repair
Rocker Arm Shaft
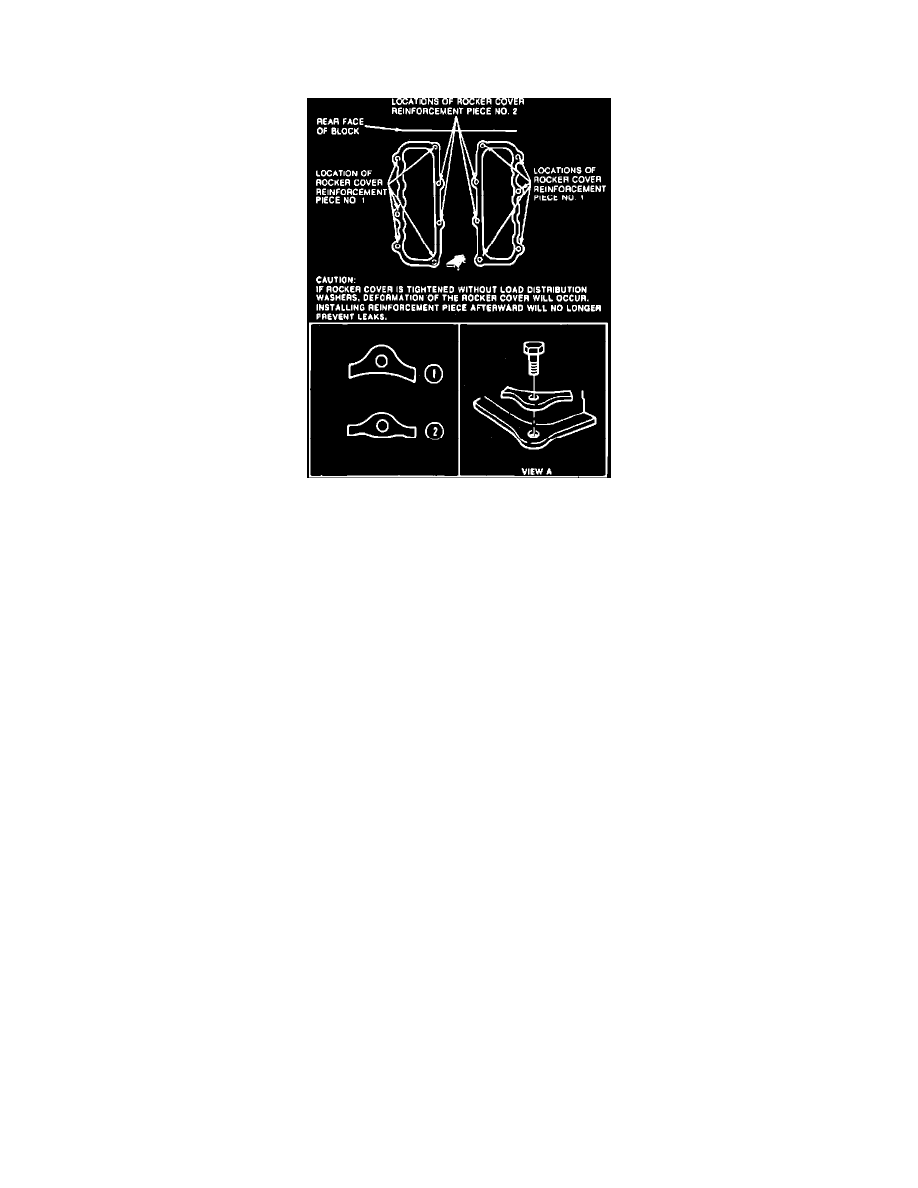
Fig. 6 Valve Cover Installation
1.
Remove spark plug wires, then the PCV valve and hose as necessary.
2.
Remove valve cover attaching screws and washers. Washers must be installed in their original positions.
3.
On models equipped with automatic transmission, disconnect throttle linkage and kickdown linkage.
4.
On all models, tap valve cover to break seal and remove the cover.
5.
Remove rocker arm shaft by loosening bolts two turns at a time.
6.
Reverse procedure to install, noting the following:
a. Tighten rocker arm shaft support attaching bolts two turns at a time until torque specification is obtained.
b. Adjust valves as previously described.
c. Apply silicone sealant to mating surfaces of valve covers and cylinder head prior to installing new gasket, Fig. 6.
d. Torque valve cover attaching screws to specifications after ensuring all load distribution washers are installed in their original positions.