
Merkur Scorpio V6-179 2.9L (1989)
Wiper Motor: Service and Repair
Front Wiper Motor
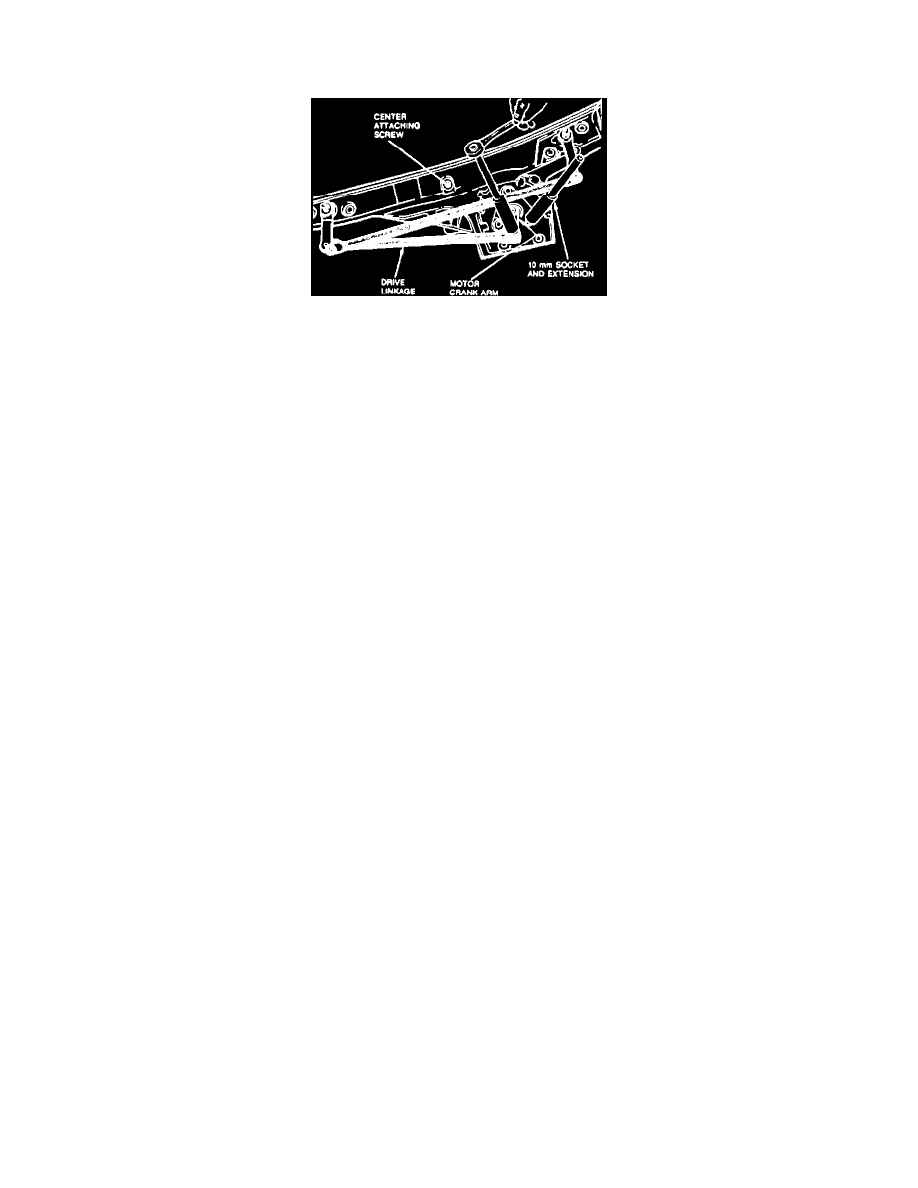
Fig. 3 Front Wiper Crank Arm Removal & Installation
Removal
1.
Disconnect battery ground cable.
2.
Remove wiper arm-to-pivot shaft retaining nuts, then pull wiper arms from shafts.
3.
Remove four Torx screws securing cowl top panel to dash panel.
4.
Remove eight Torx screws securing wiper motor, bracket and linkage to dash panel.
5.
Disconnect electrical connectors from wiper motor, then remove motor, bracket and linkage from vehicle.
6.
Remove crank arm nut and the crank arm from wiper motor as shown in Fig. 3.
7.
Remove motor-to-bracket attaching bolts, then the motor bracket and cover.
Installation
1.
Install motor cover and bracket. Torque bracket attaching bolts to 6-7 ft. lbs.
2.
Position crank arm on motor shaft and install retaining nut. Block arm to prevent movement, then torque nut to 17-18 ft. lbs.
3.
Position motor, bracket and linkage assembly in vehicle and connect electrical connectors.
4.
Position motor and linkage assembly as shown in Fig. 3, then install retaining screws and torque to 4.5-6 ft. lbs.
5.
Install cowl top panel. Torque attaching screws to 4.5-6 ft. lbs.
6.
Connect battery ground cable, then cycle wiper motor to Park position.
7.
Install wiper arms, torquing retaining nuts to 18-20 ft. lbs.