
Merkur Xr4ti L4-140 2.3L SOHC Turbo (1985)
Brake Caliper: Service and Repair
Front
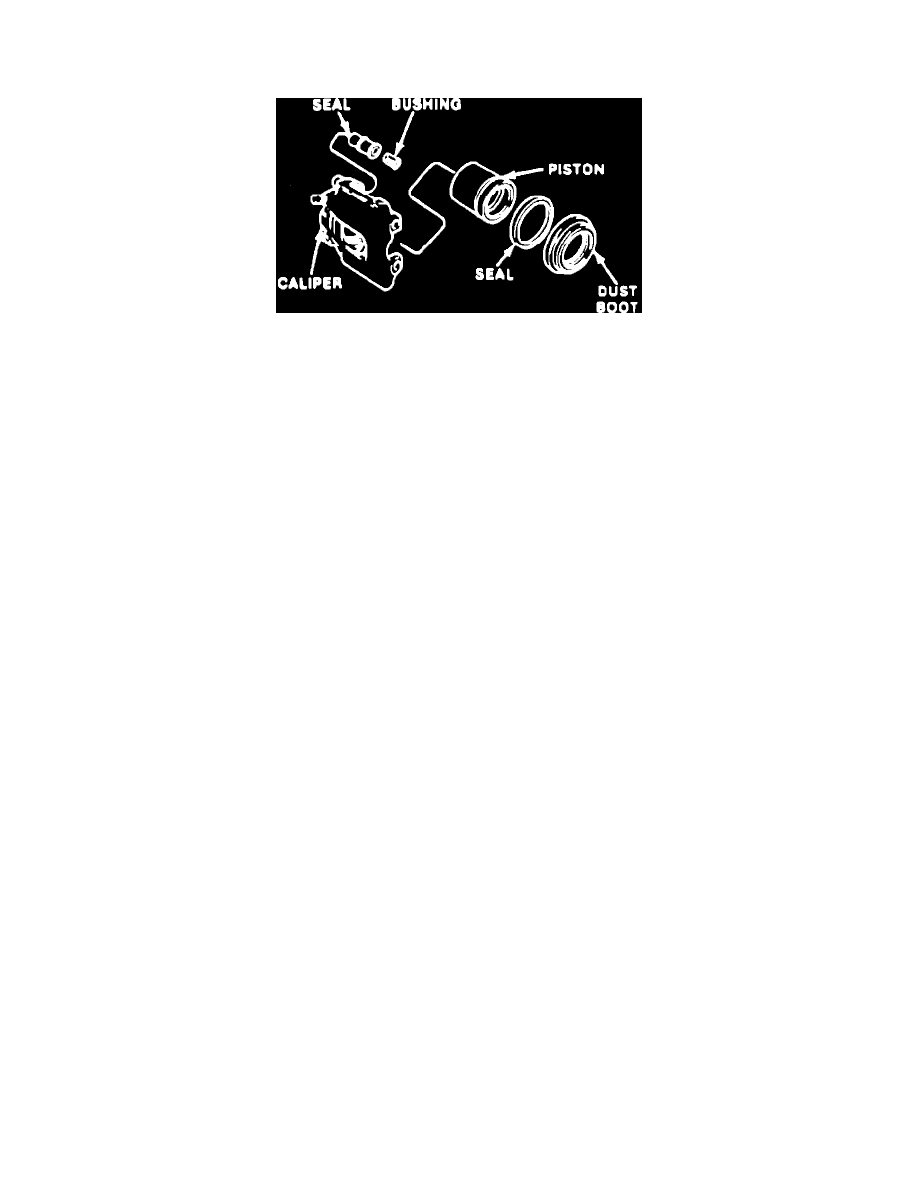
Fig. 12 Exploded View Of Front Brake Caliper
DISASSEMBLY
1.
Remove caliper assembly and brake pads as previously described.
2.
Open bleeder screw and drain fluid from caliper, then close bleeder screw.
3.
Position block of wood between piston and caliper, then apply air pressure through fluid inlet port to remove piston. Apply only enough air
pressure to ease piston out of caliper.
4.
Remove dust boot from piston and discard, Fig. 3.
5.
Remove piston seal from caliper and discard.
6.
Remove caliper anchor pin bushing, then the anchor pin seal.
ASSEMBLY
1.
Install caliper anchor pin seal, spraying seal with silicone lubricant to aid installation.
2.
Install caliper anchor pin bushing, overlapping edges of bushing slightly to fit bushing into seal. After installation, press bushing against seal to
remove overlapping. When properly installed, the ends of the bushing must abut against each other.
3.
Lubricate new piston seal with brake fluid and install in seal groove, ensuring that seal does not become twisted but is firmly seated in groove.
4.
Position dust boot at bottom of piston and, holding dust boot on piston, pull on seal lip until seal unfolds, allowing lip seal to extend beyond
bottom of piston.
5.
While holding dust boot on piston, fit seal lip in caliper bore and push piston into caliper. As piston enters bore, the dust boot will refold to its
original shape.