
Merkur Xr4ti L4-140 2.3L SOHC Turbo (1985)
Parking Brake Control: Adjustments
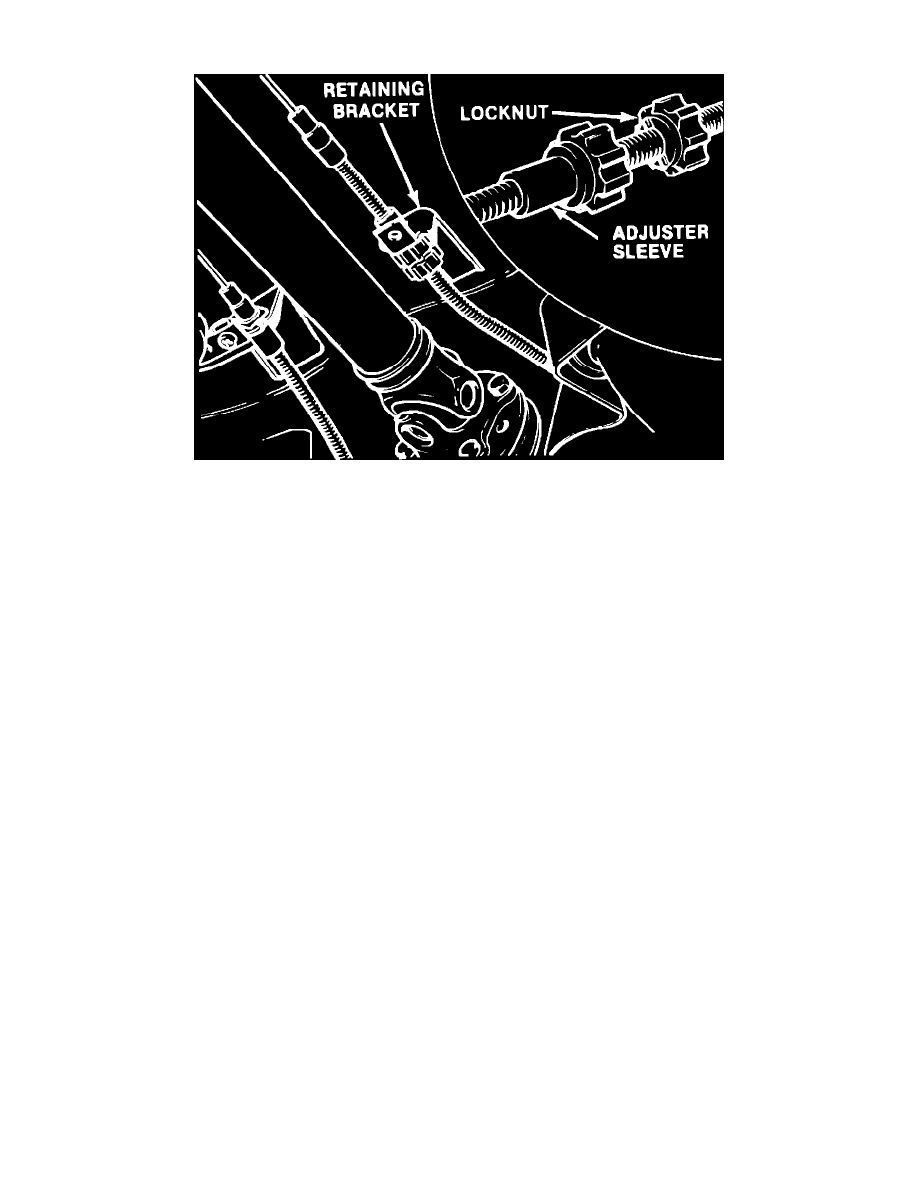
Fig. 3 Loosening parking brake cable adjustment locknut
Parking brake stop plungers are installed in both rear backing plates. These plungers will be used to determine correct parking brake cable
adjustments.
1.
Ensure that parking brake hand lever is in released position.
2.
Pump brake pedal to ensure brake lining self adjuster is properly set.
3.
Raise and support vehicle.
4.
Remove nylon locking pin, if equipped.
5.
Loosen adjuster locknut and rotate adjuster sleeve along cable casing until in and out movement can be felt at both parking brake stop plungers,
Fig. 3. Both adjuster and locknut are threaded onto cable casing. Any attempt to pry them apart will damage sleeve and or locknut. To
loosen locknut, hold adjuster with suitable pliers and turn locknut counterclockwise with second pair of pliers.
6.
Tighten adjuster against retaining bracket until a slight movement is felt at each stop plunger. When added together, the total movement of the
plungers should not exceed .16 inch.
7.
Manually tighten locknut against sleeve as much as possible.
8.
Tighten locknut an additional 2 ``clicks'' using suitable pliers.
9.
Turn rear wheels manually to ensure brake linings are not dragging against drum.
10. Drive a new nylon locking pin into position, if equipped.