
Merkur Xr4ti L4-140 2.3L SOHC Turbo (1985)
12.
Install a new rotor and the rotor retaining clip.
13.
Position the anchor bracket to the spindle carrier.
a.
Install the retaining bolts.
b.
Tighten the bolts to 43-44 ft.lbs. (51-61 N-m).
14.
Install the new brake pads in the caliper.
15.
Position the caliper over the rotor.
a.
Install the caliper to anchor plate bolts.
b.
Tighten the bolts to 18-23 lb.ft. (25-30 N-m).
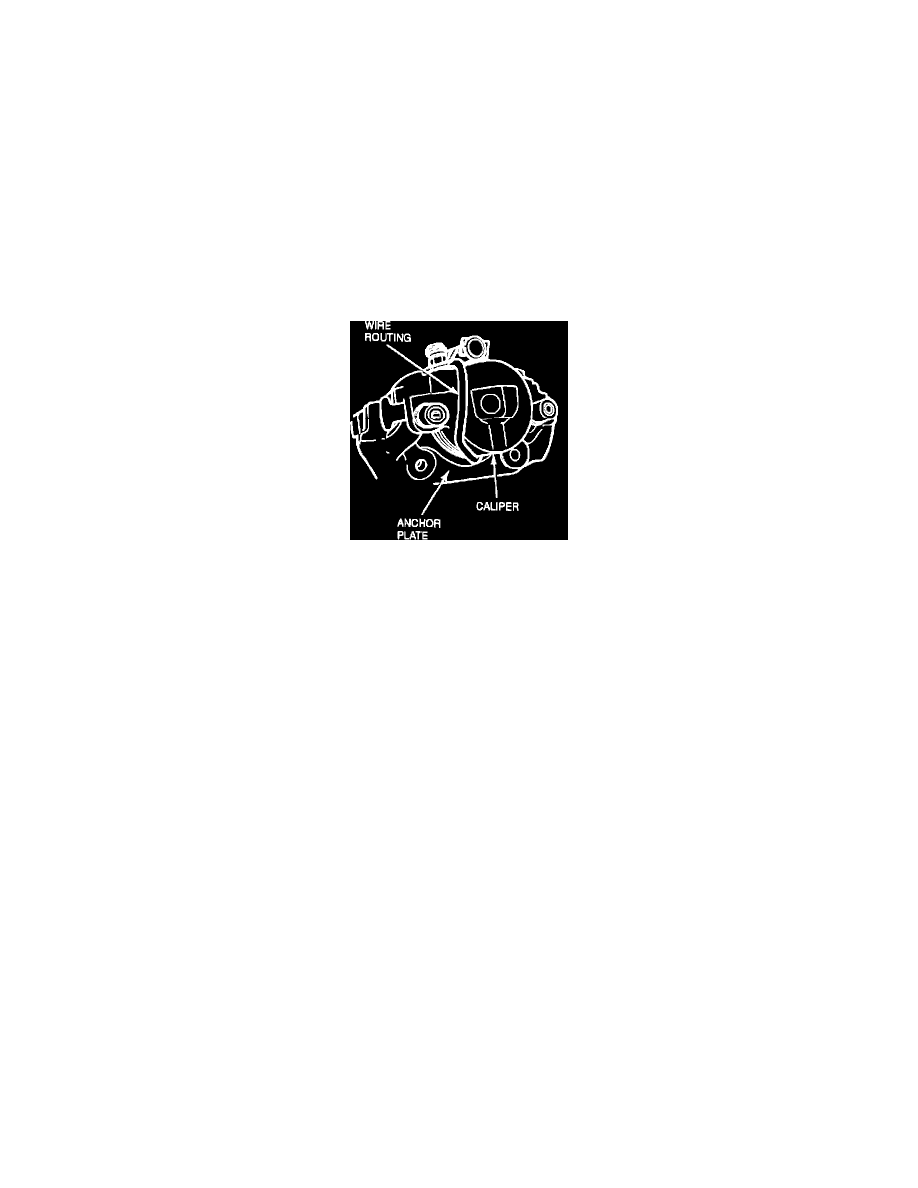
Figure 7
16.
Connect the brake pad wear sensor and make sure it is properly routed, Figure 7.
17.
Install the wheel and tire assemblies. Torque the wheel nuts evenly to 55-70 ft.lbs. (70-100 N-m) per the shop manual. Lower the car.
18.
Bounce the car to settle the suspension.
19.
With the vehicle weight on the tires, tighten the lower control arm pivot bolt to 11 ft.lbs. (15 N-m), then make an additional 1/4 turn.
20.
Tighten the stabilizer bar to control arm attaching nut to 52-81 ft.lbs. (70-110 N-m). Make sure the front washer does not rotate with the nut during
tightening.
21.
Pump the brake pedal before moving the vehicle to position the new brake pads.
Adjust the Vehicle Toe-In
Align the front end. Refer to the 1989 XR4Ti Shop Manual, Section 14-01 for service details. The correct combined toe-in setting is:
Degrees = 0.20~ +/- 0.10~ mm = 2 +/- 1
Inch Decimal = .078" +/- .031"
Inch Fraction = 5/64" + 1/32"
Misc