
Milan L4-2.3L VIN Z (2006)
Vacuum/Pressure Pump: Service and Repair
LUMBAR ASSEMBLY
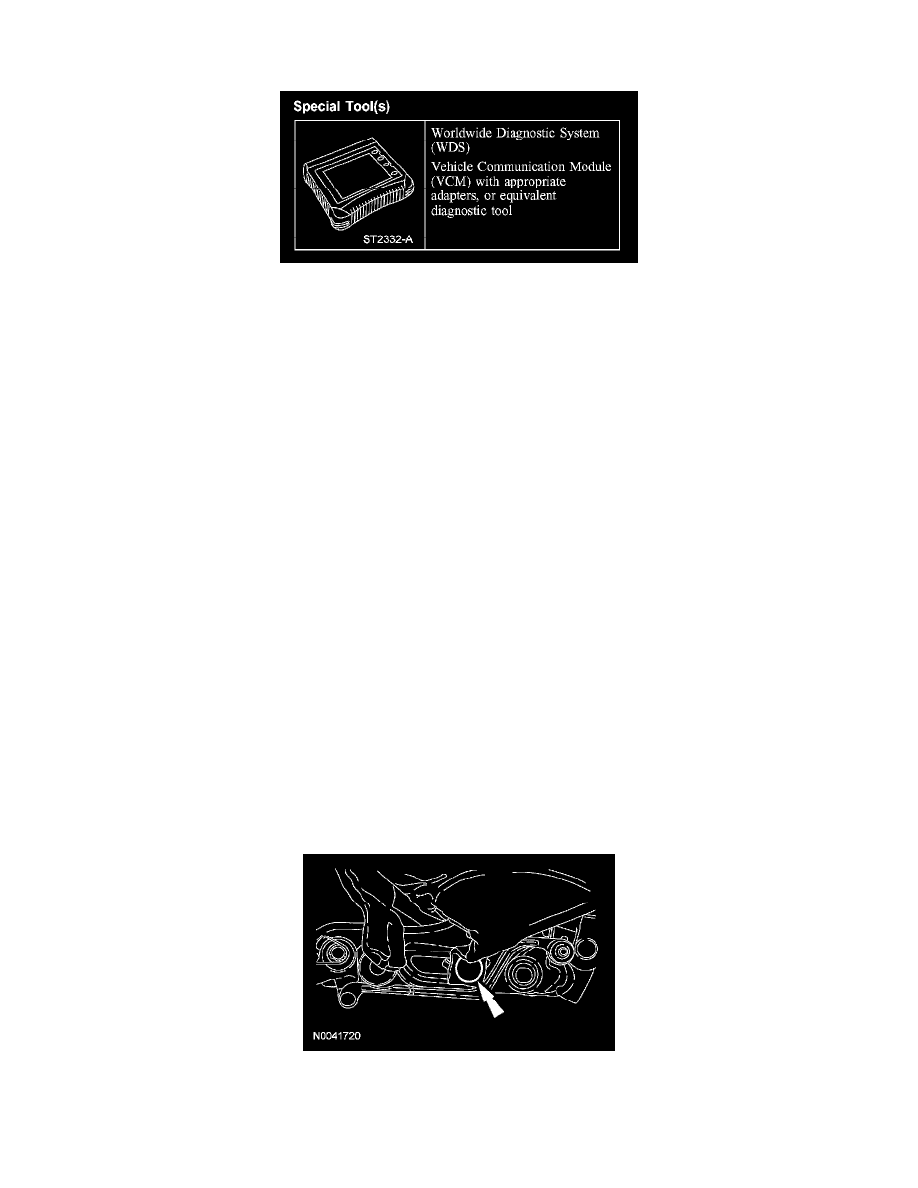
Worldwide Diagnostic System (WDS)
Special Tool(s)
Removal and Installation
WARNING:
-
Always wear safety glasses when repairing an air bag supplemental restraint system (SRS) vehicle and when handling an airbag module.
This will reduce the risk of injury in the event of an accidental deployment.
-
To reduce the risk of personal injury, do not use any memory saver devices.
NOTE:
-
If a seat equipped with a SRS component is being serviced, the SRS must be depowered.
-
The air bag warning lamp illuminates when the RCM fuse is removed and the ignition switch is ON. This is normal operation and does not indicate
a supplemental restraint system (SRS) fault.
-
The SRS must be fully operational and free of faults before releasing the vehicle to the customer.
All seats
1. Remove the front seat and depower the supplemental restraint system (SRS).
2. Remove the front seat backrest.
Seat with side air bag
3. Detach the side air bag bolt cover.
4. NOTE: Note the position of the side air bag module locator hook in the side air bag module bracket (on the seat back frame) for installation.
Remove the bolt and lift up and out to detach the side air bag module from the seat backrest.
-
To install, tighten to 10 Nm (89 lb-in).
5. Slide and disengage the side air bag module electrical connector locking clip, and then release the tab and disconnect the side air bag module
electrical connector and remove the side air bag module.
All seats
6. Detach the 2 pin-type retainers and trim cover flaps from the recliners.