Milan L4-2.3L VIN Z (2006)

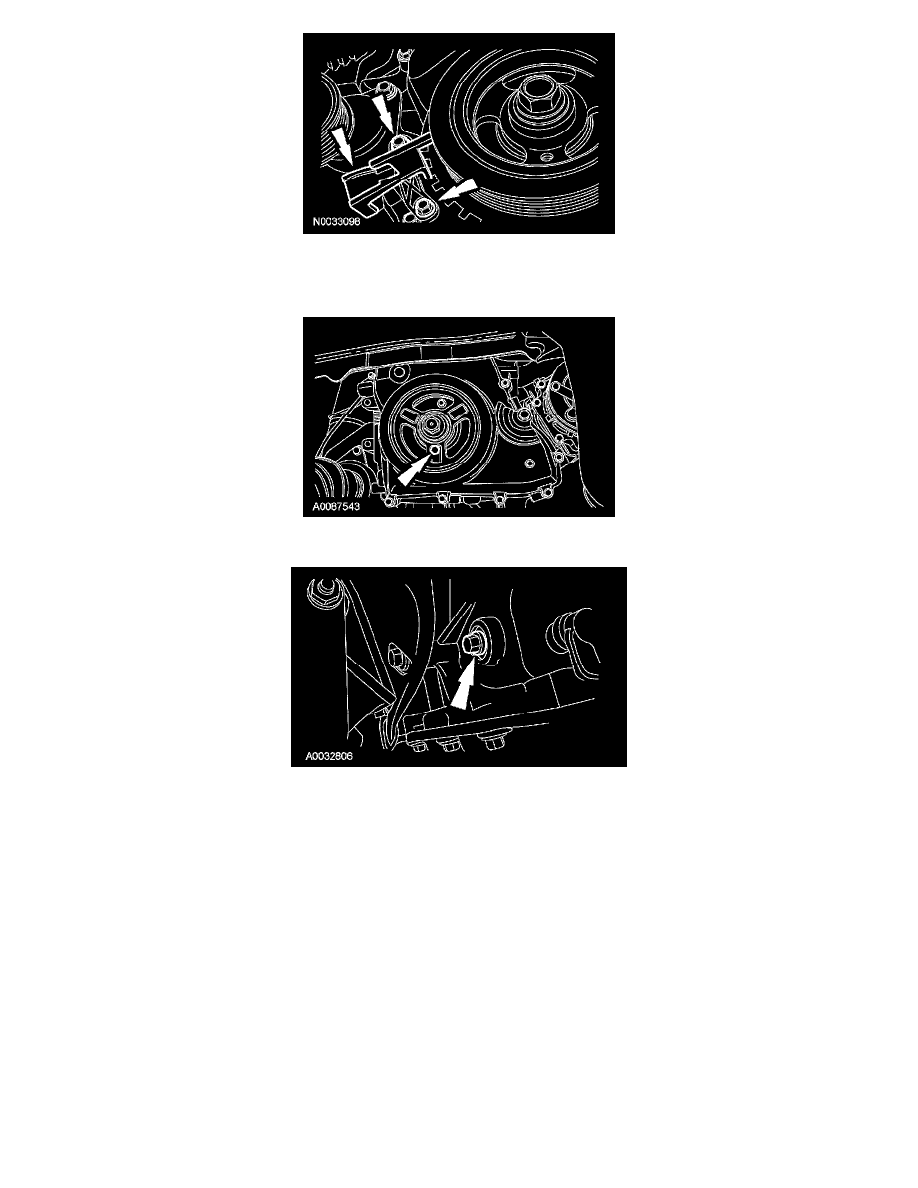
19. Adjust the new CKP sensor with the alignment jig.
^
Tighten the bolts to 7 Nm (62 inch lbs.).
20. Connect the CKP sensor electrical connector.
21. Remove the 6 mm (0.23 inch) x 18 mm (0.7 inch) bolt.
22. Install the engine plug bolt.
^
Tighten to 20 Nm (15 ft. lbs.).
Automatic transaxle vehicles
23. Install the RH halfshaft and the 2 halfshaft carrier bearing bracket bolts.
^
Tighten to 40 Nm (30 ft. lbs.).
All vehicles
24. Install the accessory drive belt and idler pulley. For additional information, refer to Drive Belts, Mounts, Brackets and Accessories.
25. Tighten the 3 coolant pump pulley bolts to 20 Nm (15 ft. lbs.).
26. Install the engine mount.
