
Milan AWD L4-2.3L (2008)
3. Remove the spring clip and manual recliner handle, if equipped.
4. Remove the manual lumbar control knob, if equipped.
-
Adjust the manual lumbar to the full relaxed position.
-
Pull outward and remove the manual lumbar knob.
5. Detach and position aside the cushion side shield.
-
Pull the side shield away from the seat cushion at the front edge and release the forward and side retainers.
-
Pull the side shield rearward to release the rear retainer and position the cushion side shield aside.
-
Return any detached retainers to the side shield.
-
For installation, position the rear retainer clip on the cushion side shield through the hole in the backrest trim cover flap before attaching to
the rear edge of the seat.
6. Release the cushion trim cover hook-and-loop strips from the rear corners of the cushion, release the J-clip and detach the pushpin to gain access
to the backrest recliner to cushion bolts.
7. Release the trim cover hook-and-loop strap from around the safety belt buckle assembly.
8. Release the 2 trim cover J-clips from the rear of the cushion frame and disconnect the side air bag wiring harness electrical connector.
9. Detach the side air bag wiring harness electrical connector pin-type retainer from the cushion frame.
10. NOTE: Electrical connectors vary with power seat options.
Disconnect the backrest power feed electrical connector(s) and route out the wire harness.
-
Release the wire harness retainers.
Seat with manual lumbar
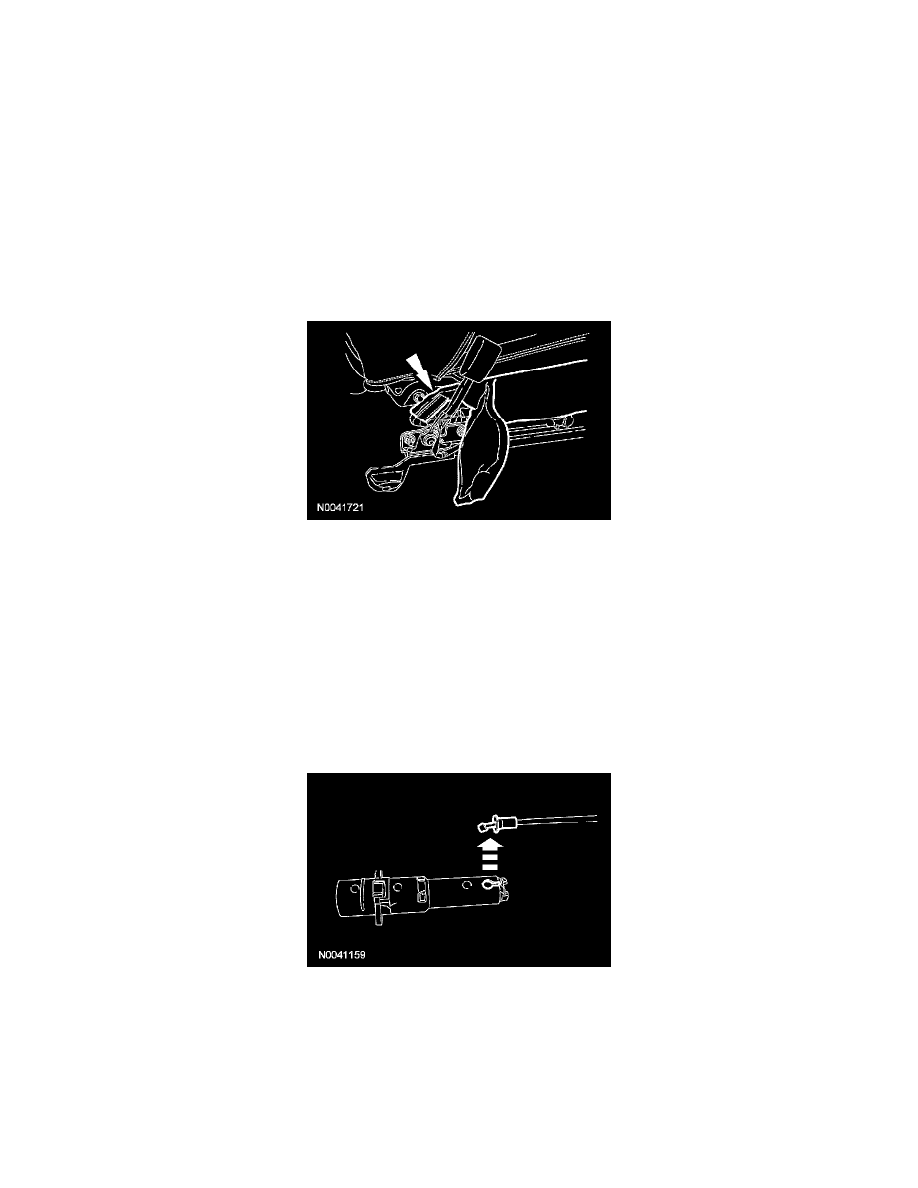
11. Remove the 2 rivets and separate the manual lumbar control from the cushion frame.
12. Detach the lumbar control from the cable and remove.
-
Detach any cable retainers from the cushion frame.
-
Note the manual lumbar cable routing for installation.
All seats
13. Remove the 4 recliner-to-cushion frame bolts and remove the backrest assembly.
-
Route out the wire harness(es) and manual lumbar cable, if equipped.
-
Note routing for installation.
-
To install, tighten to 55 Nm (41 lb-ft).
14. To install, reverse the removal procedure.
15. Install the front seat and repower the SRS. If a passenger seat has been serviced, do not prove out the SRS at this time.