
Milan AWD L4-2.3L (2008)
Passenger seat receiving a new seat track
4. Remove the inboard and outboard OCS rails.
Power seat
5. If equipped, disconnect the seat control switch and remove the cushion side shield.
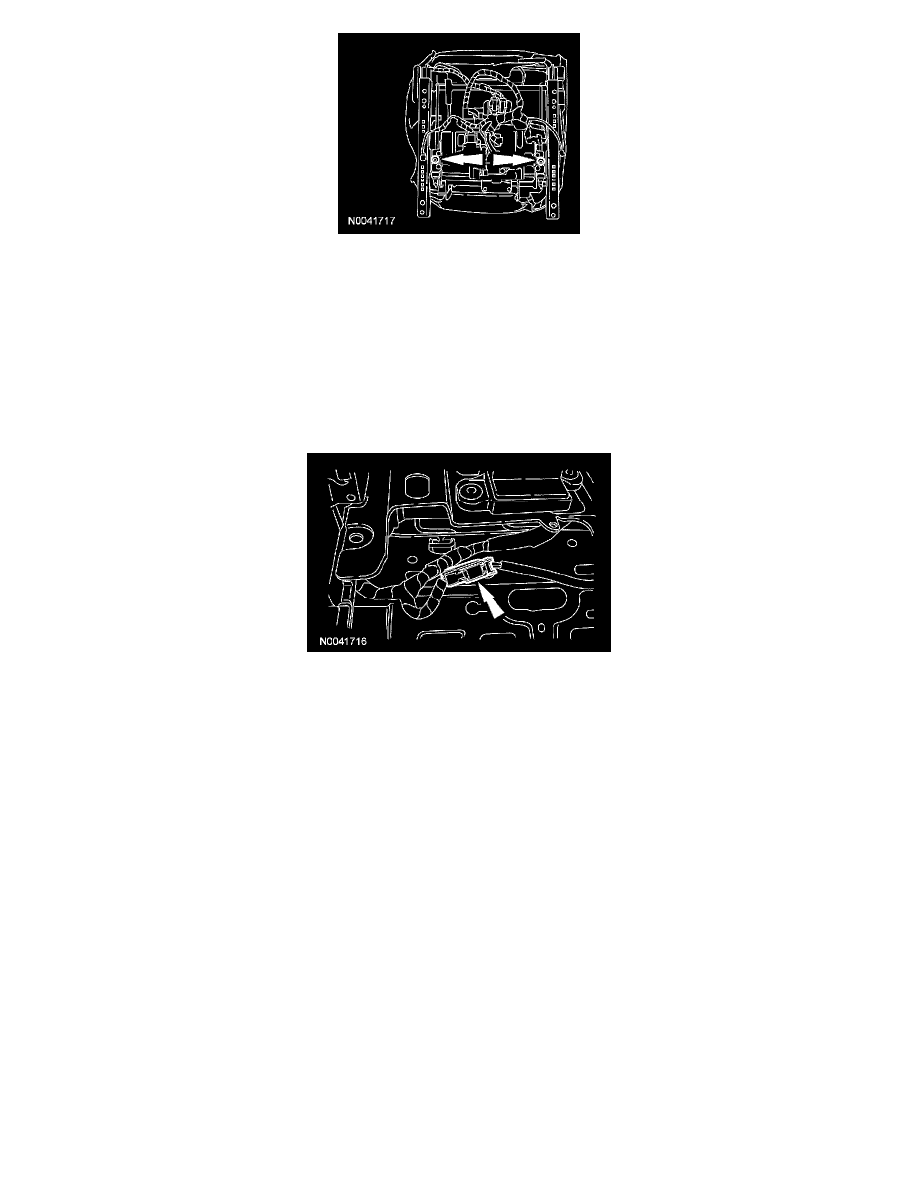
Heated seat
6. NOTE: Passenger seat shown, driver seat similar.
Disconnect the cushion heater mat electrical connector.
All seats
7. Detach the hook-and-loop strips from around the safety belt buckle assembly.
8. Detach all wiring harness pin-type retainers from the cushion frame.
9. Release the cushion trim cover J-clips and remove the seat cushion foam pad and cushion trim cover.
Climate controlled seat
10. CAUTION: Inspect the climate controlled seat cushion manifold and foam pad for crush or obstruction before installation and repair as
needed.
NOTE: Covering the thermo-electric device (TED) openings is recommended to prevent foreign material from entering the TED.
Disconnect the TED assembly electrical connector.
All seats
11. Remove the 4 cushion frame-to-seat track nuts and separate the cushion frame and seat track.
-
To install, tighten to 36 Nm (27 lb-ft).
12. Detach any remaining wiring harness retainers attached to the cushion frame and remove the seat track.
13. To install, reverse the removal procedure.
14. If a new seat track is installed, install the inboard and outboard OCS rails.
15. Install the front seat backrest.
16. Install the front seat and repower the SRS. If a passenger seat has been serviced, do not prove out the SRS at this time.
Passenger seat
17. Carry out the Occupant Classification Sensor (OCS) System Zero Seat Weight Test.