
Milan AWD L4-2.3L (2008)
4. Remove the A/C clutch disc and hub.
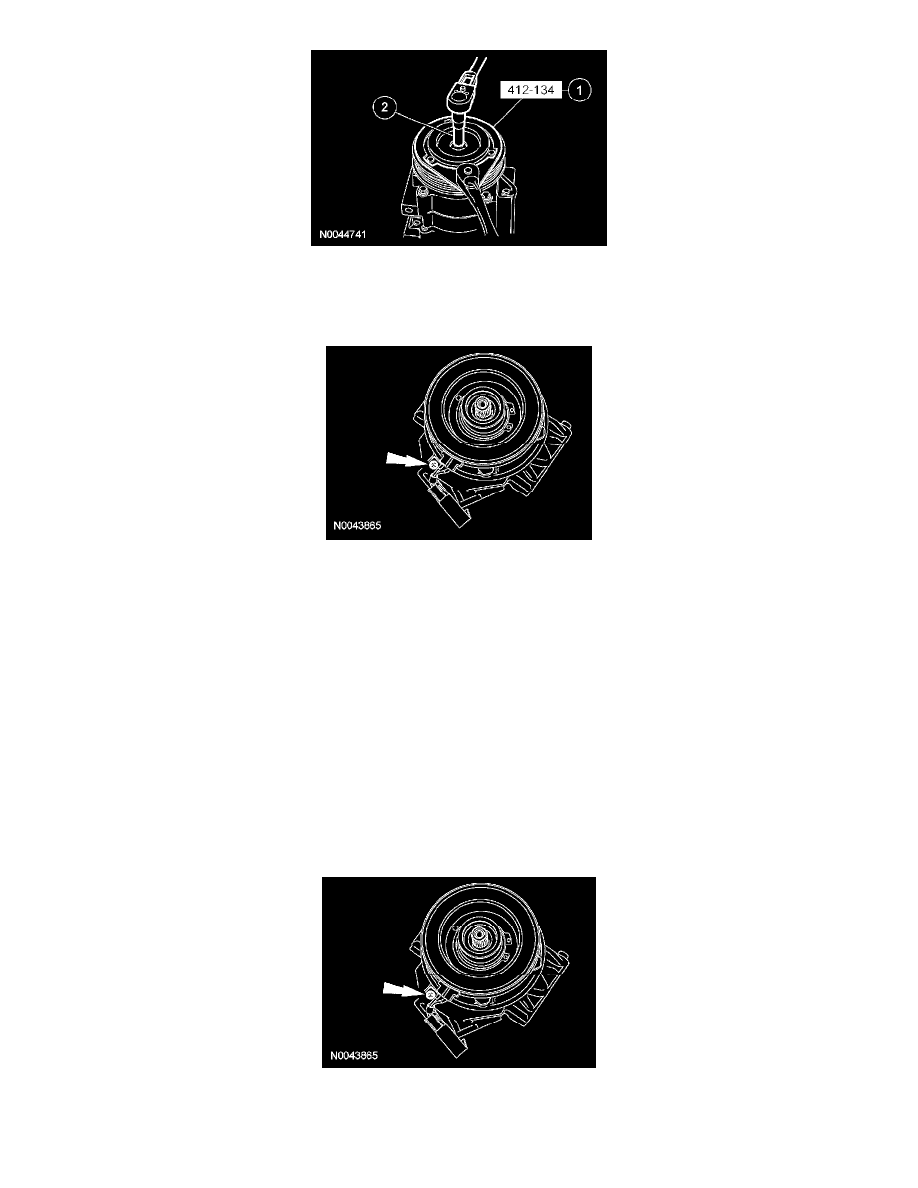
5. Remove the A/C compressor pulley snap ring.
6. Remove the A/C compressor pulley.
7. Remove the A/C clutch field coil electrical connector clip screw.
8. Remove the A/C clutch field coil snap ring.
9. Remove the A/C clutch field coil.
Installation
NOTE: If installing a new A/C compressor, the A/C clutch components should be reused unless obvious signs of damage are found. If excessive
grooving is found, a new A/C clutch disc and hub and A/C compressor pulley must be installed together. Otherwise, each component can be installed
individually where needed.
1. Visually inspect the A/C clutch disc and hub, A/C compressor pulley and A/C clutch field coil for damage.
-
Inspect for physical damage, including cracked or melted components or discoloration due to excessive heat.
-
Inspect for excessive wear, including grooving in the A/C clutch disc and hub or A/C compressor pulley that is more than fingernail depth.
-
Inspect for roughness in the A/C compressor pulley bearing.
2. Clean the A/C clutch field coil and pulley mounting surfaces.
3. Install the A/C clutch field coil.
4. Install the A/C clutch field coil snap ring.
5. Install the A/C clutch field coil electrical connector clip screw.
6. NOTE: The A/C clutch pulley is a tight fit on the A/C compressor head. It must be correctly aligned during installation.
Install the A/C clutch pulley.