
Milan AWD L4-2.3L (2008)
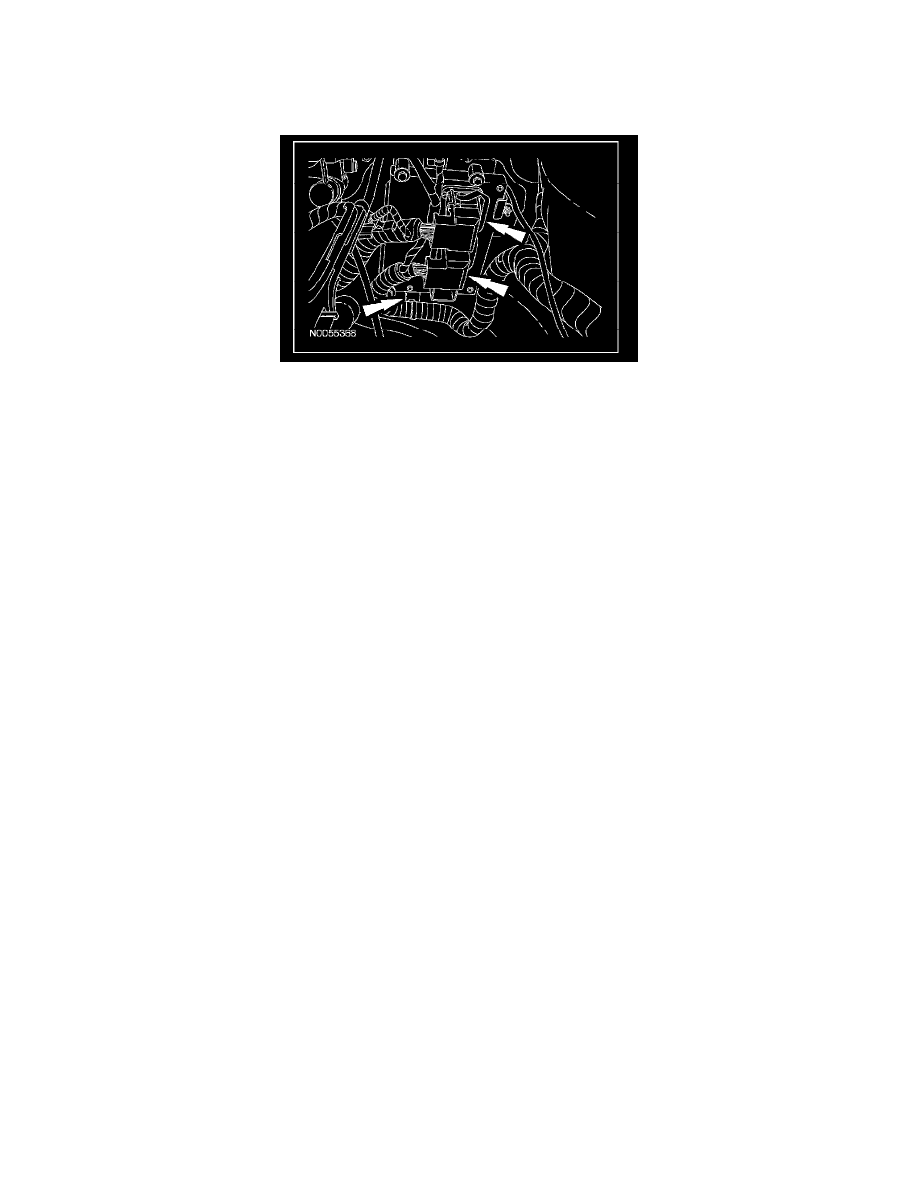
3. NOTE: Battery mounting bracket removed for clarity.
Disconnect the electrical connectors from the PCM.
^
Detach the wiring harness retainer from the PCM bracket, position harness aside.
4. Remove the lower cowl panel grille.
3.0L engine
5. Remove the pressure line bracket-to-power steering fluid reservoir bolt.
^
Detach the electrical harness retainer from the pressure line bracket.
^
To install, tighten to 9 Nm (80 lb-in).
6. Remove the 2 pressure line bracket-to-engine bolts.
^
Detach the electrical harness retainer from the pressure line bracket.
^
To install, tighten to 9 Nm (80 lb-in).
3.5L engine
7. Remove the pressure line bracket-to-RH valve cover stud nut.
^
Detach the electrical harness retainer from the pressure line bracket.
^
To install, tighten to 9 Nm (80 lb-in).
3.0L and 3.5L engines
8. If equipped detach the engine block heater harness from the power steering pressure line.
9. Remove the pressure line bracket-to-steering gear bolt.
^
To install, tighten to 15 Nm (11 lb-ft).
10. Remove the pressure line-to-power steering pump banjo bolt.
^
Discard the bolt and the 2 seals.
^
To install, tighten to 48 Nm (35 lb-ft).
11. Remove the pressure line-to-steering gear banjo bolt and remove the power steering pressure line.
^
Discard the bolt and the 2 seals.
^
To install, tighten to 55 Nm (41 lb-ft).
12. CAUTION: New banjo bolts and new seals must be installed any time the power steering pressure line is disconnected from the power
steering pump and/or the power steering gear or a fluid leak may occur.
To install, reverse removal procedure.
13. Fill the power steering system.