
Milan AWD L4-2.3L (2008)
Part 2
Removal and Installation
WARNING:
-
Do not smoke, carry lighted tobacco or have an open flame of any type when working on or near any fuel-related component. Highly
flammable mixtures are always present and may be ignited. Failure to follow these instructions may result in serious personal injury.
-
Do not carry personal electronic devices such as cell phones, pagers or audio equipment of any type when working on or near any
fuel-related component. Highly flammable mixtures are always present and may be ignited. Failure to follow these instructions may result
in serious personal injury.
1. With the vehicle in NEUTRAL, position it on a hoist.
2. Release the fuel tank filler cap and position aside.
3. CAUTION: When the special tool is removed, the fitting on the end of the hose can become detained by the one-way flapper valve.
Carefully remove the hose using a gentle agitating motion to avoid detaching the hose from the fitting.
NOTE: The special tool must be inserted into the fuel tank filler pipe until the fitting on the end of the hose enters into the fuel tank, opening the
one-way flapper valve.
Insert the special tool into the fuel tank filler pipe.
4. NOTE: This step will remove approximately 1/8 tank of the fuel from a completely full fuel tank and the majority of any residual fuel in the fuel
tank filler pipe.
Attach the fuel storage tanker to the special tool and remove as much fuel as possible from the fuel tank and fuel tank filler pipe.
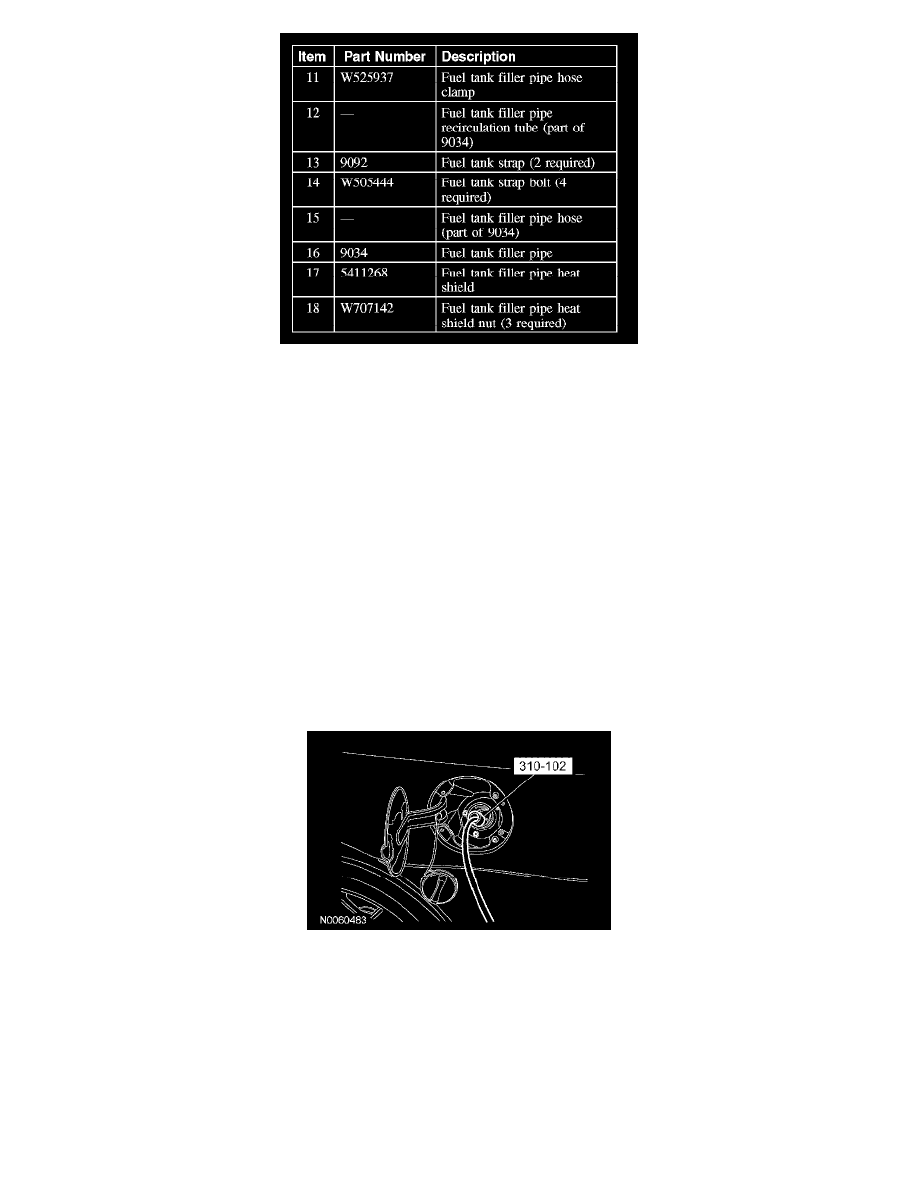
5. Remove the 3 nuts and the fuel tank filler pipe heat shield.
-
To install, tighten to 10 Nm (89 lb-in).
6. Disconnect the fuel tank pressure (FTP) sensor electrical connector.
7. Disconnect the fuel vapor tube assembly-to-evaporative emission (EVAP) canister quick connect coupling.
8. Disconnect the fuel vapor tube assembly-to-recirculation tube quick connect coupling.
9. Release the 2 swivel clips.