
Milan AWD L4-2.3L (2008)
CAUTION: Suspension fasteners are critical parts because they affect performance of vital components and systems and their failure may
result in major service expense. New parts must be installed with the same part numbers or equivalent part, if replacement is necessary. Do not
use a replacement part of lesser quality or substitute design. Torque values must be used as specified during reassembly to make sure of correct
retention of these parts.
1. Remove the wheel and tire.
2. NOTE: Do not fully tighten the cam adjuster nut until the rear alignment has been checked and, if necessary, adjusted.
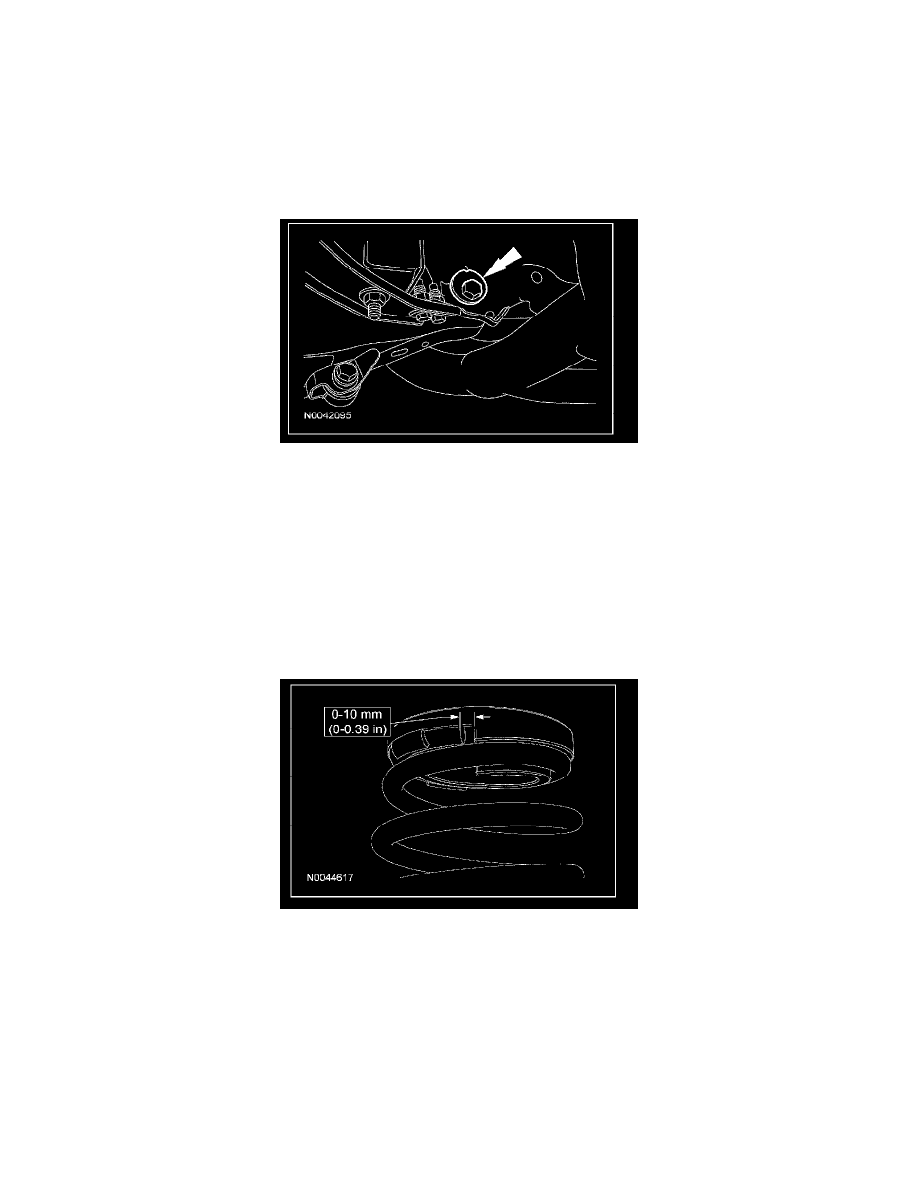
Index-mark the cam bolt and cam adjuster and then loosen the cam adjuster nut.
3. Remove the stabilizer bar link lower bolt.
4. Using a suitable jack, support the lower arm.
5. WARNING: The coil spring is under extreme load. Care must be taken at all times when removing or installing a loaded spring. Failure
to follow this instruction may result in serious personal injury.
Remove the lower arm outboard bolt.
6. Lower the lower arm and remove the spring.
^
Inspect the spring upper and lower seats, install new seats as necessary.
Installation
1. Position the spring upper seat onto the spring with the end of the spring 0-10 mm (0-0.39 in) from the step on the seat.
2. If removed, position the spring lower seat into the lower arm aligning the recess in the seat with the projection on the lower arm.