
Milan FWD L4-2.3L (2008)
electrical connector and remove the side air bag module.
6. Detach the 2 pin-type retainers and trim cover flaps from the recliners.
7. CAUTION: Use care when separating the seat back trim cover from the hook-and-loop strip, or the hook-and-loop strip can be torn
from the backrest foam pad.
Release the 2 outer and inner backrest trim cover lower J-clips and partially invert the trim cover to the hook-and-loop strips.
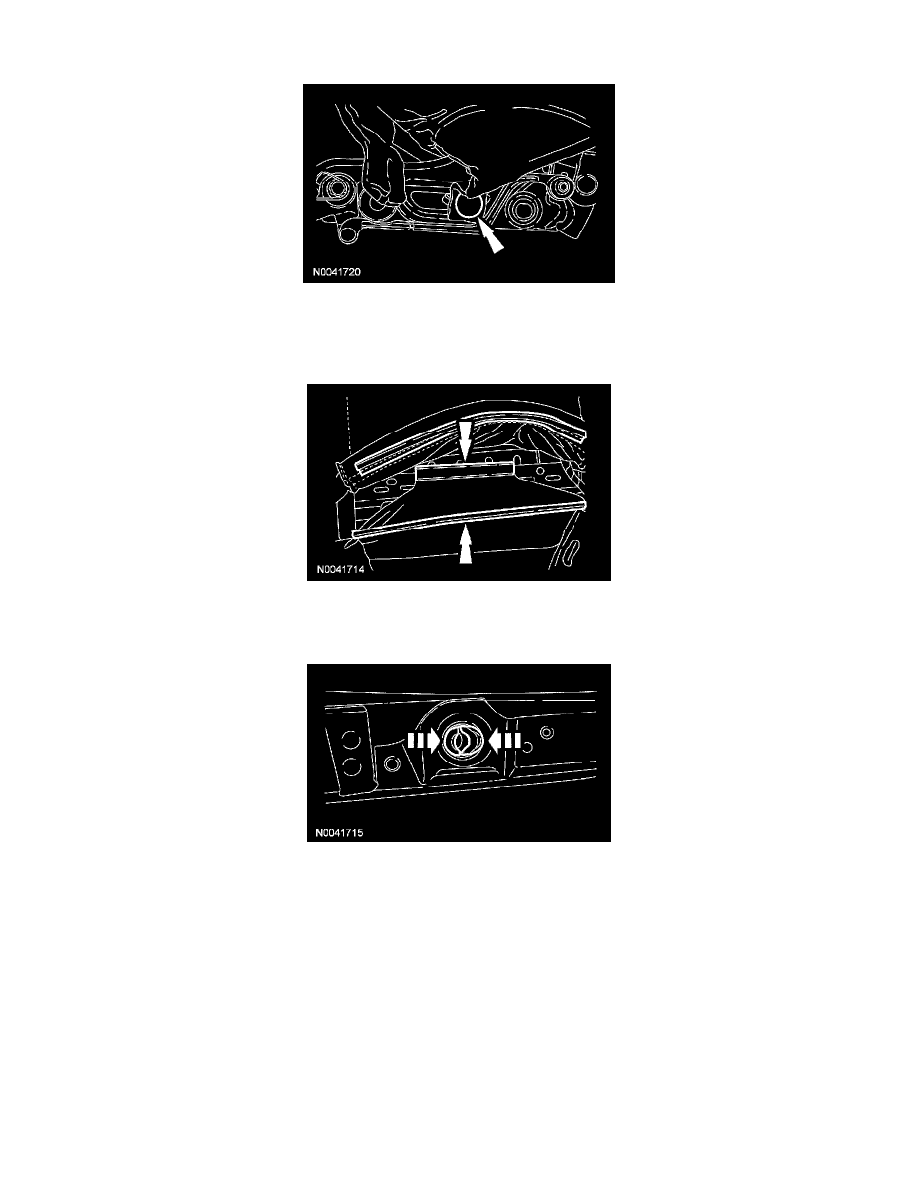
8. NOTE: The head restraint guides are not interchangeable. Note location for installation.
Reach up into the backrest and squeeze the head restraint guide ends together to release. Pull the 2 head restraint guides out of the backrest frame.
9. CAUTION: Use care when separating the seat back trim cover from the hook-and-loop strip, or the hook-and-loop strip can be torn
from the backrest foam pad.
Separate the hook-and-loop strips and invert the trim cover up the backrest to the rear upper hog rings.
10. Remove the rear upper hog rings and trim cover.
11. CAUTION: Inspect the climate controlled seat backrest manifold for crush and obstruction before installation. If damaged, install a new
backrest manifold.
If necessary, remove the climate controlled seat backrest manifold from the foam pad.
-
To install, align the backrest manifold and insert into the valleys of the foam pad.
-
Check for correct fit between the manifold, foam pad and TED assembly, to make sure there is no air flow obstruction or cushion crush.
12. Remove the hog rings from the upper support spring and remove the foam pad.