
Milan FWD L4-2.3L (2008)
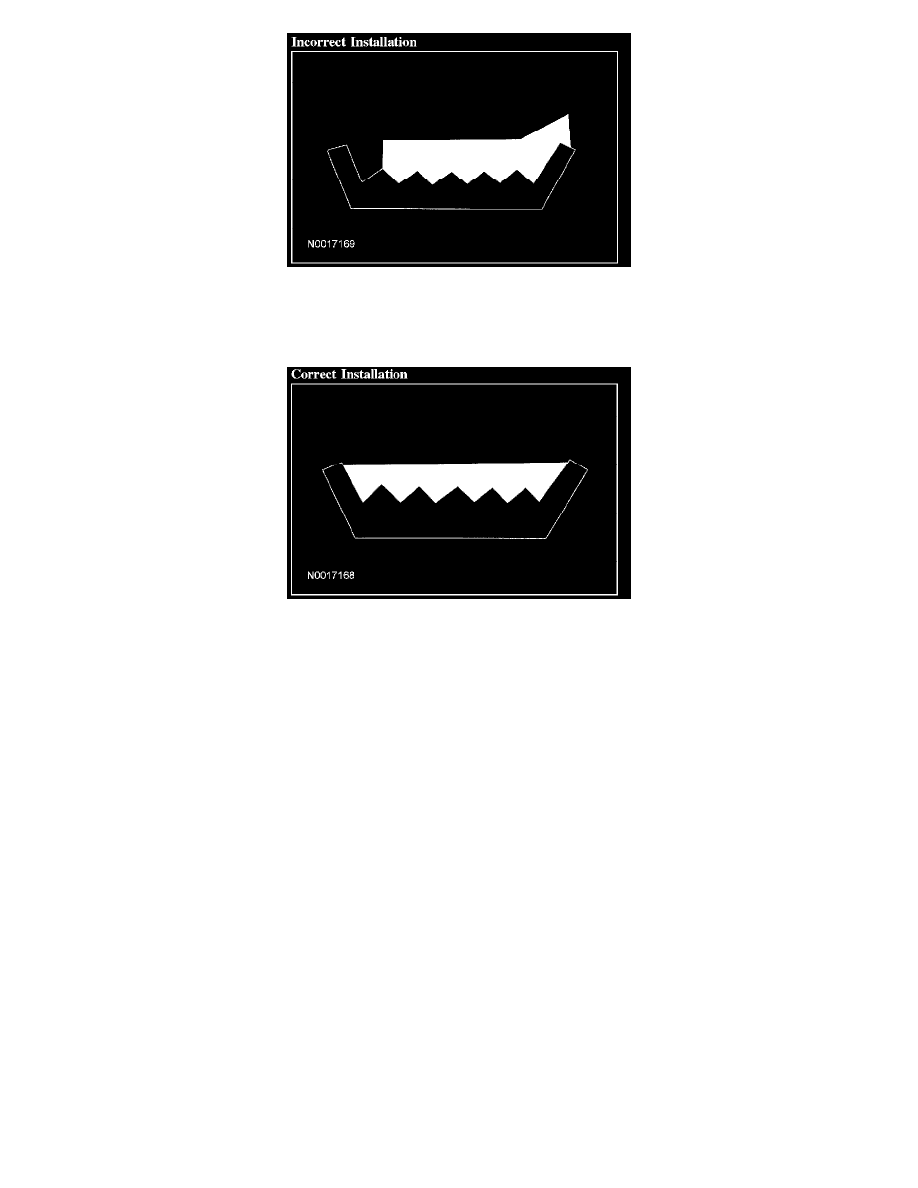
Incorrect Installation
Correct Installation
Correct Installation
With the engine running, check accessory drive belt tracking on all pulleys. If the edge of the accessory drive belt rides beyond the edge of the pulleys,
noise and premature wear will occur. Make sure the accessory drive belt rides correctly on the pulley. If an accessory drive belt tracking condition
exists, proceed with the following:
^
Visually check the accessory drive belt tensioner for damage and wear, especially the mounting pad surface and arm alignment. If the accessory
drive belt tensioner is not installed correctly, the mounting surface pad will be out of position. If the tensioner arm is worn, the arm will be out of
alignment. Either of these conditions will result in chirp and squeal noises.
^
With the engine running, visually observe the grooves in the pulleys (not the pulley flanges or the pulley forward faces) for excessive wobble.
Install new components as necessary.
^
Check all accessories, mounting brackets and the accessory drive belt tensioner for any interference that would prevent the component from
mounting correctly. Correct any interference condition and recheck the accessory drive belt tracking.
^
Tighten all accessories, mounting brackets and accessory drive belt tensioner retaining hardware to specification. Recheck the accessory drive belt
tracking.
Belt Tensioner - Mechanical
The only mechanical check that needs to be made is a check for tensioner stick, grab or bind.
1. With the engine off, check routing of the accessory drive belt. Refer to the illustrations under Description and Operation.
2. NOTE: The accessory drive belt tensioner spring is very strong and requires substantial force to release.
Using a suitable, commercially available serpentine belt tensioner release tool, release the tension on the belt and detach the accessory drive belt
from the tensioner. Carry out the following tests:
^
Using the release tool, move the tensioner from its relaxed position, through its full stroke and back to the relaxed position to make sure there
is no stick, grab or bind, and to make sure that there is tension on the tensioner spring.
^
Rotate the tensioner pulley by hand and check for a binding, contaminated or seized condition.
^
Inspect the area surrounding the accessory drive belt tensioner for oil leaks or contamination and repair any leaks.
3. If the accessory drive belt tensioner does not meet the criteria in the previous step, install a new tensioner. If the accessory drive belt tensioner
meets the criteria in the previous step, proceed to testing the tensioner dynamically.
Belt Tensioner - Dynamics