
Milan FWD L4-2.3L (2008)
4. NOTE: This step will remove approximately 1/8 tank of the fuel from a completely full fuel tank and the majority of any residual fuel in the fuel
tank filler pipe.
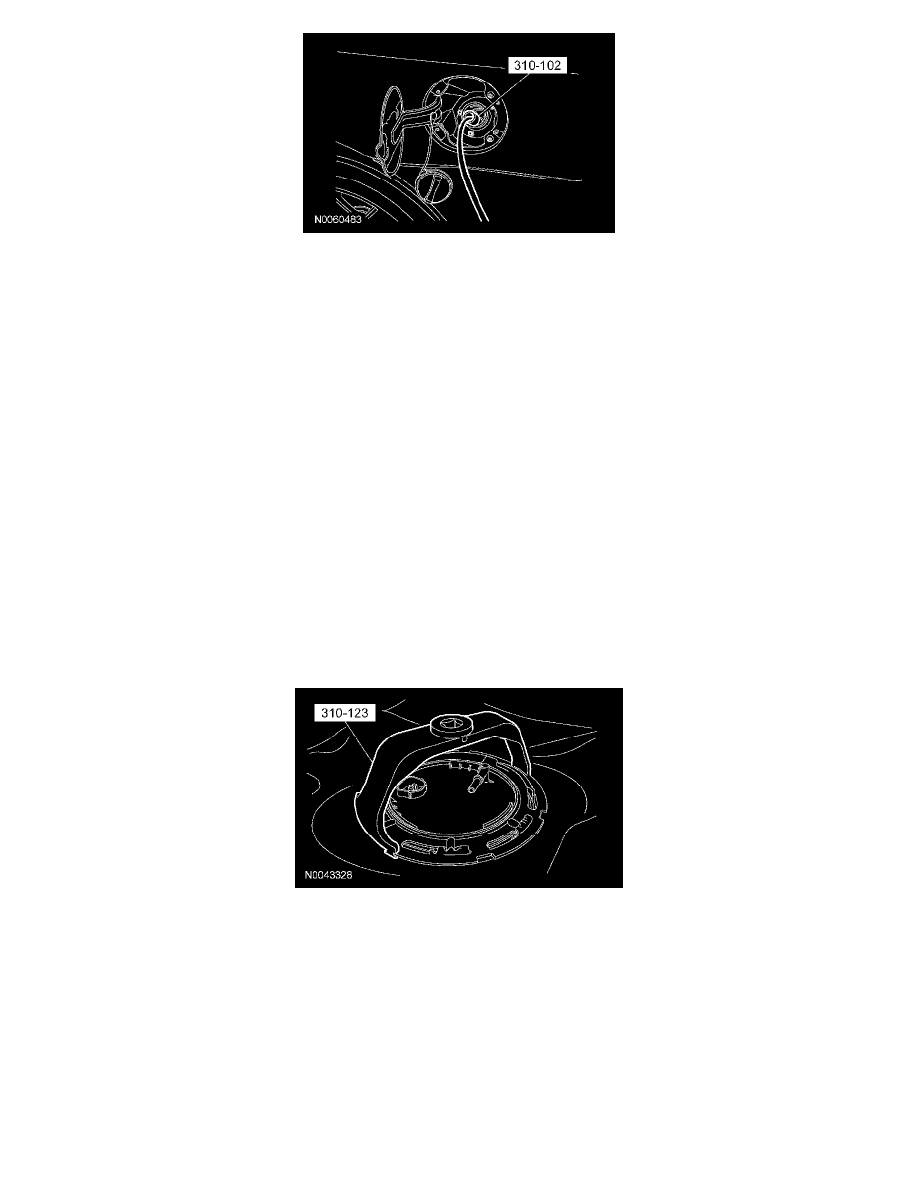
Attach the fuel storage tanker to the special tool and remove as much fuel as possible from the fuel tank and fuel tank filler pipe.
5. Remove the rear seat lower cushion.
Front wheel drive (FWD) vehicles
6. Remove the 4 screws and the fuel pump (FP) module access cover.
-
To install, tighten to 2 Nm (18 lb-in).
All wheel drive (AWD) vehicles
7. Remove the 3 screws and the FP module access cover.
-
To install, tighten to 2 Nm (18 lb-in).
All vehicles
8. Disconnect the FP module electrical connector.
9. Disconnect the fuel tube-to-FP module quick connect coupling.
10. NOTE:
-
Place absorbent pads on the floor pan in the immediate area in case of fuel spills. Carefully remove the FP module from the vehicle to avoid
fuel spillage inside the vehicle.
-
Make sure to install a new FP module O-ring seal and lock ring.
Install the special tool, remove and discard the FP module lock ring.
AWD vehicles
11. Carefully lift the FP module out of the fuel tank enough to access and release the internal fuel tube-to-FP module quick connect coupling.
All vehicles
12. CAUTION: The fuel pump (FP) module must be handled carefully to avoid damage to the float arm.
NOTE: The FP module will have residual fuel remaining internally, drain into a suitable container.
Completely remove the FP module from the fuel tank.
13. NOTE:
-
Inspect the mating surfaces of the FP module flange and the fuel tank O-ring seal contact surfaces. Do not polish or adjust the O-ring seal
contact area of the fuel tank flange or the fuel tank. Install a new FP module or fuel tank if the O-ring seal contact area is bent, scratched or