
Milan FWD L4-2.3L (2008)
5. Install the 2 rear OCS system rail bolts.
-
Tighten to 25 Nm (18 lb-ft).
6. Connect the OCS system rail electrical connector.
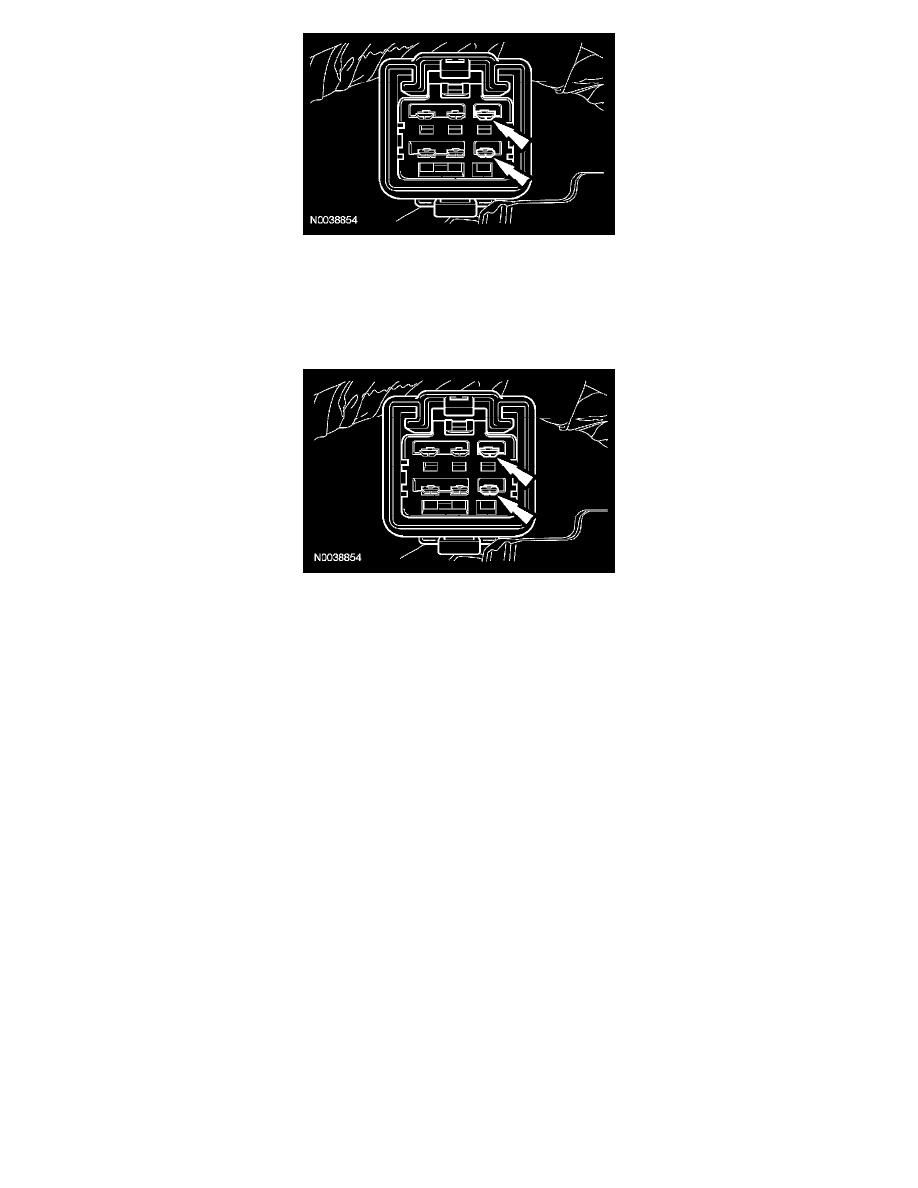
7. Center the seat track to the seat cushion pan.
-
If equipped with a power seat track, apply power and ground to the pins shown.
8. If equipped, connect the power seat track motor electrical connector.
Seat receiving a new OCS system rail
9. Install the rearward seat riser and the 2 bolts.
-
Tighten to 25 Nm (18 lb-ft).
10. Install the forward seat riser and bolt.
-
Tighten to 25 Nm (18 lb-ft).
Outboard OCS system rail
11. Attach the cushion side shield.
-
Position the rear retainer clip on the cushion side shield through the hole in the backrest trim cover flap and attach it to the rear edge of the
seat.
12. If equipped, install the spring clip and the manual recliner handle.
13. If equipped, install the manual lumbar control knob.
All OCS system rails
14. Install the passenger seat. Do not prove out the SRS at this time.
15. Carry out the appropriate procedure after installation of an OCS system component.
-
If installing the original OCS system component, carry out the Occupant Classification System (OCS) Zero Seat Weight Test and prove out the
SRS. See: Air Bag Systems/Testing and Inspection/Component Tests and General Diagnostics/Occupant Classification Sensor (OCS) System
Zero Seat Weight Test
-
If installing a new OCS system component, carry out the Occupant Classification Sensor (OCS) System Reset procedure and prove out the
SRS. See: Air Bag Systems/Service and Repair/Occupant Classification Sensor (OCS) System Reset