
Milan FWD L4-2.3L (2008)
NOTE: Note the position and the routing of the OCS system rail electrical wiring and connector for installation.
On the affected side, using a suitable tool, release the tab and disconnect the OCS system rail electrical connector.
8. If equipped, disconnect the power seat track motor electrical connector.
9. Move the seat to the forward most position.
-
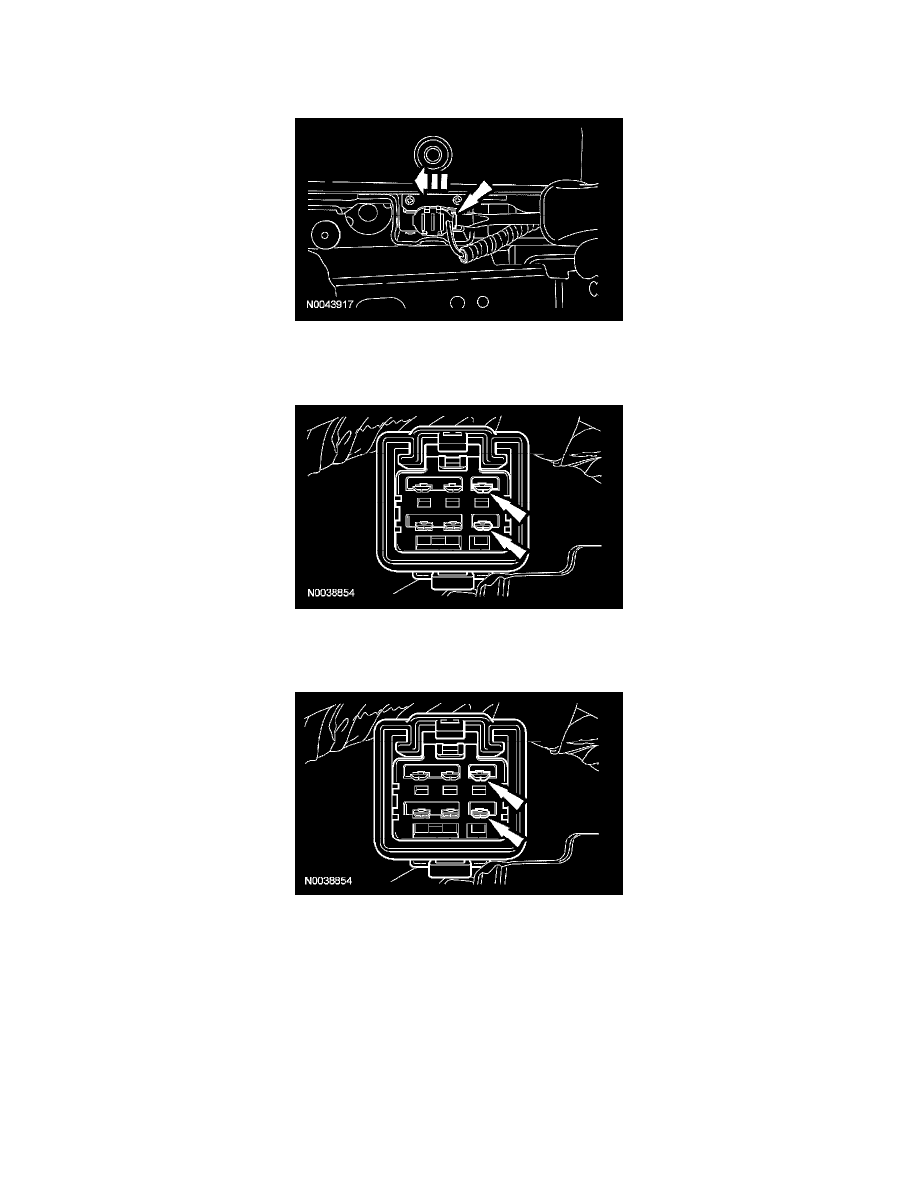
If equipped with a power seat track, apply power and ground to the pins shown.
10. Remove the 2 rear bolts from the affected OCS system rail.
11. Move the seat to the rearward most position.
-
If equipped with a power seat track, apply power and ground to the pins shown.
12. NOTE: Note what position the locator pin on the OCS system rail goes through the OCS system rail shield and into the rear mounting point of the
seat track for installation.
Remove the 2 front bolts and the affected OCS system rail and shield.
-
Release the OCS system rail shield rear tab from the OCS system rail.
Installation
All occupant classification sensor (OCS) system rails
NOTE: If installing a new seat track, position the seat track so the seat will be in the rearward most position before starting installation of the OCS
system rails.
1. WARNING: To prevent foreign material and contaminants from entering the occupant classification sensor (OCS) rail, make sure the