
Milan FWD L4-2.3L (2008)
Part 2
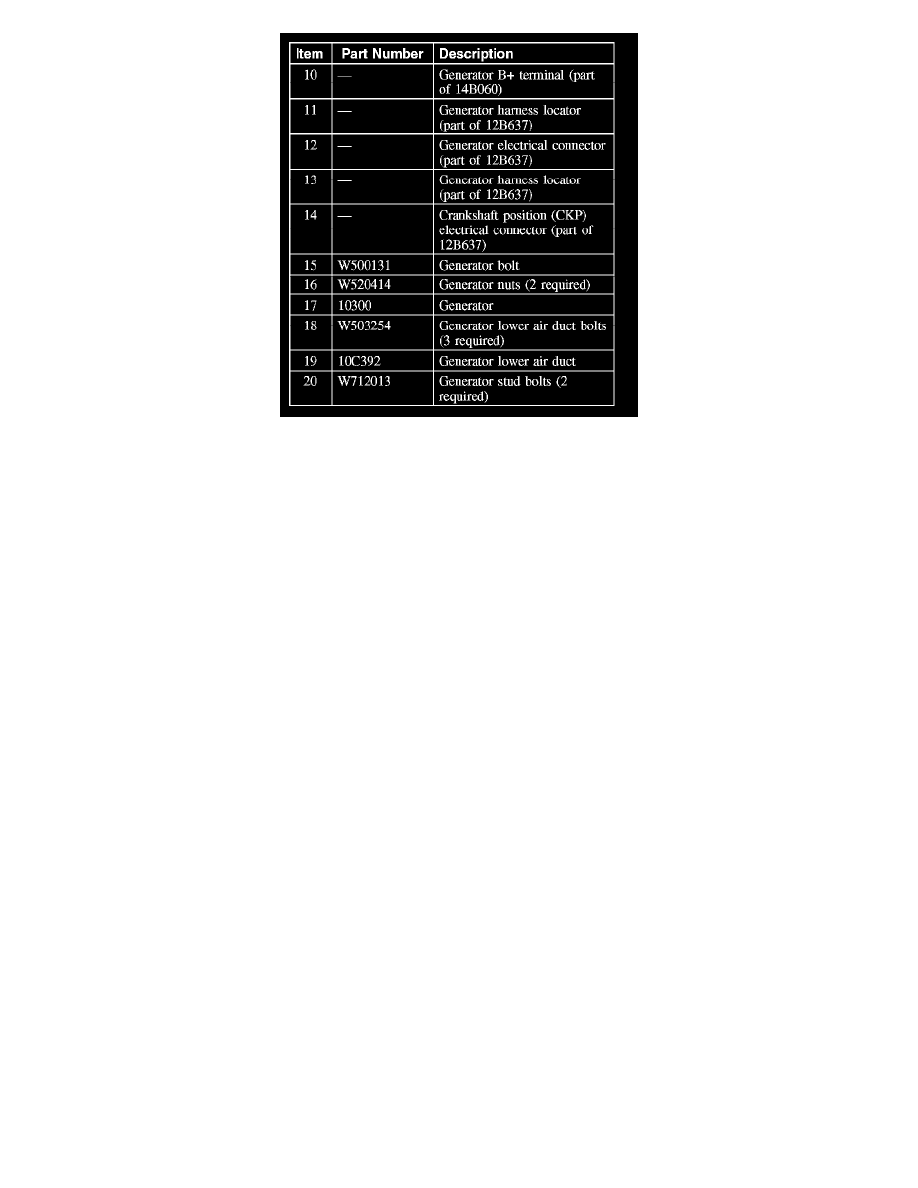
Removal and Installation
1. Disconnect the battery.
2. Remove the bolt, the 2 nuts and the generator upper air duct.
-
To install, tighten to 8 Nm (71 lb-in).
3. Rotate the front end accessory drive (FEAD) belt tensioner clockwise and position the accessory drive belt aside.
4. Remove the 2 nuts and the generator shield.
-
To install, tighten to 25 Nm (18 lb-ft).
5. Press the locking tabs and remove the generator intermediate air duct.
6. Position the generator protective cover aside, remove the nut and position the generator B+ terminal aside.
-
To install, tighten to 12 Nm (9 lb-ft).
7. Release the generator harness locator from the generator.
8. Disconnect the generator electrical connector.
9. Release the generator harness locator from the engine block.
10. Disconnect the crankshaft position (CKP) sensor connector and position the generator harness aside.
11. Remove the bolt, 2 nuts and the generator.
-
To install, tighten to 47 Nm (35 lb-ft).
12. If necessary, remove the 3 bolts and the generator lower air duct.
-
To install, tighten to 4 Nm (35 lb-in).
13. If necessary, remove the 2 generator stud bolts.
-
To install, tighten to 24 Nm (18 lb-ft).
14. To install, reverse the removal procedure.