
Milan FWD L4-2.3L (2008)
Removal and Installation
1. NOTE: The steering column opening cover is held in place by tabs that clip to the instrument panel.
Remove the steering column opening cover by pulling straight outward.
2. NOTE: Release the upper steering column shroud, by pressing inward on the sides of the shroud and lifting upwards.
Remove the upper steering column shroud.
3. Release the tilt lever, remove the 3 lower steering column shroud screws and then the shroud.
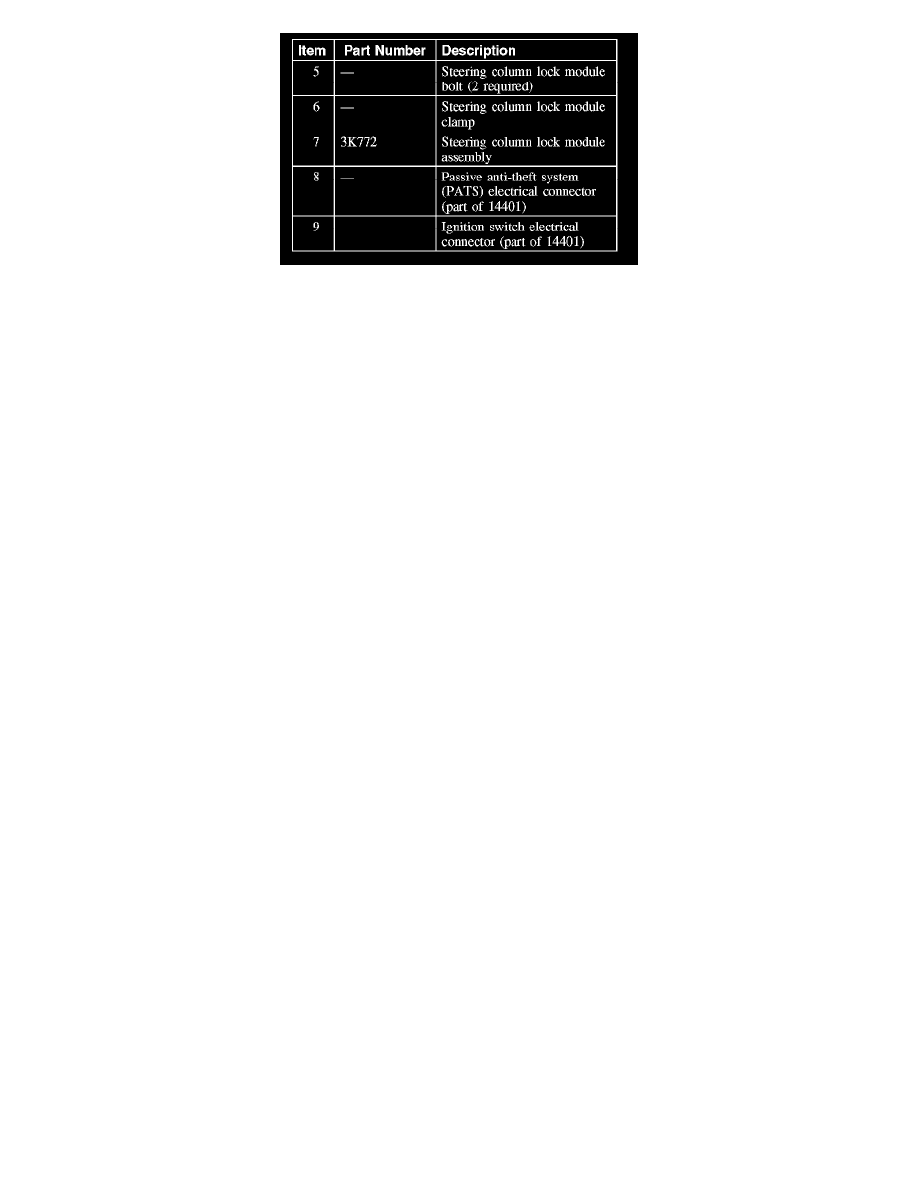
4. Disconnect the passive anti-theft system (PATS) and ignition switch electrical connectors.
5. Disconnect the multi-function switch electrical connector.
6. NOTE: After cutting slots in the lock module bolts, clean all metal shavings and foreign material from the steering column.
Using a suitable tool, cut slots into the heads of the 2 steering column lock module bolts.
7. NOTE: The lock module bolts are designed to sheer off when tightened.
Remove the 2 steering column lock module bolts using a screwdriver.
^
Discard the bolts.
^
To install, use new steering column lock module bolts and tighten until the heads of the bolts shear off.
8. Remove the steering column lock module clamp and the steering column lock module assembly.
9. NOTE: Align the locating tab on the steering column lock module with the window of the steering column tube. Verify that the lock module
operates correctly.
To install, reverse the removal procedure.