
Milan FWD L4-2.3L (2008)
6. NOTE: Each accumulator is equipped with 2 springs. All 4 springs are different sizes.
NOTE: Note the size and location of the accumulator springs to aid assembly.
NOTE: Note the shape of each piston and the piston bore from which the piston was removed. The shape and size will vary depending on
application. The piston must be installed in its correct bore during assembly.
Remove the accumulator pistons and springs.
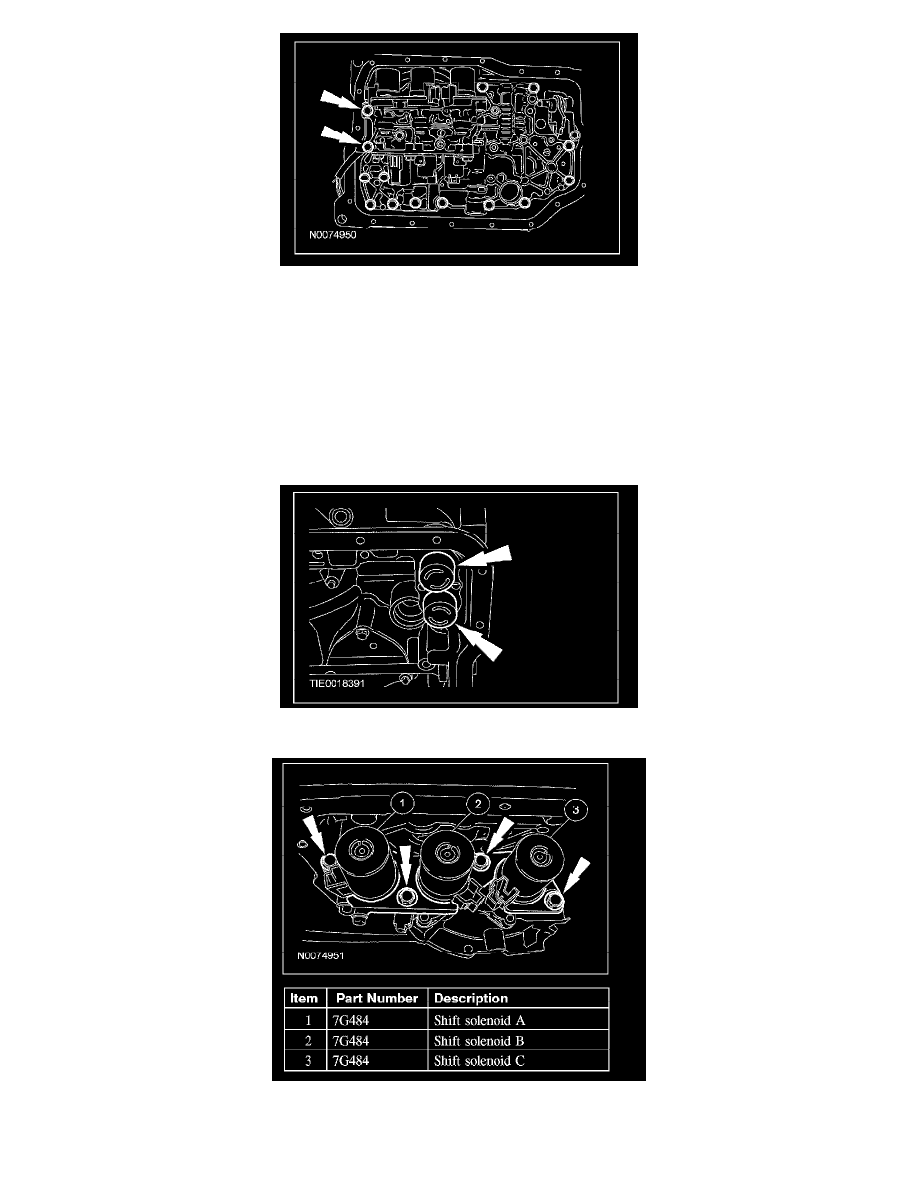
Shift solenoids A, B, C, D, E and pressure control solenoid A (PCA)
7. Remove the 4 shift solenoid bracket bolts and remove the bracket. Remove the affected solenoid.
8. Remove the bolts and remove affected solenoid.
Shift solenoid F and pressure control solenoid B (PCB)
9. Remove the battery tray.
10. Remove the 1 I side cover bolts and remove the cover.