
Milan FWD L4-2.3L VIN Z (2007)
Oil Pan: Service and Repair
Oil Pan
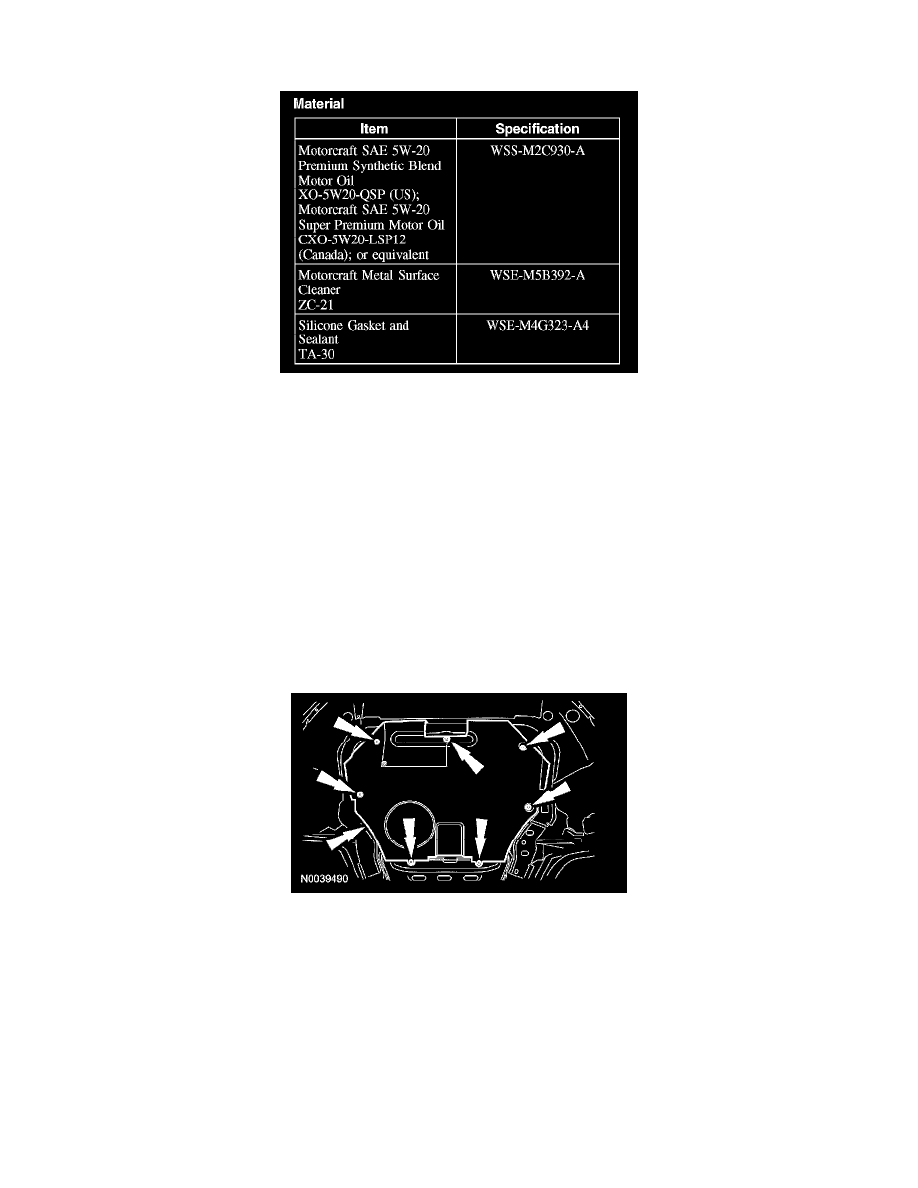
Material
Removal
All vehicles
1. With the vehicle in NEUTRAL, position it on a hoist.
2. Remove the air cleaner.
Automatic transmission
3. Remove the battery tray.
All vehicles
4. CAUTION: To prevent damage to the transmission, do not loosen the transmission-to-engine bolts more than 5 mm (0.19 inch).
Loosen the 3 upper transaxle-to-engine bolts 5 mm (0.19 inch).
5. If equipped, remove the 7 screws and the underbody cover.
6. Loosen the 1 (automatic transmission) or 2 (manual transmission) front lower bellhousing-to-engine bolt(s) 5 mm (0.19 inch).
7. Loosen the rear lower engine-to-bellhousing bolt and stud bolt 5 mm (0.19 inch).
8. Remove the 2 oil pan-to-bellhousing bolts.
9. Remove the bellhousing-to-oil pan bolt.
10. Slide the transmission rearward 5 mm (0.19 inch).
11. Drain the engine oil.
^
Install the drain plug.
^
To install, tighten to 28 Nm (21 ft. lbs.).
12. Remove the 4 engine front cover-to-oil pan bolts.
13. Remove the 13 bolts and the oil pan.
Installation