
Milan FWD L4-2.3L VIN Z (2007)
Catalytic Converter: Service and Repair
Catalytic Converter - 2.3L Manifold
Catalytic Converter - 2.3L Manifold
Removal
1. With the vehicle in NEUTRAL, position it on a hoist.
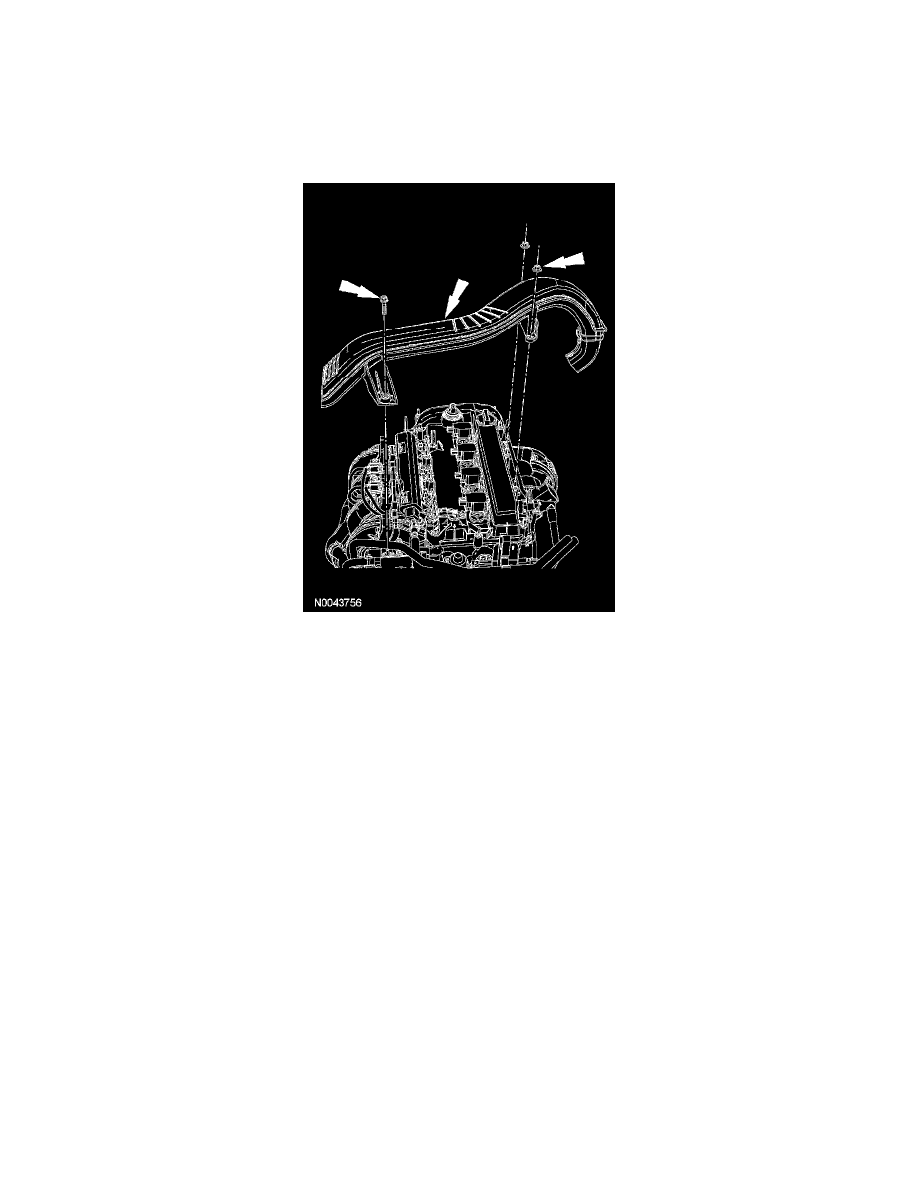
2. Remove the generator air inlet duct.
3. Remove the heated oxygen sensor (HO2S) and catalyst monitor sensor (CMS).
4. Remove the wiring harness bracket from the valve cover stud and position it aside.
5. Remove the 2 catalytic converter manifold-to-exhaust flexible pipe nuts.
^
Discard the gasket and the 2 nuts.
6. Remove the 6 heat shield bolts and the heat shield.
7. Remove the 2 catalytic converter manifold shield bracket bolts and the bracket.
8. Loosen the 2 catalytic converter manifold bracket bolts.
9. Remove the 7 nuts and the catalytic converter manifold.
^
Discard the 7 nuts and the gasket.
10. Remove and discard the 7 catalytic converter manifold studs.
11. Clean and inspect the catalytic converter manifold.
Installation
1. Install the 7 new catalytic converter manifold studs.
^
Tighten to 17 Nm (13 ft. lbs.).
2. Position a new catalytic converter manifold gasket on the studs.
3. CAUTION: Failure to tighten the catalytic converter manifold nuts to specification before installing the converter bracket bolts will cause the
converter to develop an exhaust leak.
CAUTION: Failure to tighten the catalytic converter manifold nuts to specification a second time will cause the converter to develop an exhaust
leak.
NOTE: Make sure to tighten the nuts in the sequence shown in 2 stages.
Position the catalytic converter manifold and tighten the 7 new nuts in the sequence shown, in 2 stages.