
Milan FWD L4-2.3L VIN Z (2007)
Exhaust Pipe: Service and Repair
Exhaust Flexible Pipe - 2.3L, 3.0L
Removal and Installation
CAUTION: Do not excessively bend, twist or allow the exhaust to hang from the flexible pipe.
All vehicles
1. NOTE: Always install new fasteners and gaskets. Clean flange faces prior to new gasket installation to make sure of proper sealing.
With the vehicle in NEUTRAL, position it on a hoist.
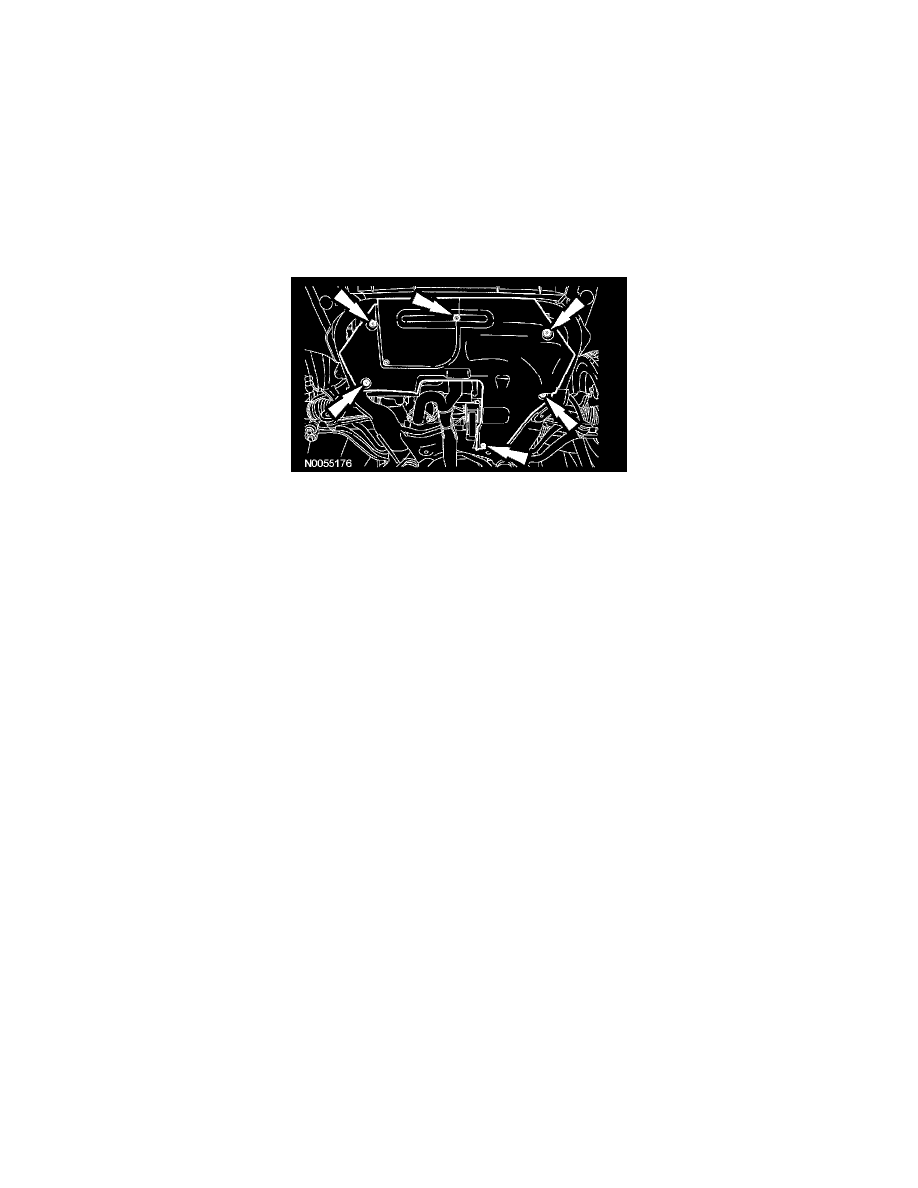
2. If equipped, remove the 6 screws and the underbody shield.
3. Remove and discard the 2 exhaust flexible pipe-to-catalytic converter nuts.
^
Discard the gasket.
^
To install, tighten to 40 Nm (30 ft. lbs.).
3.0L only
4. Remove and discard the 2 RH catalytic converter-to-exhaust flexible pipe nuts.
^
To install, tighten to 40 Nm (30 ft. lbs.).
5. Remove and discard the 2 LH catalytic converter-to-exhaust flexible pipe nuts and remove the exhaust flexible pipe.
^
Discard the gasket.
^
Tighten in 3 stages:
-
Stage 1: Tighten the passenger side nut to 5 Nm (44 inch lbs.).
-
Stage 2: Tighten the driver side nut to 40 Nm (30 ft. lbs.).
-
Stage 3: Tighten the passenger side nut to 40 Nm (30 ft. lbs.).
2.3L only
6. Remove and discard the 2 catalytic converter manifold-to-exhaust flexible pipe nuts and remove the exhaust flexible pipe.
^
Discard the gasket.
^
To install, tighten to 40 Nm (30 ft. lbs.).
All vehicles
7. To install, reverse the removal procedure.
^
Install new gaskets and nuts.
8. Start the engine and check for exhaust leaks.