
Milan FWD L4-2.3L VIN Z (2007)
Removal and Installation
1. Remove the battery and the battery tray.
2. Remove the powertrain control module (PCM).
1. Disconnect the electrical connectors.
2. Remove the PCM bolts.
3. Remove the PCM bracket.
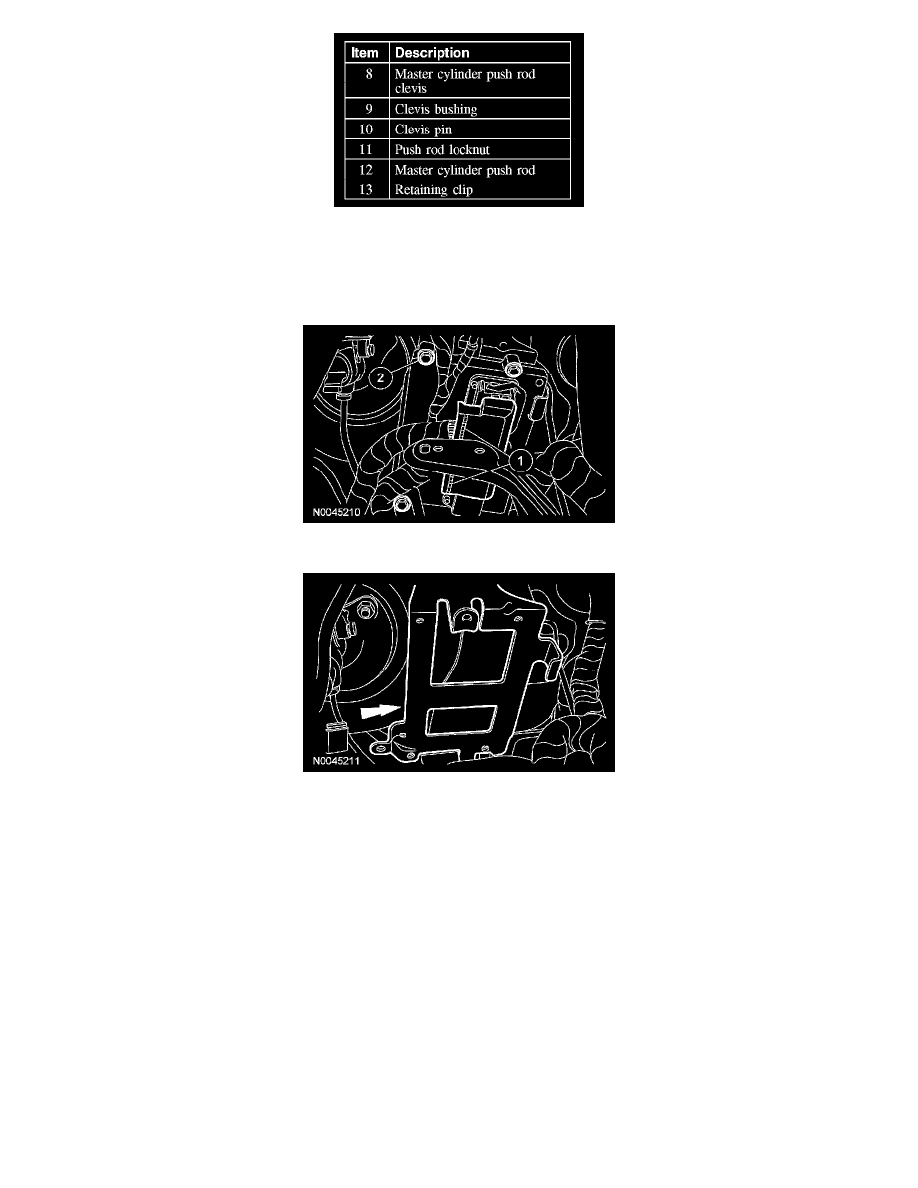
4. Remove the clutch master cylinder nut.
-
To install, tighten to 21 Nm (15 ft. lbs.).
5. Working under the instrument panel, disconnect the clutch switch electrical connector.
6. Disconnect the clutch pedal position (CPP) electrical connector.
7. Remove the clutch master cylinder nut and the clutch pedal bracket nut.
-
To install, tighten to 21 Nm (15 ft. lbs.).
8. Remove the clutch pedal and bracket assembly.
9. NOTE: Make sure to align the push rod into the clutch master cylinder piston as the pedal assembly is installed.
To install, reverse the removal procedure.
-
Apply a small amount of grease to the:
^
clevis bushing.
^
end of the clutch switch.
^
end of the master cylinder push rod.
10. Check the clutch pedal height and the clutch pedal free play. Adjust as necessary.