
Milan FWD V6-3.0L (2010)
4. Remove the A-pillar trim panels. For additional information, refer to A-Pillar Trim Panel See: Trim Panel/Service and Repair/A-Pillar Trim Panel
.
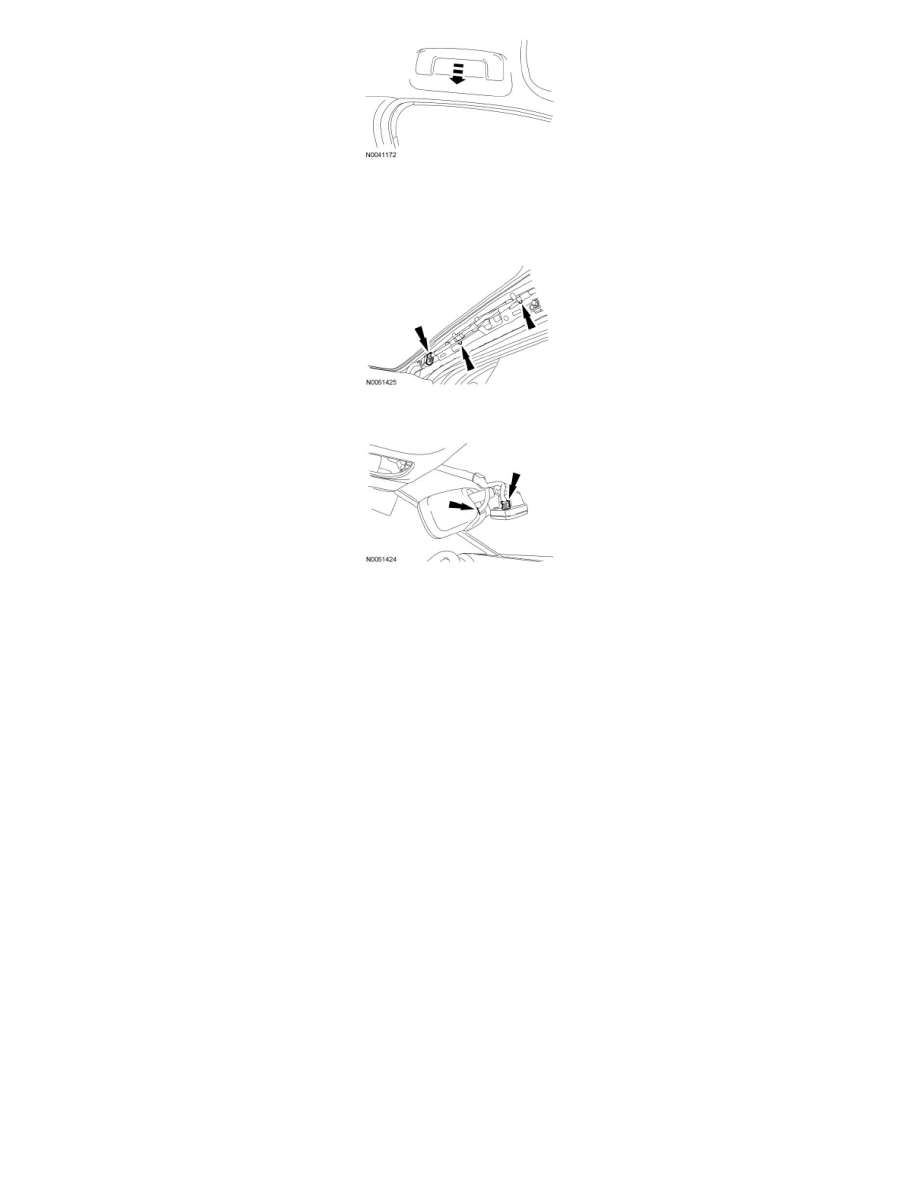
5. Disconnect the wire harness connector and the 2 pushpins.
6. If equipped, disconnect the automatic dimming rear view mirror and compass electrical connectors.
7. Remove the B-pillar trim panels. For additional information, refer to B-Pillar Trim Panel See: Trim Panel/Service and Repair/B-Pillar Trim Panel.
8. Remove the C-pillar trim panels. For additional information, refer to C-Pillar Trim Panel See: Trim Panel/Service and Repair/C-Pillar Trim Panel.
9. Remove the overhead console.
-
Disconnect the electrical connector.
10. Remove the sun visors and the sun visor clips.
-
If equipped, disconnect the electrical connectors.
11. Remove the 2 headliner pushpin retainers at the rear.
12. If equipped, position the headliner forward to gain access to disconnect the roof opening panel motor electrical connector.
13. NOTICE: To avoid damaging the headliner, an assistant is required for this step.
Remove the headliner through the LH rear door.
14. NOTE: Obtain the 3M Duramix 4747 Super Fast Adhesive commercially. The 3M Duramix 4747 Super Fast Adhesive is a 2-part adhesive in a
50 ml dual-tube applicator. Depending on the size of the headliner and optional wire harness(es), the purchase of two to five 50 ml tubes is
suggested.
If installing a new headliner, transfer the wire harness in the following sequence:
1. Using a suitable marking tool, mark the new headliner with the routing and exit points of the wire harness from the original headliner.
2. Carefully remove the wire harness from the original headliner.
3. NOTICE: Make sure not to damage the wire harness when cutting the excess adhesive from the wire harness.
Cut and remove any excess adhesive from the wire harness.
4. Position the wire harness onto the new headliner and check that the harness has enough length to be connected to the body/roof connectors.
Apply tape to temporarily hold the wire harness in that position on the headliner.