Milan FWD V6-3.0L (2010)

19. Install a new cushion side shield (includes new retainers attached).
-
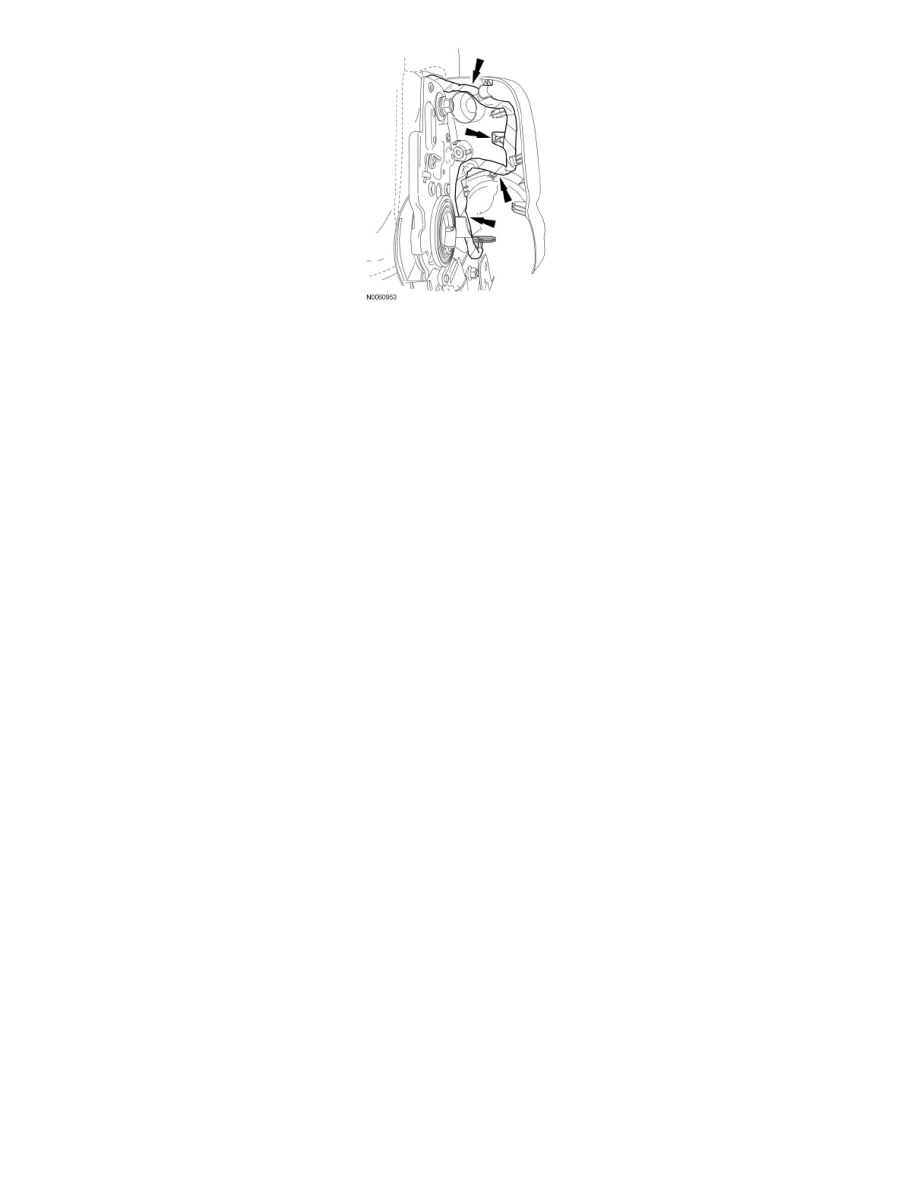
Attach the side air bag wire harness pin-type retainers to the cushion side shield.
20. Put the spring clip on the manual recliner handle. Align it to the recliner and push in, seating the spring clip.
21. Install the front seat. For additional information, refer to Seat - Front See: Service and Repair/Seat - Front.
Seat Cushion Cover - Front
Seat Cushion Cover - Front
Removal and Installation
1. Remove the front seat backrest. For additional information, refer to Seat Backrest - Front, Without Fold Flat See: Seat Back/Service and
Repair/Removal and Replacement/Seat Backrest - Front, Without Fold Flat or Seat Backrest - Front, With Fold Flat See: Seat Back/Service and
Repair/Removal and Replacement/Seat Backrest - Front, With Fold Flat.
2. NOTE: Trim cover J-clip configurations vary with seat option.
Release all the remaining J-clips attaching the trim cover to the cushion frame.
3. NOTICE: Use care when separating the seat cushion trim cover from the hook-and-loop strip, or the hook-and-loop strip can be torn
from the cushion foam pad.
Release the hook-and-loop strips, remove the hog rings (if equipped), separate the cushion trim cover from the cushion foam pad and remove.
4. To install, reverse the removal procedure.
Seat Backrest Cover - Rear, 40 Percent
Seat Backrest Cover - Rear, 40 Percent
Removal and Installation
All vehicles
1. Remove the 40 percent rear seat backrest. For additional information, refer to Seat Backrest - Rear See: Seat Back/Service and Repair/Removal
and Replacement/Seat Backrest - Rear.
2. While lifting up on the head restraint, push in the hole, push in the button and remove the head restraint.
